This article includes affiliate links that will pay a commission if they’re used to purchase something. As an Amazon associate, I earn from qualifying purchases.
Painting on a fondant cake with food coloring…Here it is naked and waiting for me…
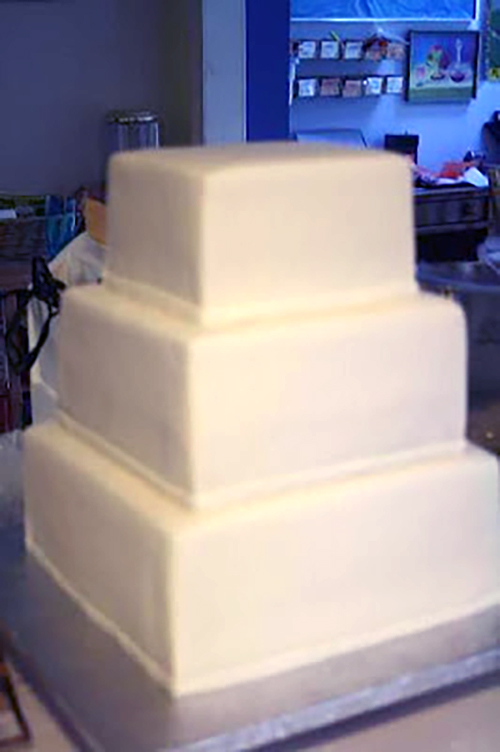
This cake is covered with fondant, but if you wanted to do this on cold buttercream you could do that, too.
The food coloring might bleed a little bit, though, so if you’re working on buttercream be careful not to apply too much at one time.
For some more tips on painting on fondant, click here.
Add the outlines to start.
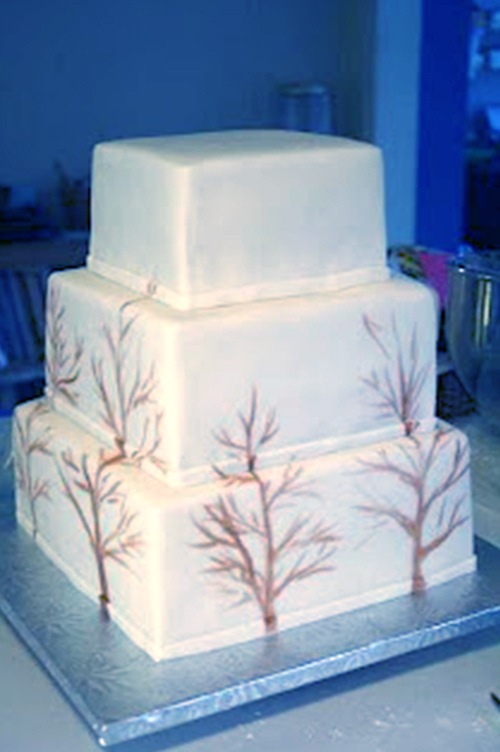
I painted tree trunks on it using airbrush food color.
Since the airbrush color is liquid already, you don’t need to dilute the color to try to make a paint, and it works a lot better.
Add the outlines of the trees to give yourself a framework using a light beige, then go over it with a darker brown when you like the shapes and placement that you have.
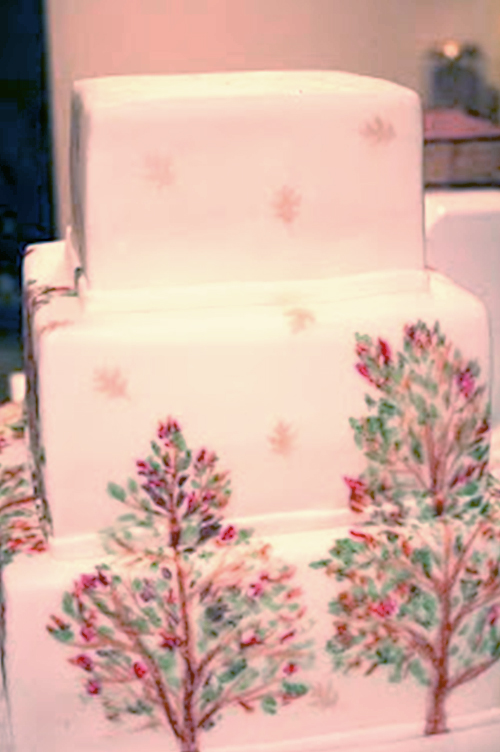
Fill in the leaves.
Start adding in the leaves, but go slow with this.
Too many leaves, or leaves that are too heavy, will look wrong and will make it hard to fix.
Make the leaves sparse and add more in, it’s better to do it that way than to make too many to begin with.
After that, I added a stencil of a small leaf on the upper tiers, and that was basically it.
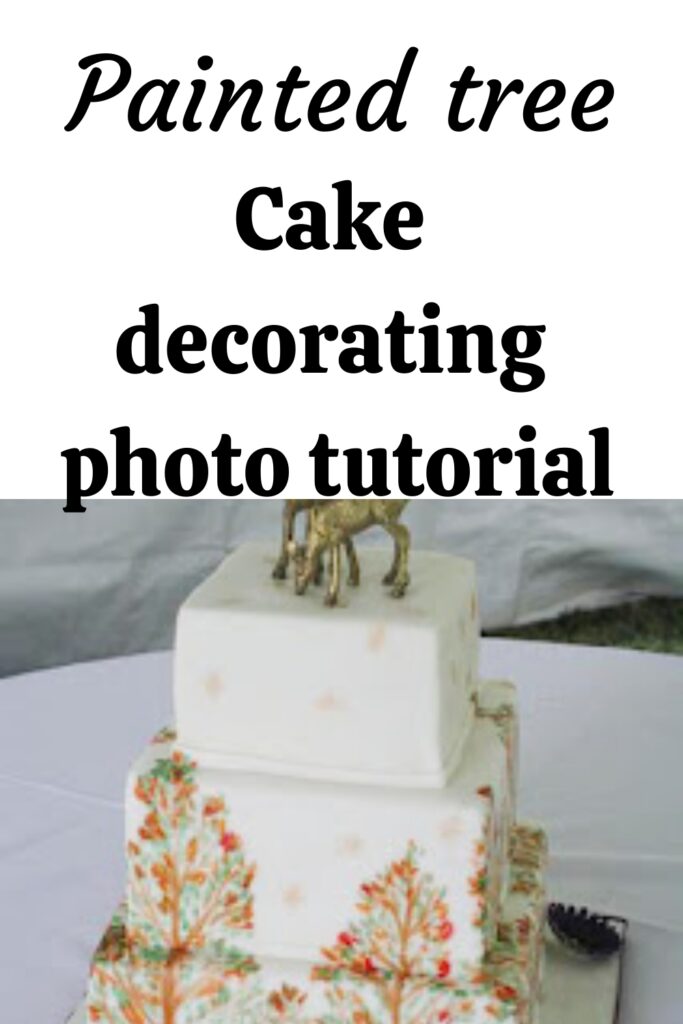
Here it is with the deer toppers and some sugar gerbera daisies at the reception site.

I love painted cakes, they let you add some individual style to a cake that nobody else can copy 100%.