It’s really easy to decorate sugar cookies with wafer paper and royal icing for Christmas or other occasions, and it gives you a professional result with very little icing piping ability on your part!
I sell wafer paper on my business website at A Cake To Remember, and for this set of Christmas cookies I used my basic sugar cookie recipe (click to see that) and some assorted Christmas wafers from my shop.

This article includes affiliate links that will pay a commission if they’re used to purchase something. As an Amazon associate, I earn from qualifying purchases.
How to fill the piping bag with royal icing.
When you fill a piping bag, the goal is to get the icing inside the bag and not on the outside, because that’s going to make it too difficult to handle.
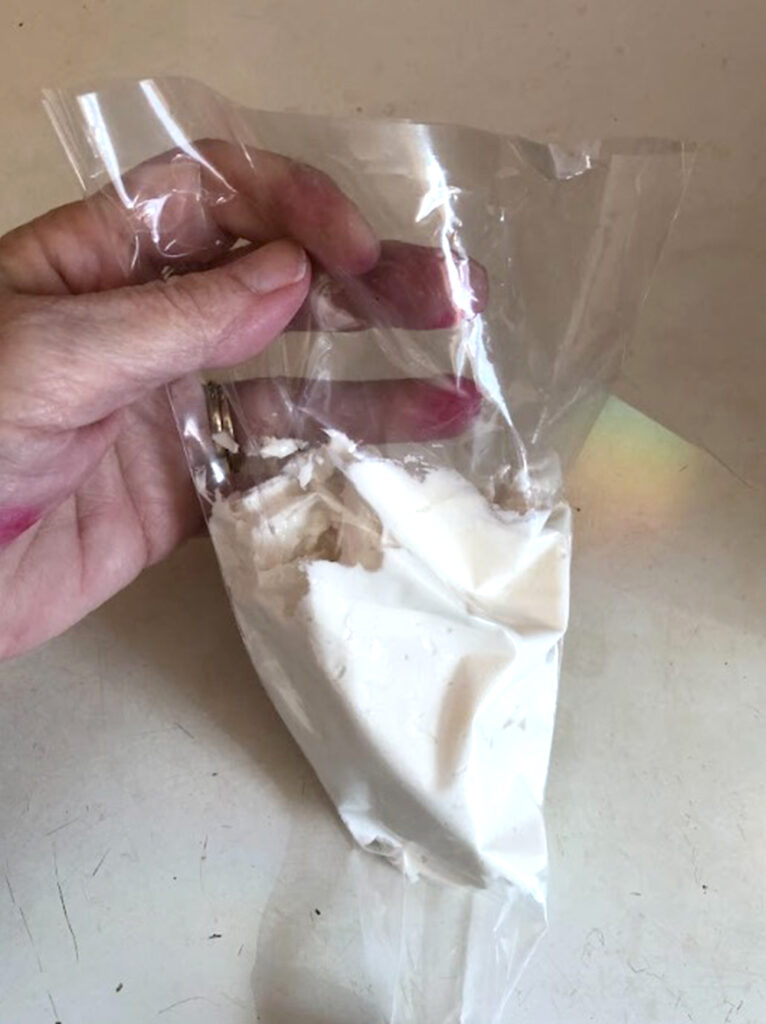
You can either open the bag using a drinking glass to hold it up or use your hand, which is how I do it here.
(For the recipe for royal icing, click here: Royal icing recipe.
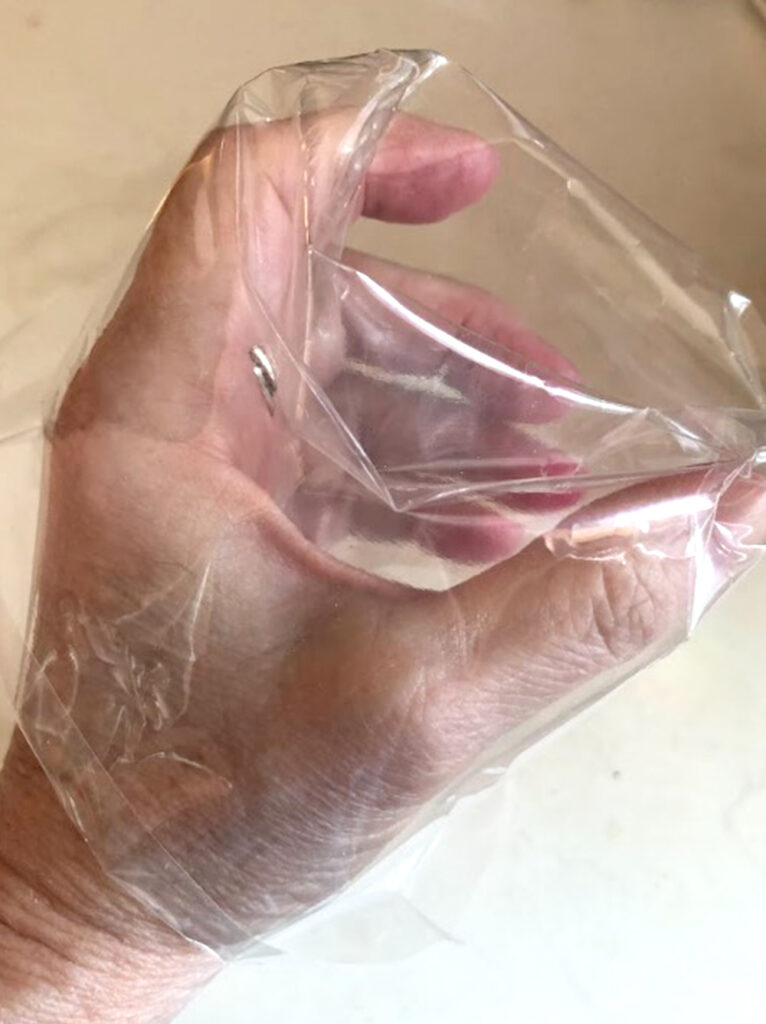
Put the bag in your hand and turn the top edge over your fingers and thumb so that the opening is available to put the icing inside.
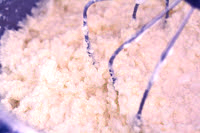
You’re going to use a rubber spatula to pick up some icing and put it inside the bag, and then kind of scrape it on your thumb to get it off of the spatula.

You don’t want to fill the bag too much.
Only fill it about halfway, because if it’s too full it’s going to be really hard to squeeze the bag.
If it turns out that squeezing the bag is difficult because the icing is too stiff, you might have to squeeze the icing out and thin it out a little bit to make it easier to pipe with.
Royal icing can really make your hand hurt if you’re piping with icing that’s too stiff.
Be careful to take breaks, and don’t work for too long without stretching your hands and fingers to make sure that they’re not getting too stiff.
Burping the piping bag to get rid of air pockets.
Once you have the icing in the bag, you’re going to fold the top up away from your hand and then proceed to “burp the bag.”
Burping the bag sounds strange, but it’s a way to release any air bubbles that are trapped inside the bag.
If you have air pockets inside the bag, you could be piping and come across a bubble of air that makes your nice piping explode and ruins the pattern.
Burping the bag gets rid of this and makes it less likely that you’ll have air pockets in the piping bag.
To get the icing into the bottom section of the bag where it’s going to come out the nozzle, press down on one side of the bag to coax the icing toward the piping tip.
This is going to help to force any air up the other side fo the bag and out of the top.
Once the bag is full at the bottom, squeeze some of it out until you’re sure that there isn’t going to be a big air pocket that’s going to ruin your piping.
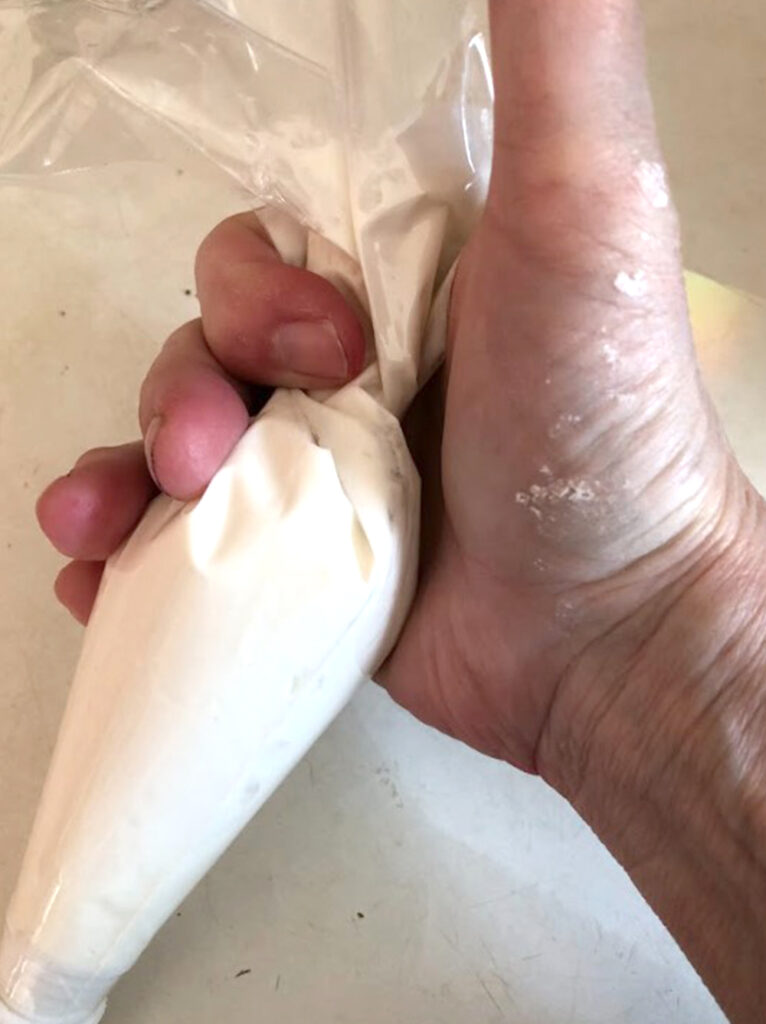
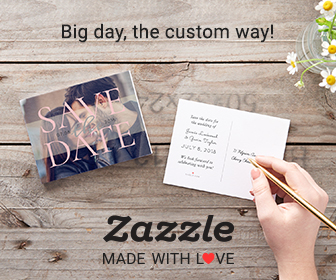
When you’re ready to pipe, you’re going to twist the top of the bag to keep the icing from coming out, and put the round part of the piping bag against the palm of your hand.
You want to grab the twisted part of the bag at the top between your forefinger and thumb, and hold the rounded part of the piping bag in the palm of your hand.
This takes a little bit of getting used to, but once you get the hang of it you’ll realize that that’s the best way to pipe because it doesn’t tire your hand out as much, and it keeps the icing from oozing out the top of the bag.
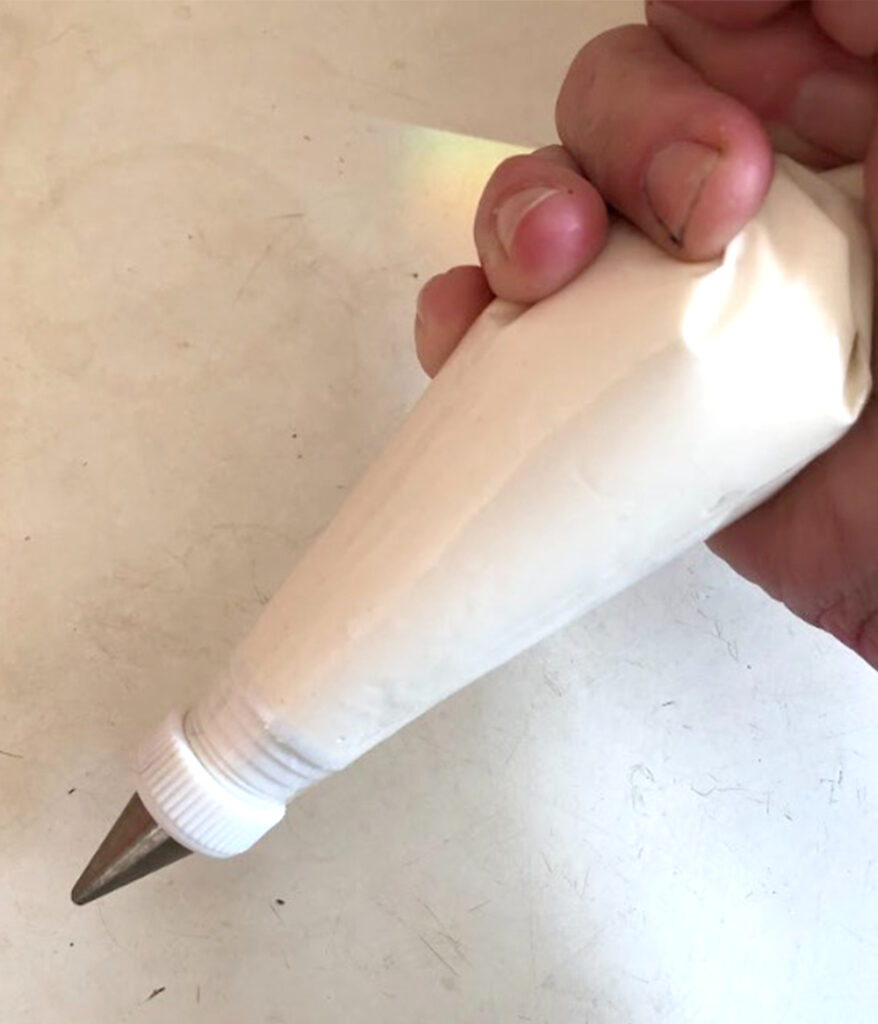
You do not want to squeeze the piping bag from the middle, always squeeze it from the top so that the icing doesn’t ooze out the top of the bag.
It also gives you the best control over the piping bag and where you’re directing the icing as it comes out the icing tip.

While you’re working with the icing keep it covered, either by putting a wet paper towel over the mixing bowl, or by pressing some plastic wrap onto the surface of the icing to keep air from getting into it.
You want to keep the icing soft, and it will dry out pretty quickly depending on how humid it is where you’re working.
Thinning out the royal icing for floodwork.
Thin out some of the icing to get it to the right consistency for floodwork, which is where you fill in the outlined areas with a more fluid version of the icing.
This video shows how to do the icing for the floodwork, it’s easier to see it in action than it is to describe it:
The basic idea is to add teeny bits of water until it thins out enough to sink into itself in 3-5 seconds. Longer than that and it’s probably too thick, but faster than that and it will take way too long to dry.
After you have the cookies outlined, put some of the thinned-out icing onto the cookie and spread it to the edge of the piped outline.
You can do this by filling a piping bag with the thinned icing, or just put come on the cookie with a spoon and spread them out with a spatula.
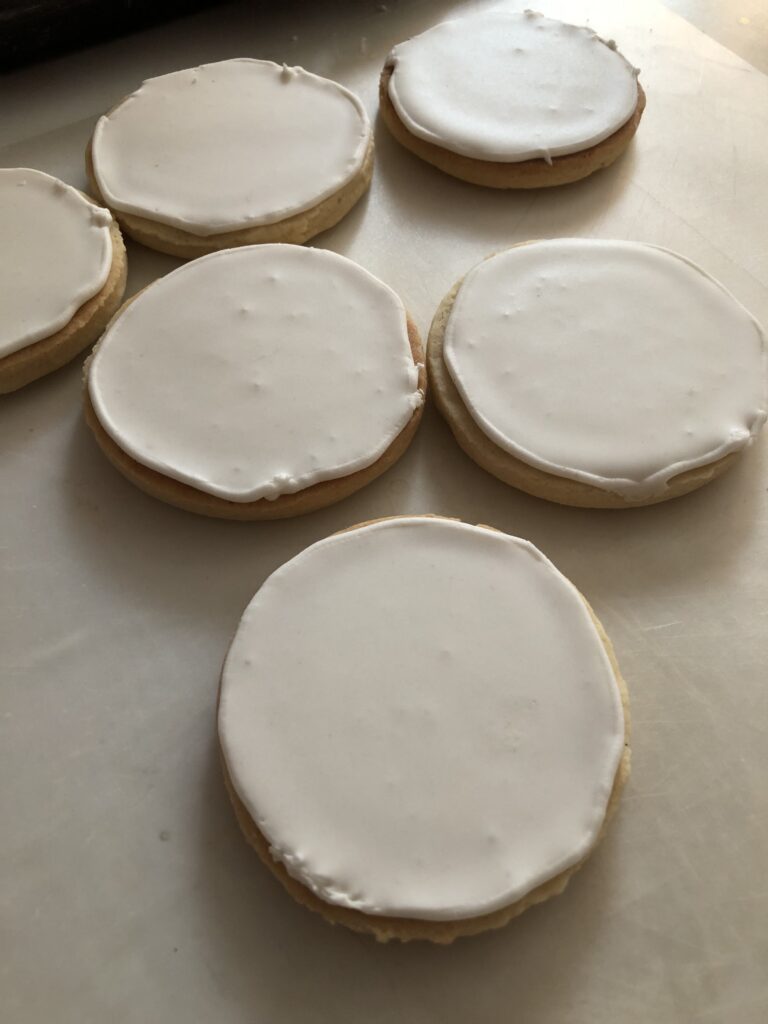
Cover the cookies with the thinned-out royal icing.
Start by piping a boundary for the cookies to hold the thinned icing. If you’re going to be doing different shapes, just pipe the outlines of all the shapes.
For these cookies, just pipe around the edge and then fill them in with the thinned icing.
This video shows the process:
You basically want to outline the shapes that you’ll be filling in, then use the thinned icing to fill the shapes in.
Professional cookie decorators will use piping bags with the thinned icing to do the floodwork, but I hate piping bags, so I just dropped icing from a spoon onto the cookies then spread it out with a spatula.
Watch for any little air bubbles that start to form and break them with a toothpick or the tip of the spatula.

Add the wafer paper to the cookies.
When the cookies have been outlined and filled in with the thinned royal icing, you need to walk away and let them dry until they’re completely hard.
This could take quite a while depending on how humid it is where you are, but if the air is pretty dry two or three hours is probably going to be enough.
When I did wedding cake favor cookies, I always let everything dry overnight, and making these cookies was a multi-stage process that took a few days.
If you start pressing things onto the royal icing before it’s completely dry you can ruin the surface and create dents in the icing.
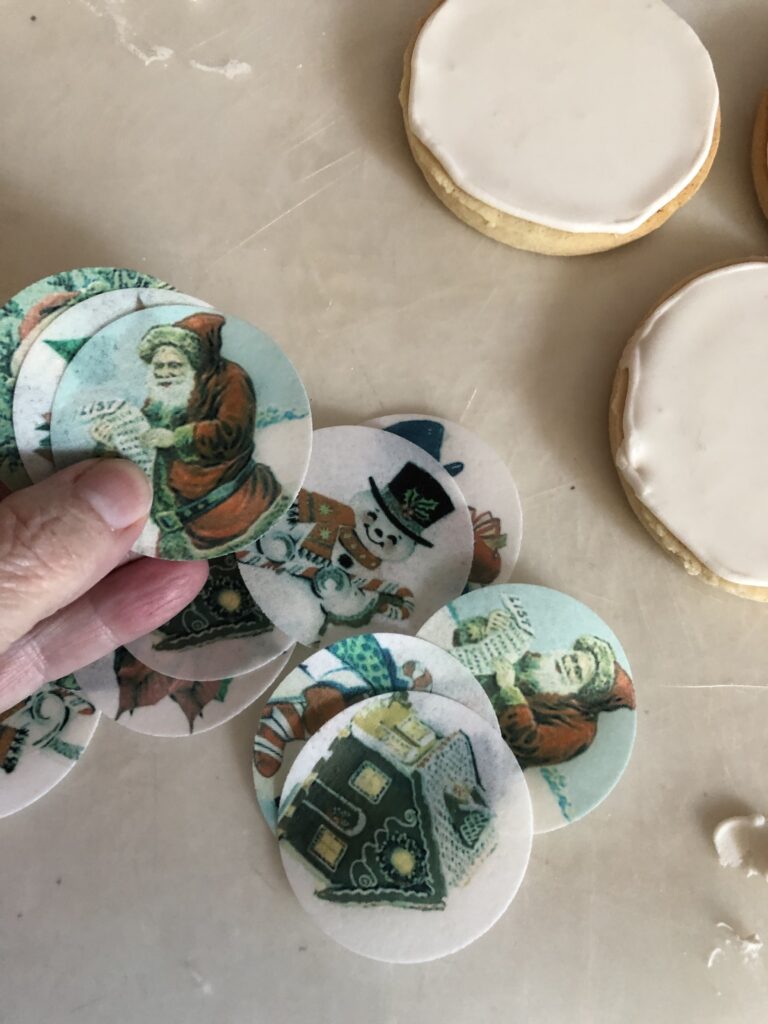
I used these wafer paper images that I have for sale in my website store at acaketoremember.com
Wafer paper is edible, and you can stick it to the surface of the cookies fairly easily using corn syrup or piping gel.
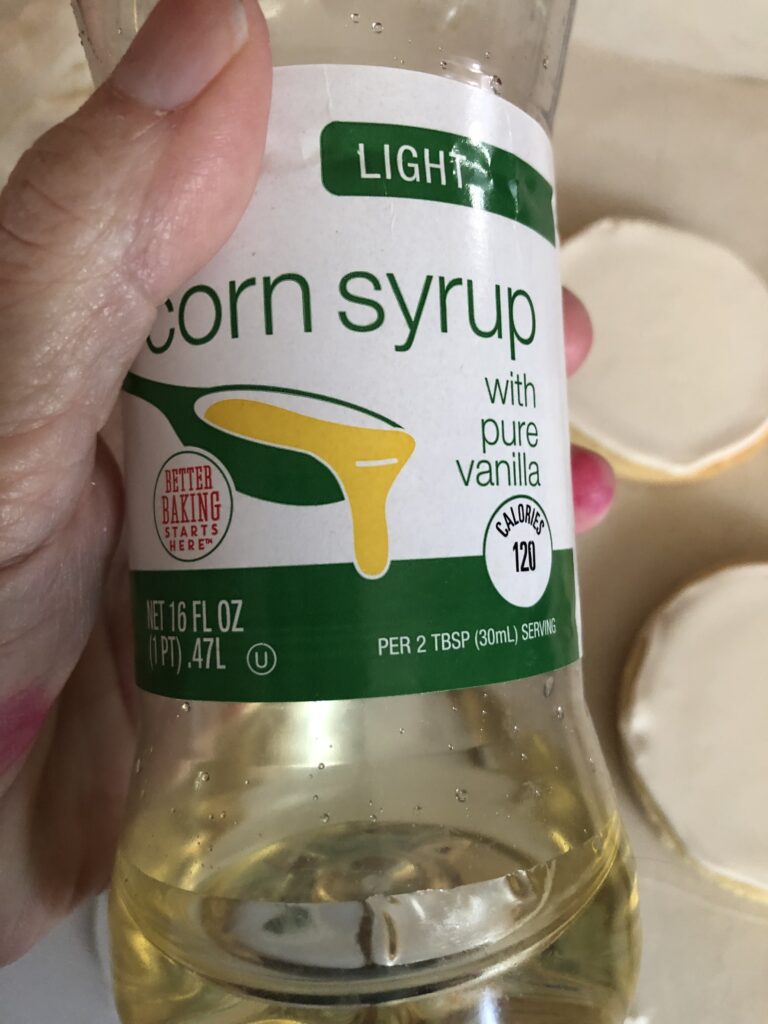
I like to use corn syrup when I attach wafer paper to cookies because it doesn’t have a lot of moisture that reacts with the paper.
Since the wafer paper is sensitive to moisture, you don’t want to put a lot of water on it.
Water can make it buckle and curl, and even though piping gel will work for this, it has more water in it than corn syrup does, so it’s more likely to make the way for paper curl up on the edges.
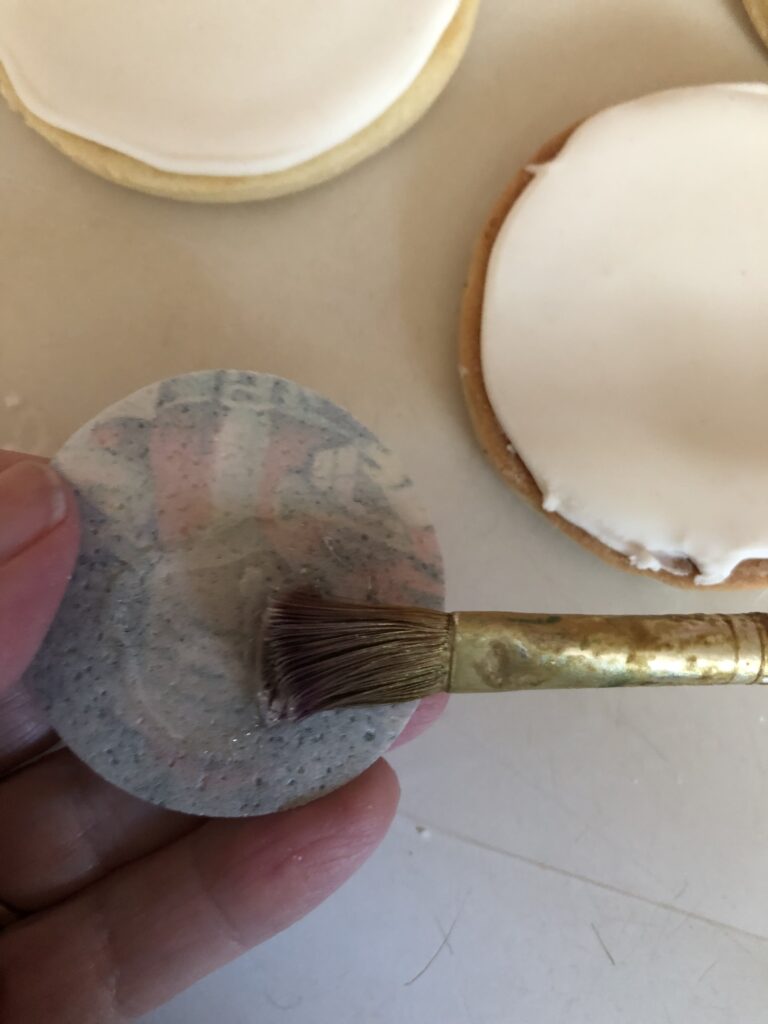
Using a food-only paint brush, brush the corn syrup all over the back of the wafer paper to cover the entire image.
Corn syrup is going to be really thick and difficult to spread, but if you put it in the microwave for 10 seconds, it will thin it out and it will be easier to use like a paint to attach the wafer paper to the cookie.
You’re probably going to have to take time to wash your hands a lot during this process, but make sure that you’re only handling the wafer paper with dry hands because water can make it melt.
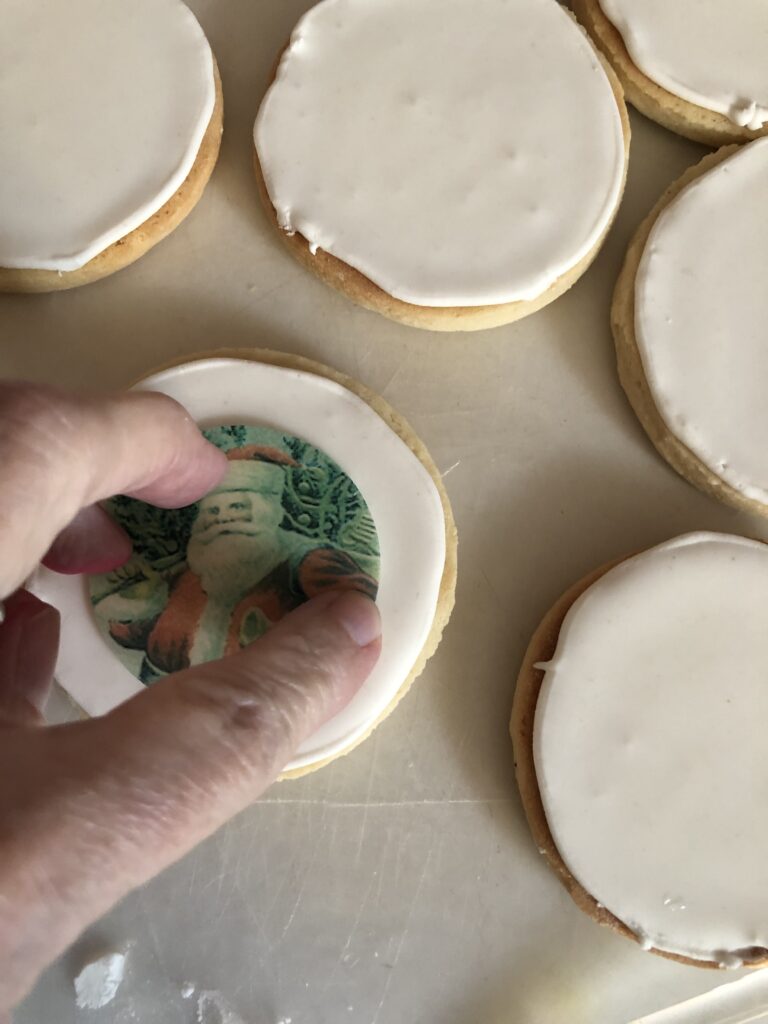
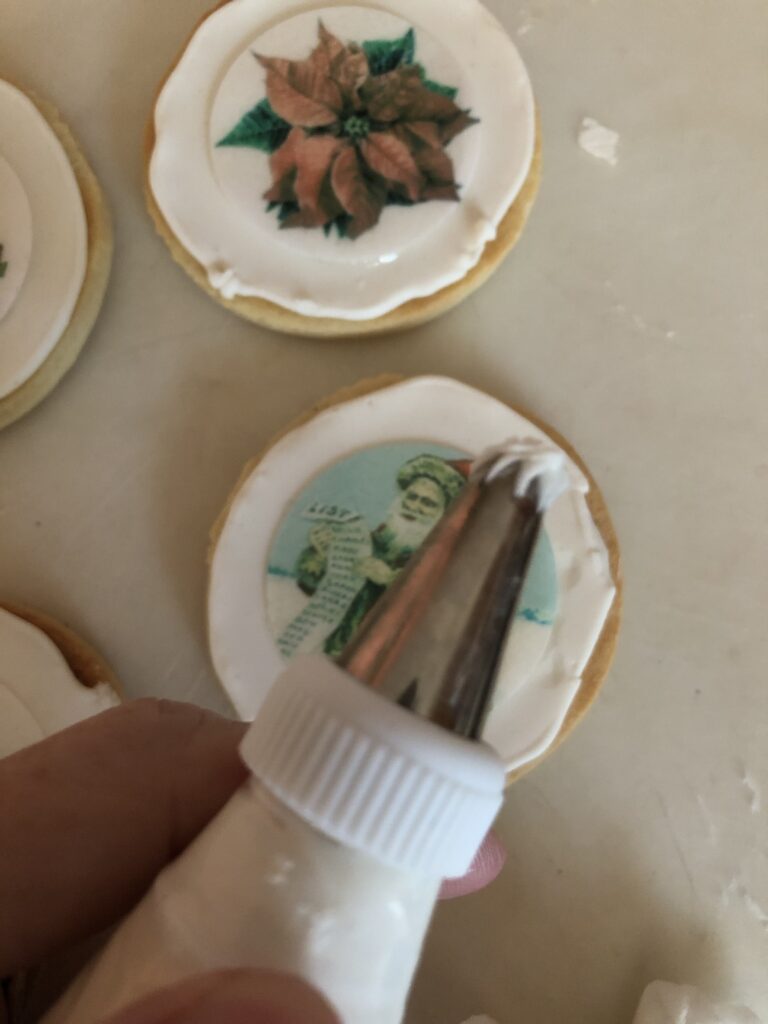
Once the corn syrup has been applied to the wafer paper, press the images onto the royal iced cookies and press the edges to make sure that it’s really sealed onto the surface.
You might want to turn them upside down onto a silicone mat or a silicone cutting board to keep the edges of the wafer paper flat against the cookie while they dry.
It’s not tremendously important that everything be 100% flat, because you can go back and cover that with icing when you decorate them, but you do want them to be attached.
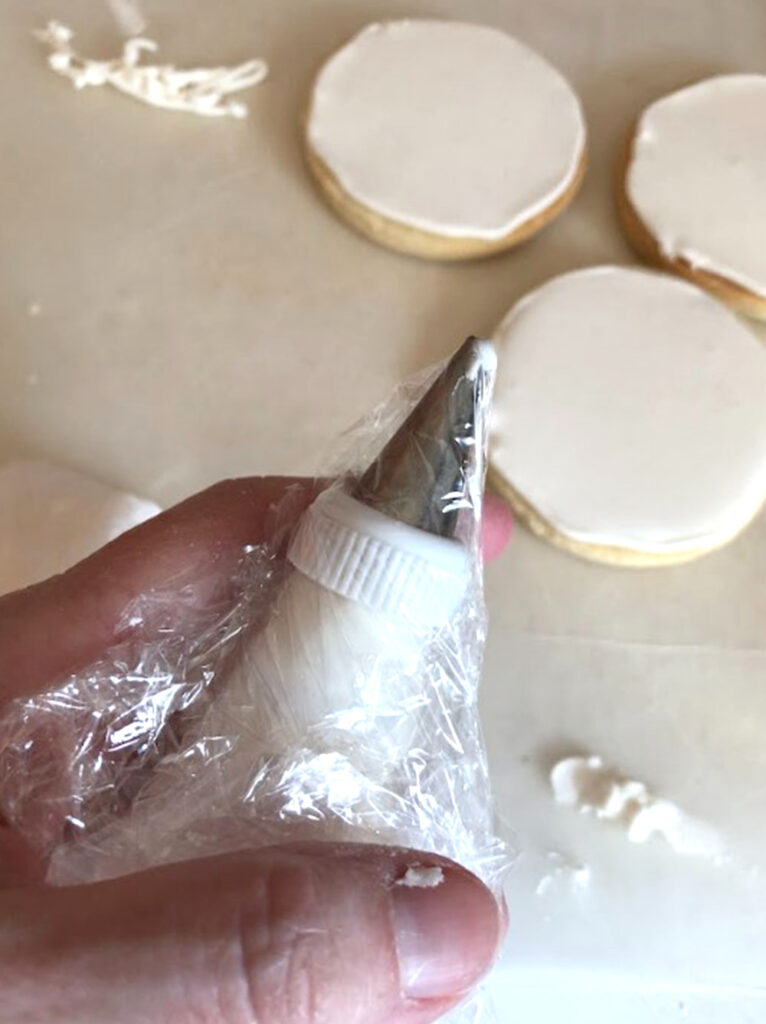
To decorate these I used a large open star tip on the piping bag, and I just piped designs around the edges of the cookies between the wafer paper and the edge of the cookie.
The idea here is just to cover the edge of the wafer paper to keep it in place and to prevent it from curling up away from the cookie.
I will say that this was a lot of icing, and it’s really, really sweet because of that.
The cookie recipe that I link to at the beginning of this article is my basic sugar cookie recipe, and it’s really not very sweet.
The advantage of that is that you can decorate it with things, and the flavor of the cookie plus the flavor of the icing won’t be too overwhelming.
Because the cookie itself isn’t very sweet, it’s really the flavor of the decorations that’s going to give you the sugar for these cookies.
How to decorate cookies with royal icing video.
Here’s a video showing how I decorated the cookies with this specific piping tip.
If you want to use a smaller piping tip you definitely can do that, and maybe make two borders, one around the wafer paper and one around the outside of the cookie.
I’ve also seen people do straight lines piped into a lattice design, or add drages to the icing to give it some color and shine.
There are a lot of things that you can do when you decorate cookies, so be creative and have fun with it.
When you’re done with the cookies and the piping bags, wrap the piping bag completely with plastic wrap and store it in a ziplock bag to keep air away from it.
As long as you don’t leave it for too long you can come back and use the icing again.
You should probably put it in the refrigerator, though, because meringue powder is pasteurized, but once you reconstitute it with water you have to treat it like it’s an actual egg white.
Here are my finished cookies, and like I said, there’s a lot of icing on these.
You might not want to put quite so much, decorate any way that you want.
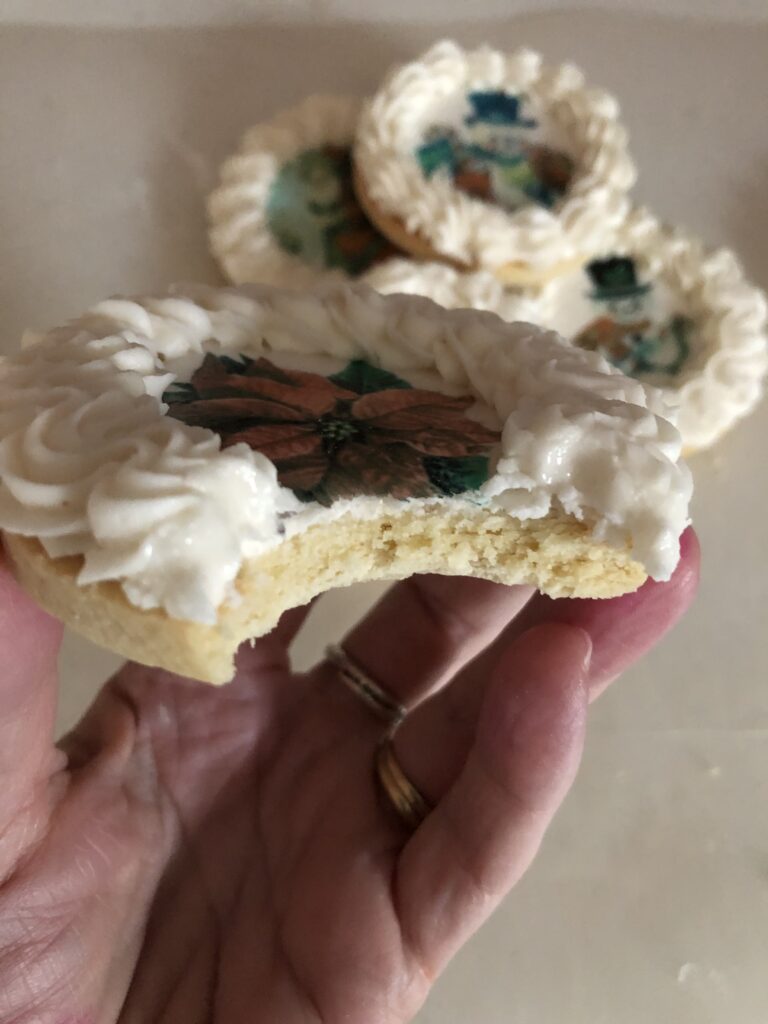
When you bite into wafer paper, it just goes right through, and the flavor of the wafer paper doesn’t really affect the flavor of the cookie at all.
Wafer paper is made from potato starch and vegetable oil, so it really doesn’t have much of a flavor.
You probably won’t even notice that it’s on the cookie because the royal icing really does disguise the texture and the flavor of the wafer paper.