“Can you make a gnome cake” my friends asked me… Oh, yes…
I love gnomes. It’s not quite an obsession, but I have very particular ideas about what a “real” gnome should be.
They should NOT be extremely cute, with happy animals frolicking around them.
They should NOT have butterflies or birds on their shoulders…You get my drift.
What they should be is slightly disturbing and mysterious, like they’re up to something that they don’t want you to know about.
Maybe this viewpoint comes from reading the Noddy books when I was little.
Big Ears the gnome was always lecturing Noddy about something, and was usually in a slightly rotten mood.
This article includes affiliate links that will pay a commission if they’re used to purchase something. As an Amazon associate, I earn from qualifying purchases.
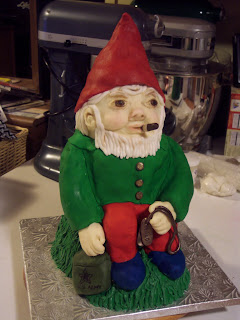
My gnome inspiration.
I had been looking for a garden gnome, but they were all the cute ones that I disapprove of.
After a good amount of time looking for one, I finally found a garden gnome that fit my qualifications, and all he needed was a new coat of paint.
Then, because I am the suspicious type, and used to live in Boston, where anything not nailed down would be taken by the morning, I didn’t want to put him outside.
I named him Jurgen and I keep him in the kitchen, where he holds a whisk and some measuring spoons.
So when my friend Carrie called and told me that she needed a gnome cake, you can only imagine how happy I was to oblige!
This one was for her brother, who was being deployed soon, and it turns out that their family has something going with the gnomes, too.
They’re planning on dressing all of the babies and toddlers in the family like gnomes for Halloween, for example. Pretty awesome.
Here’s the progression of the gnome cake, which I looooved.
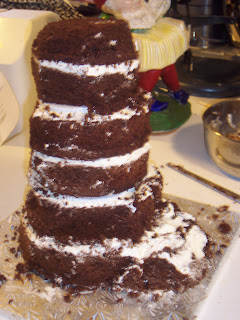
Start with the cakes to stack.
Still in the pans and ready to go, then stacked and shaped, ready for the crumb coat.

I baked two 6″ layers, two 7″ layers, one 9″ and one 10″ layer.
The head was the two 6″ layers stacked, the 7″ were the body, and the 9 and 10″ layers were the base.
I refer to this kind of cake carving as “block carving,” because you basically build a block of cake then shape it.
The main structure is pretty solid that way and will stay upright easily without a lot of a risk of collapsing.
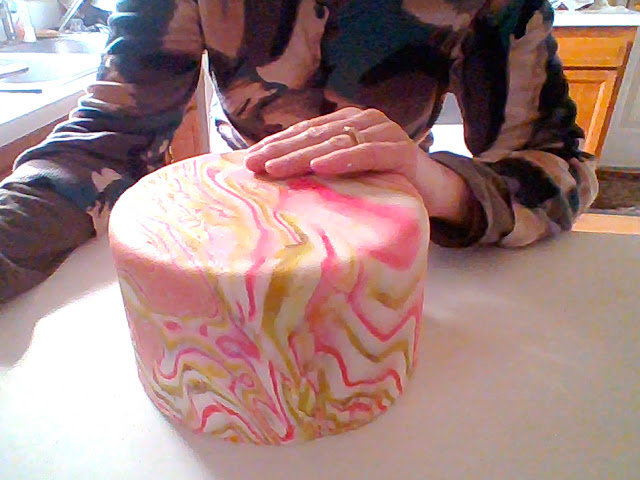
Carve the basic shape and crumbcoat it.
I cut the edges off of the 11″ to use for the legs, and I stacked all of the layers the normal way that I would build a tiered cake.
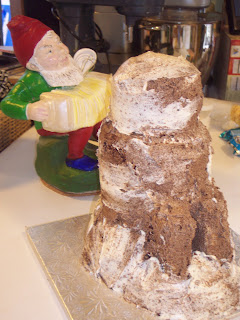
Crumb-coated, with Jurgen in the background for inspiration, and then he gets pants.
Add the base details.
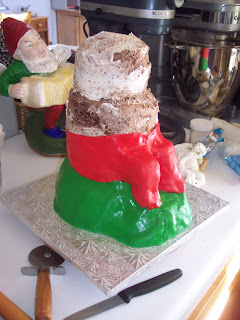
Cover the base and the legs with colored fondant. This will keep the cake stable as you work on the top section.
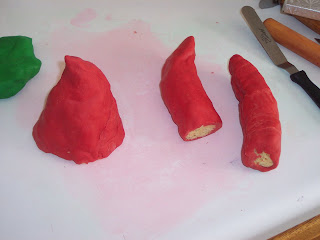
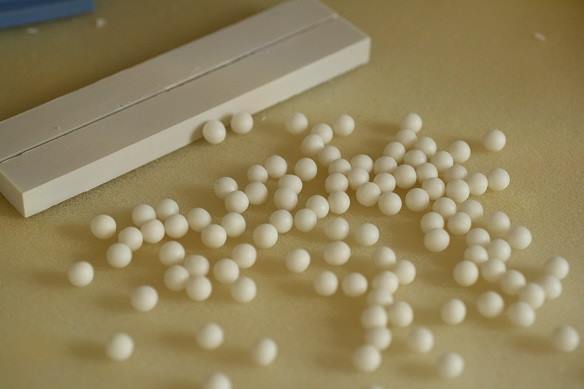
Make the hat and arms out of rice cereal treats and cover them with fondant. Naturally, I covered the arms with red instead of green, so I had to recover them with the right color!
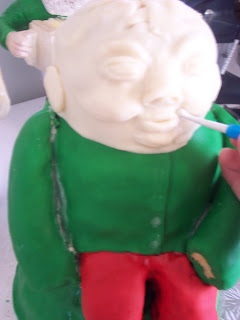
Cover the head with fondant, add the shirt and arms, and shape the face.
To attach the arms, you can melt some colored candy melts and use that as glue.
I also added a collar to the jacket that covered the shoulder seam where the arms attached at the top.
You can use fondant or a combination of fondant and candy clay for the face, since the candy clay will give you a little more flexibility when you’re adding the facial features.
Add the smaller details.
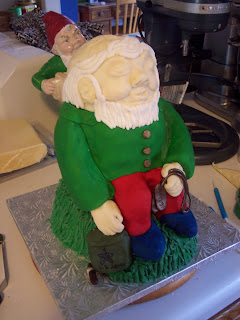
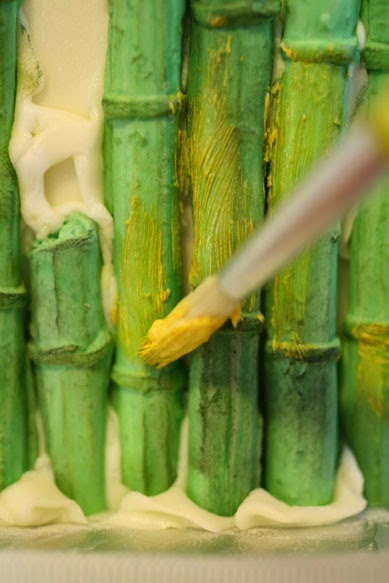
Added some hair and grass to the hill he’s sitting on.
This will cover some of the seams, so if something is uneven you can cover it up now.
Add the hat using melted chocolate or candy melts as glue.
I added dogtags, an army pack and on the right, the cigar in his mouth (all items to represent Carrie’s brother).
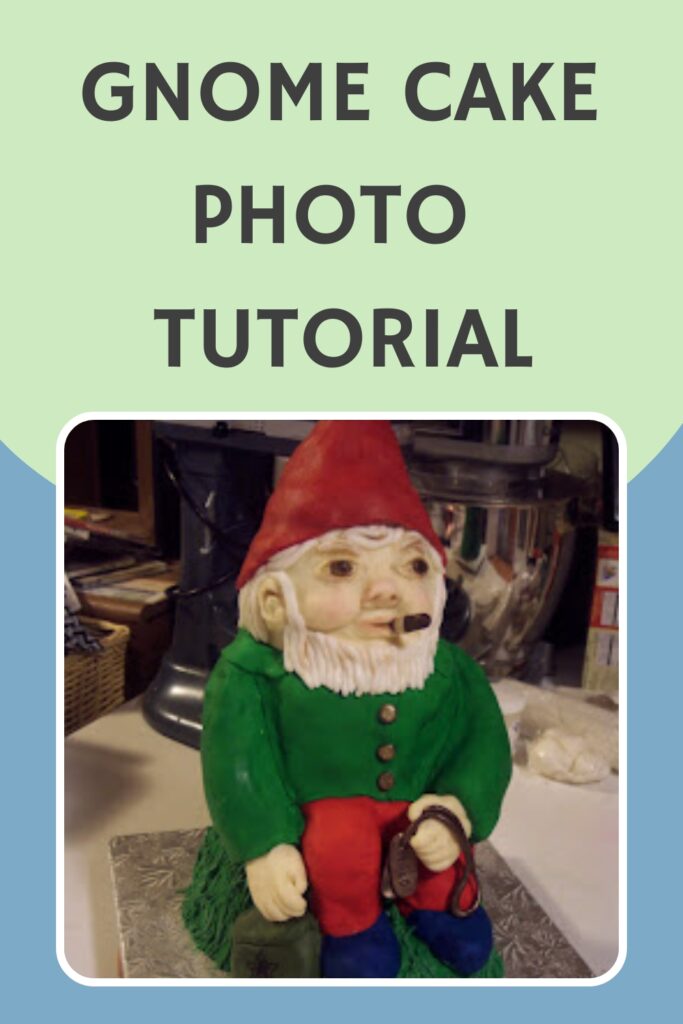
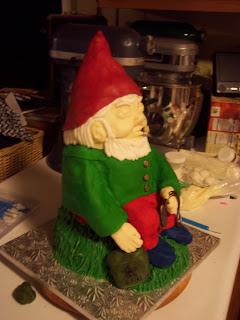
And the final product after I painted the face and added the hat.
I used a combination of modelling chocolate and fondant to decorate him, and food coloring and petal dusts to put the details on his face.
I got a phone call last night from Carrie’s brother and sister-in-law, thanking me for this cake.
They loved it, and they sent this picture of their faces when it was brought out.
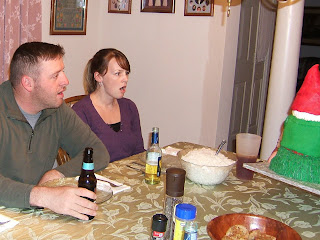
I’m glad it went over so well, I certainly had a good time making it!