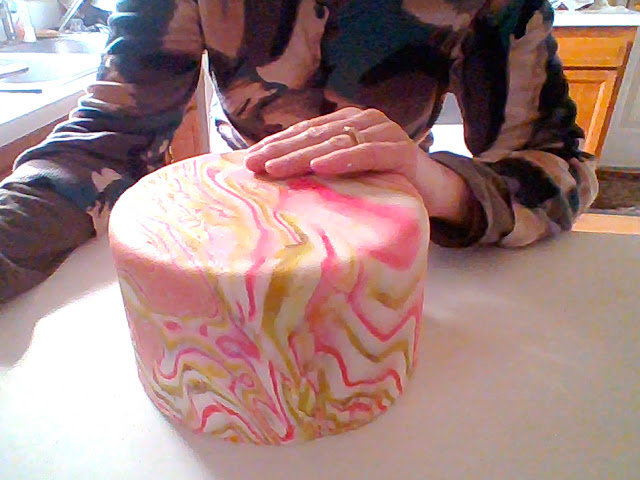
I had another baker contact me to see if I had any ideas about how to do a gathered cloth effect on a cake. I told her I’d do a little walk-through on it because some things are easier to show than the describe.
When you gather fabric you sew a line of stitching then pull the fabric to make it pull tight against itself like a bunch of little pleats.
To give that effect visually you need to create the illusion of lots of little ridges.

This article includes affiliate links that will pay a commission if they’re used to purchase something. As an Amazon associate, I earn from qualifying purchases.
You can do this either by wrapping a strip of patterned fondant around the sides of a cake, or by trying to do it on the fondanted cake itself.
(You can also do ruching with a thicker fondant layer like this cake had.)
I figured that it would be easier to do the pattern, then apply it to the cake.
You could try this by covering the cake, then just dragging the lines onto the surface with a modelling tool, but I think that would be difficult unless the cake was really hard so that you can press onto it.
Gathers are small, so you’d have to do a lot of round-and-round the cake.
So it’s up to you if you wanted to try to do it that way, but I think this way would look better. (And it’s faster.)
It would also be good to use either fondarific or a combination of fondant and modeling chocolate for this technique.
Doing that will allow you to impress the gathers and will make it easier to apply the fondant to the side of the cake without stretching it.
You can either cover the cake in fondant then attach the textured panel to it, or do what I would do and just put it on over buttercream.
How to do the gathers.
Start by rolling the fondant out a little less than about 1/4″ thick.
You don’t want it to be too thin because you’ll be marking it up and you don’t want to cut through it.
You want to have it as long as the circumference of the cake that it will be wrapped around if you can.
Use some waxed paper to roll it out on so that you can lift it up when the time comes.

I pressed ridges on it with an impression mat, then used a seam marking tool to impress more lines on it.
Don’t cut all the way through the fondant, just mark the surface deep enough to make it look like individual segments.


Once you have the lines marked, trim the bottom edge so that it’s flat. It should still be taller than the tier height so that you can wrap it over the top of the cake.
Trim one of the sides so that will be the edge where you start wrapping the cake.

Now, you can either do this how I would, which is to just pick the fondant up and slap it on the cake, or you can be smart and use the waxed paper to support it.
Put a second piece of waxed paper on top of the first one and flip the whole thing over so that the ridged side is down.

Pull the top piece of waxed paper, which used to be the bottom piece, off of the strip of fondant.

It might be good to trim the bottom of the paper off so that it’s not going to overlap the bottom edge of the cake, just to make it easy on yourself.

Pick up the strip of fondant using the waxed paper, and apply it to the side of the cake, wrapping the top part over the upper edge of the cake. For all of you top-edge-sharp fondant lovers, this is not the method to get that look.
If you work the top edge to get a sharp edge you’re going to lose the pattern.
Unless you want to cover the cake first, then stick the textured fondant to it, which will take longer and leave you with really thick fondant on the cake, you will have to resign yourself to the traditional rounded edge on this particular design.
Make sure that when you’re putting the strip on that you keep the stripes kind of level so they stay parallel to the bottom edge.
If they start angling up or down it won’t look right when you join the ends.


When you wrap the edge around, cut the other end off so that they’re even and the edges are flush.
If you need to do this in a few sections that’s okay, you’ll just need to cover the seams by either melding them together with a dogbone-type fondant tool, or covering the seam like I’m going to do next.
Depends on your design.
It’s best to make sure the strip is long enough to begin with, but sometimes that might be difficult if the tier is really big.

Press the fondant on the top of the cake and cut away any excess so that it’s flat on the top of the cake, or flat enough that you can dowel it the right way.
Hide the seam.
Finish the fondant the usual way, trim the bottom, etc etc.
To cover the seam, use a border mold or pearls, or whatever you plan on using in your design.


You can dust the cake to emphasize the gathers.
A silk white would be good if you want to leave it white, because that will bring out the texture without being colorful.
For this example I used a pink petal dust to show the details better.