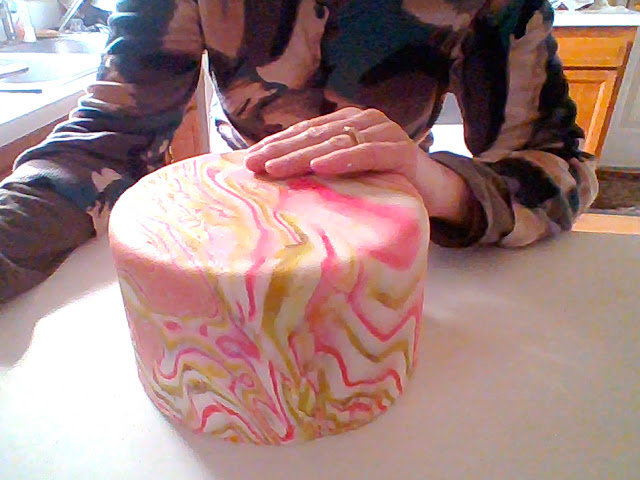
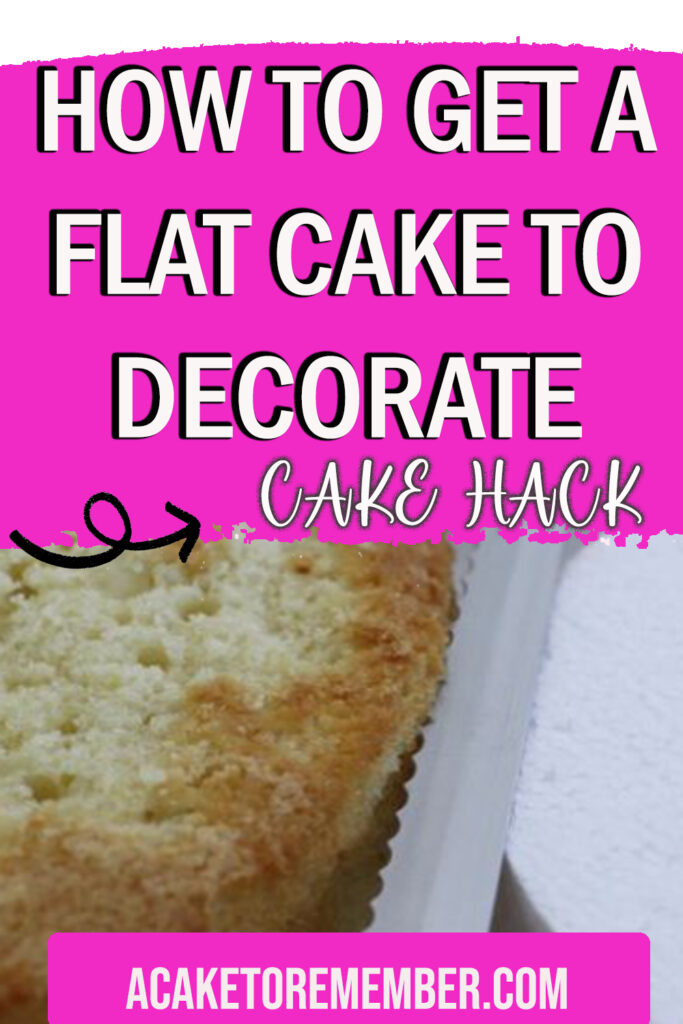
Flattening out a cake is an important step in getting your cakes ready to decorate. There are a few ways to do this, and some are better than others.
These are some of the ways that I used when I was decorating cakes professionally to get flat cakes that were easy to decorate and come out with a good result.
This article includes affiliate links that will pay a commission if they’re used to purchase something. As an Amazon associate, I earn from qualifying purchases.
Overbake, then trim the layer flat.
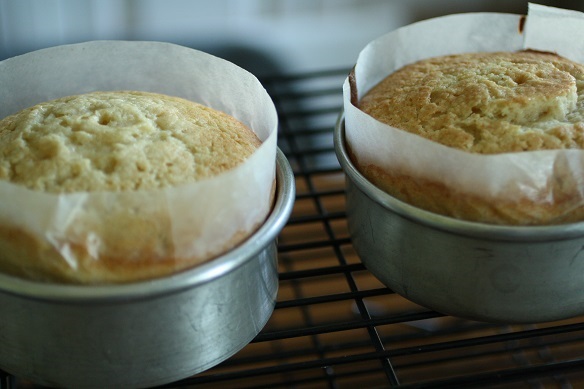
The simplest way to flatten out a cake is to bake it a little taller than the edge of the pan, then use a knife to level it off while it’s still in the pan.
The easiest way to do this is to use a little more batter than you probably need, and put a cake collar in the pan to prevent the batter from overflowing.
The cake will bake a little taller than the pan, and when it’s completely cooled off, you can cut it to the height of the pan using a long bread knife.
This eliminates the need for any kind of a cake leveler, which can be pretty expensive.
It also avoids the problem of a cake that’s basically smashed flat using the “press on it method”, which I don’t recommend.
But since I mentioned it, I will go over it in the next section.
Mashing the cake flat. (Don’t do it)
I call this one the “press on it method”, which is basically mashing down on the hot cake to try to make it flat.
The problem with doing this, is that you’re basically taking a cake that’s baked correctly texture wise, and flattening it out, which is going to make it more dense.
It’s like taking a cupcake and smashing it in your hand, and then expecting it to taste the same when you eat it.
The flavor won’t be affected, but the texture of the cake definitely will, and it’s not going to give you the best result.
Using a cake dummy.
The next method that you can use to level off a cake is to use a cake dummy that’s the same height as the finished cake that you want.
If you’re doing an individual layer, you’ll probably need a 2-in tall dummy, or even a 1-in tall to make the layers the right height.
To do this you’ll basically take the cake that you’re leveling and put it next to the dummy cake, then using the bread knife, cut the cake to the right height using the cake dummy as a guide.
You’re basically going to put the knife against the cake dummy, and then rotate the actual cake layer around to make a cut in the side of the cake that’s the same height as the cake dummy.
Once you have that marked, you can keep cutting the cake bit by bit using a turntable to cut it as you rotate it.
If you don’t have a turntable, you can just cut through it using the mark as a guide of where to cut so that the cake is level when you’re done.
Use a cake leveler.
Another way to get a flat cake is just to use a cake leveler, but they can get expensive if you get a good one, and the cheap ones don’t always work well.
If you’re going to use a cake leveler, you need to make sure that the blade in it is rigid, and won’t drag through the cake in an uneven way.
If the blade or the wire on the cake leveler that you’re using isn’t rigid, it can bend while you’re dragging it through the cake, and it won’t give you an actually flat surface.
I had an Agbay cake leveler, which is the best one on the market at the time that I was doing cakes, and it was worth every penny.
If you’re going to invest in a cake leveler, don’t cheap out, because it’s going to make your job harder instead of easier.
It’s better to use a bread knife in one of the methods that I mentioned before then it is to try to deal with a cheap cake leveler that’s not going to give you a good result.
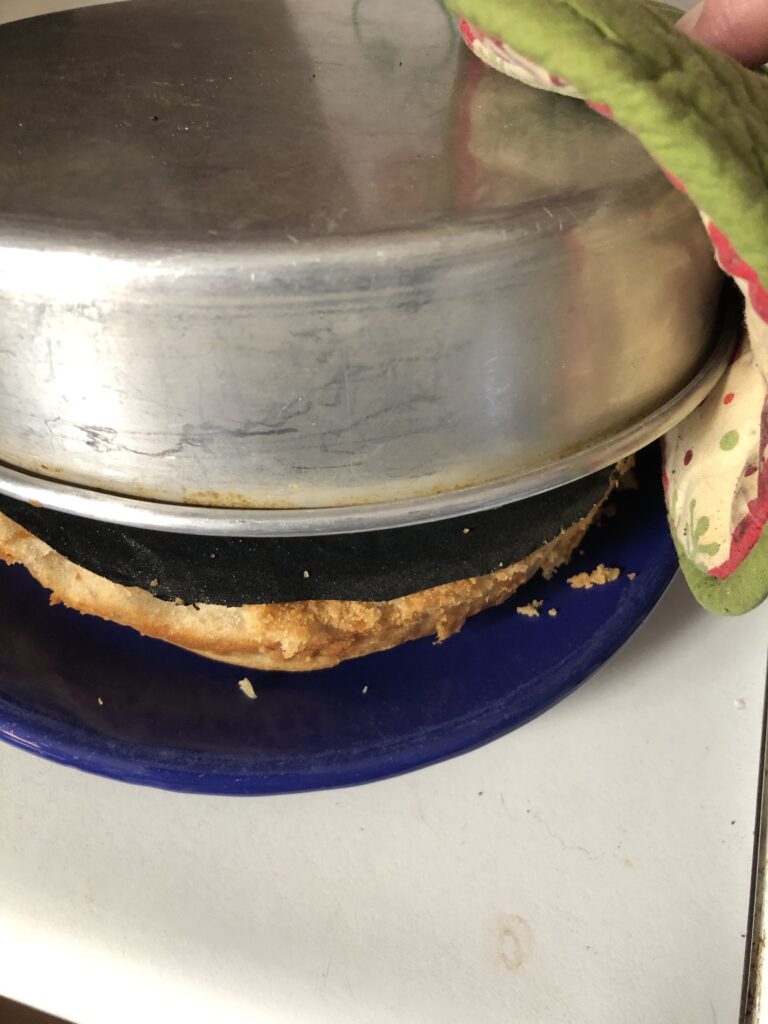
Use the bottom as the top.
The best tip that I have for getting an even surface that you’re going to decorate on, is to level the cake off, and then turn it upside down and decorate the bottom of the cake like it’s the top.
The bottom edge of the cake is obviously going to bake 100% flat because it’s the bottom of the cake pan.
If you get the top as level as you can, even if the edges are not 100% level, you can always fill that part in with the filling and it will still be level when you build the cake.
Let’s say the cake baked in a dome, but it was not as tall as the pan on the very edges. So that means when you leveled it off with the knife the middle part was flat, but there’s one half to one inch section on the very edges that are lower than the top of the cake pan.
That will still work as long as you turn the cake upside down, because like I said, you can fill that extra space in with more icing, and the top is still going to be flat because it’s actually the bottom of the cake pan.
So you still have to level the cake, but you’re guaranteed to get a perfectly flat top of the cake that is a lot easier to decorate.
I hope that those tips will help you get a better cake that is easier to decorate, and also which ones to avoid so that you don’t end up with a cake with a smashed texture on the inside.
Leveling cakes is a pretty important step to get a good looking cake, it also just makes it easier to decorate if everything is flat and you don’t have to worry about bumps and bulges on the top of the cake.