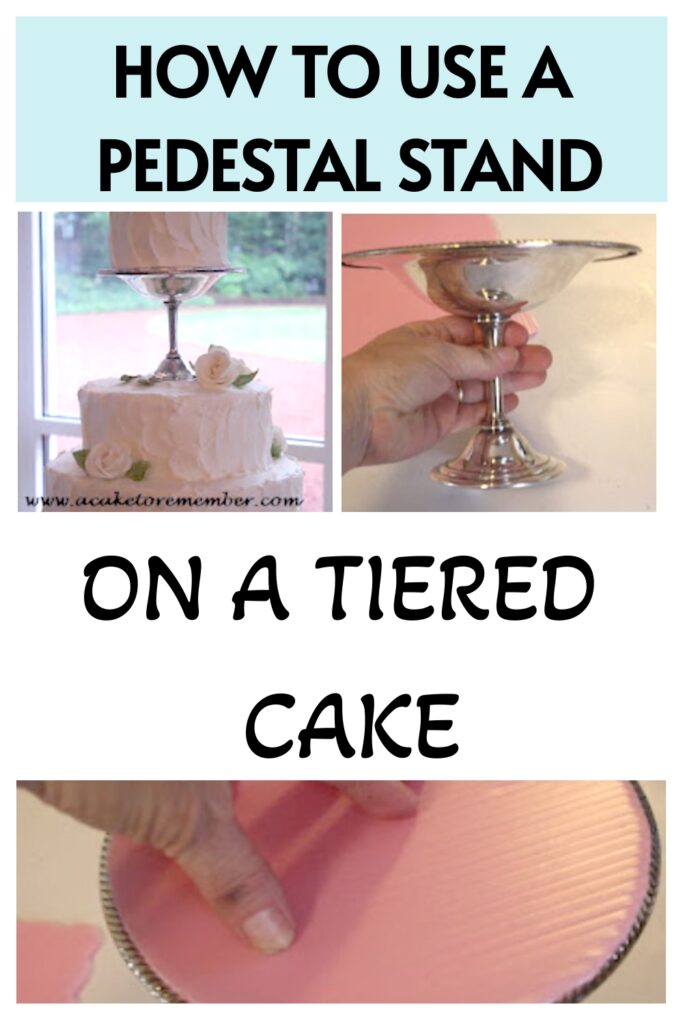
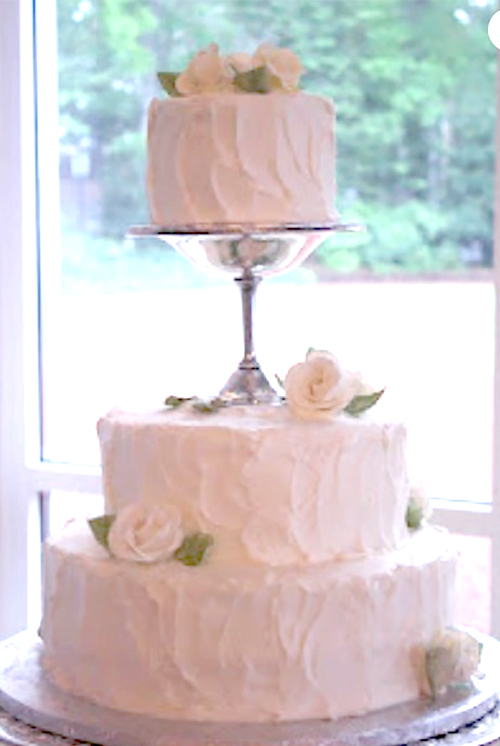
The cakes with small pedestal stands on them are pretty, but they always make me nervous about the possibility of the tier tipping over.
When I did those cakes, I also made a lot of preparations in advance to build the cake the right way so that it would be sturdy when it was being displayed.
This article includes affiliate links that will pay a commission if they’re used to purchase something. As an Amazon associate, I earn from qualifying purchases.
The way that I prep them is to attach boards to the top and bottom to level them out before putting them on the cake.
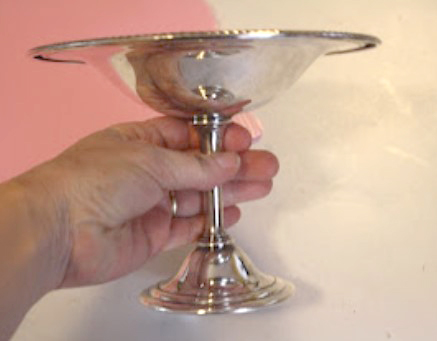
Add a base to the stand.
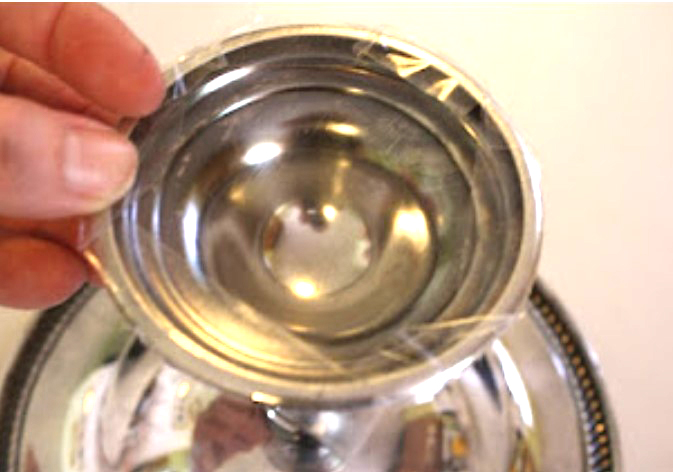
Depending on how they’re built, the dish may or may not have a lip that you can rest a board on inside the bowl.
If you can put a board flat inside it’s a lot easier, but in this case I didn’t have that option.
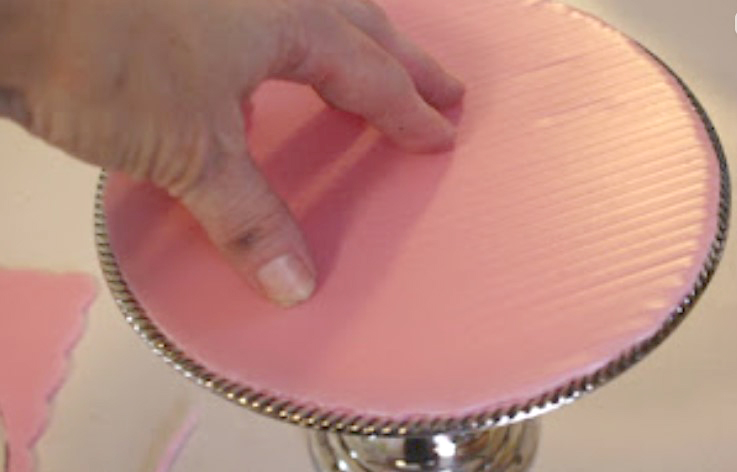
So…I traced around the top to make the board that the top tier would sit on.
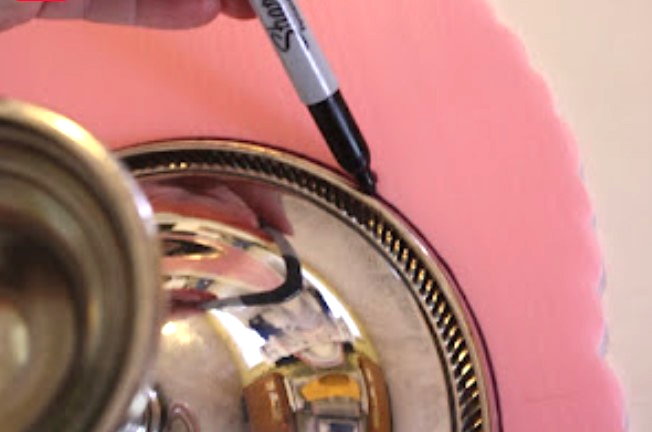
Then I traced a circle slightly larger than the base.
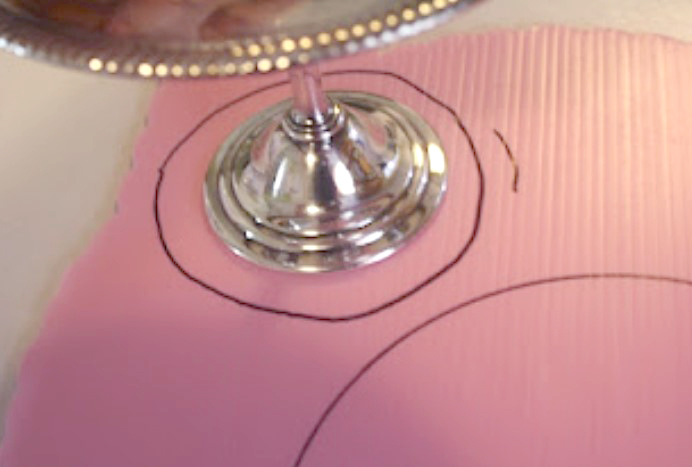
Cut out the circles, and trim the larger one so that it fits on the top of the stand.
Make sure it doesn’t overlap the edges of the top, but that it sits securely on the stand.
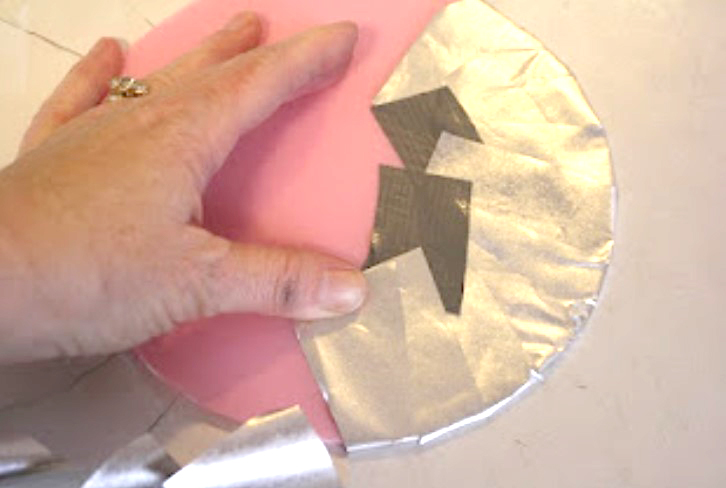
Cover the bases.
Cover the board with silver (or white or whatever color you want) paper.
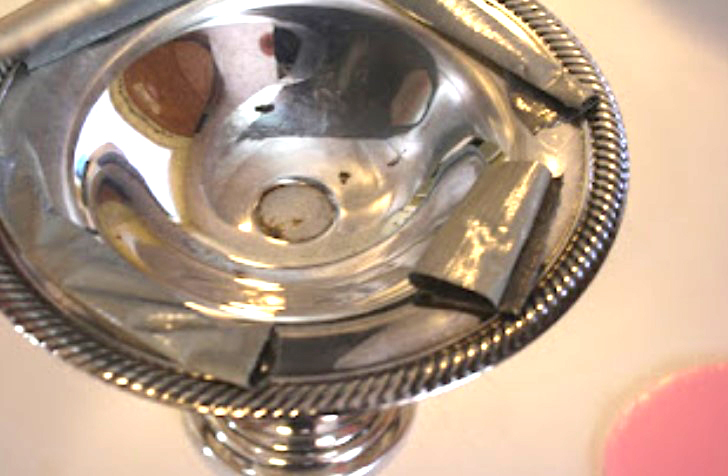
Put loops of duct tape (because that fixes everything) on the edges of the dish where the board will make contact.
You can use an epoxy to glue this in place if you have time to let it dry and let the fumes dissipate.
If you don’t have time, the fumes can get into the cake and make it taste nasty, so tape is the safer choice.
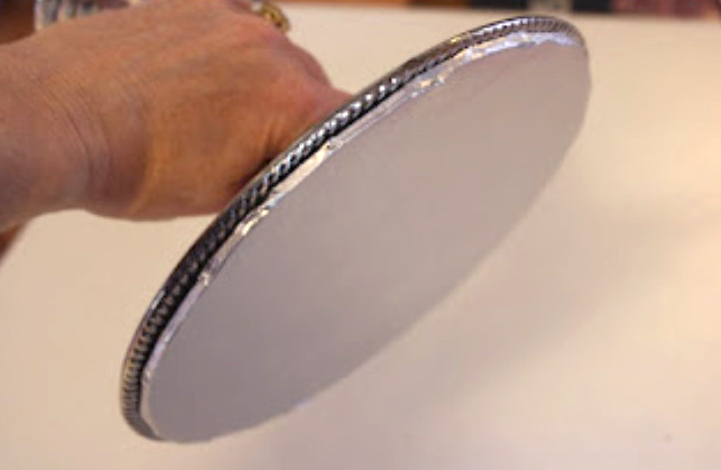
Place the board on top of the tape loops and press to secure.
That isn’t going anywhere, and now you have a nice, flat surface to put the top tier on.
For the bottom of the plate, you can either attach the second board to the stand itself, or you can just put it on the cake.
I personally am paranoid about the stand slipping, so I decided to attach the board to the stand.
I put double-sided tape on the rim of the bottom since there wasn’t enough of a ledge to use tape loops.
Center the board and press it onto the tape.
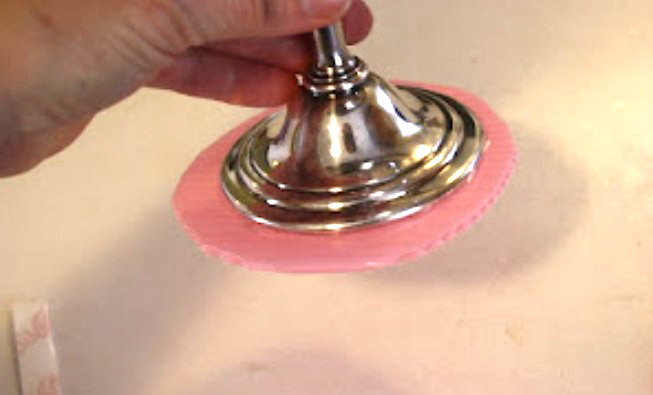
That isn’t going anywhere either.
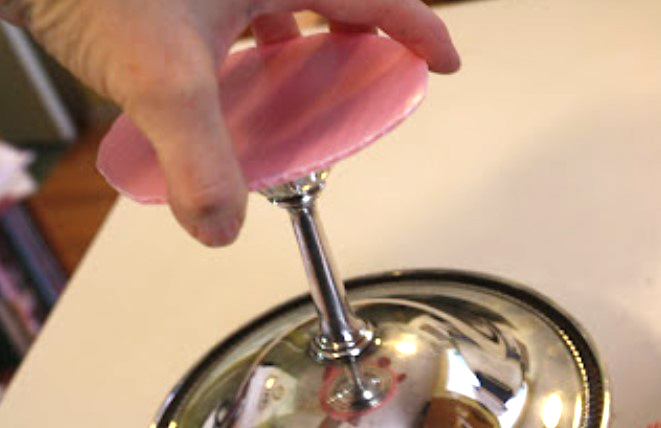
Secure the stand for stacking.
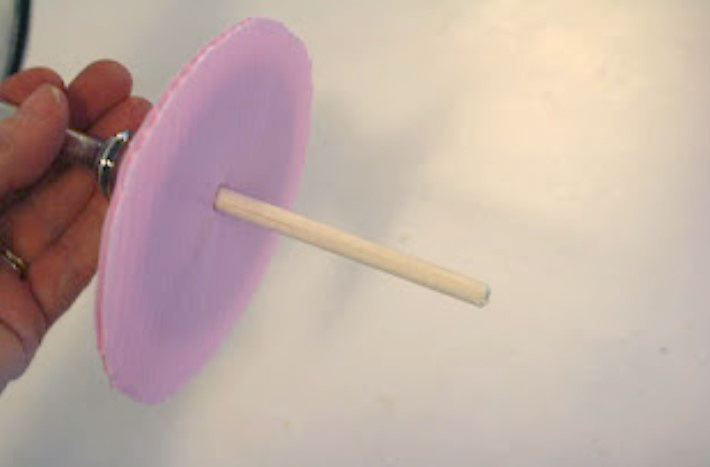
I added a dowel through the bottom of the base board so that I can stick it into the cake and it won’t shift.
You might not need to do that if you put the board on the cake without attaching it to the stand.
Sometimes when you put a hollow base on a flat surface that has icing on it a vacuum will form, and it will be hard to make it shift.
But again, I am paranoid, and I’d prefer to put a dowel in the cake to keep it from shifting, so that’s what I did.
When I set the cake up, I inserted the dowel into the cake, pressed the stand down on top of the middle tier, then added extra icing to cover the pink board.
I had dowelled the middle tier where the board would be sitting, so it was nice and stable.