This recipe for simple sourdough bread works really well as long as you follow the instructions and don’t try to cut corners on the time. It’s a good beginner loaf that will impress people with your baking skills!
This recipe makes two loaves, but you can cut it in half if you only want to make one loaf at a time. It freezes well, so you can make it ahead and freeze it for later.
Easy Sourdough Bread Recipe
An easy sourdough bread recipe that baking beginners will be successful with as long as they follow the directions! Makes two loaves.
Equipment
- 1 glass bowl
- 1 wooden spoon
- 1 baking sheet
- Parchment paper
- Measuring cups
- Measuring spoons
- tea towel
- plastic wrap
Ingredients
Sponge ingredients
- 1/2 cup sourdough starter
- 1 cup warm water
- 1 1/2 cup unbleached all-purpose flour
Bread Ingredients
- 1 1/2 cups warm water
- 2 tsp salt
- 5-6 cups unbleached AP flour
- oil for the bowl
Instructions
Make the sponge.
- Start by making the sponge the day ahead of when you'll be baking the bread. DON'T TRY TO CUT THE TIME! This needs to be done at least 12 hours ahead of time, but 24 hours and up to 36 hours is better.
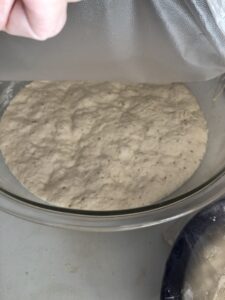
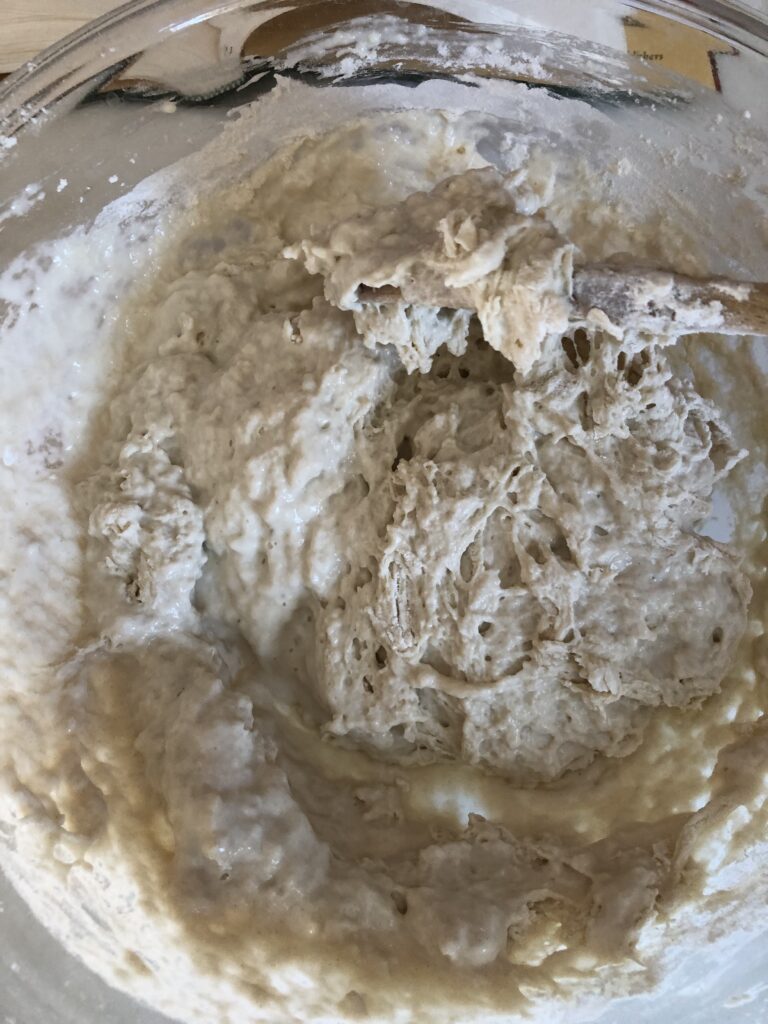
- Mix the starter, water and flour in a large glass bowl (or another non-reactive bowl, but glass is safest) using the wooden spoon or a dough whisk.
- Cover the bowl lightly with plastic wrap (don't seal it completely) and let it sit on the counter at room temperature for at least 12 hours, and up to 36.

Make the bread.
- When you're ready to make the bread, add the flour to the sponge.
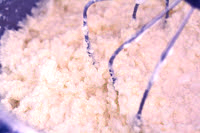
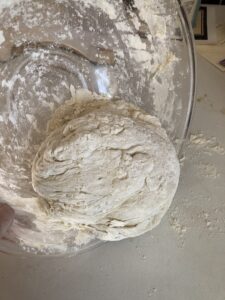
- Stir 3 cups of the flour into the sponge, stirring for a couple of minutes with the wooden spoon.
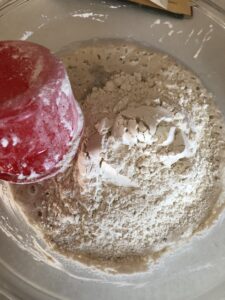
- Add more flour in a half cup at a time until the dough forms a ball and pulls away from the sides of the bowl.
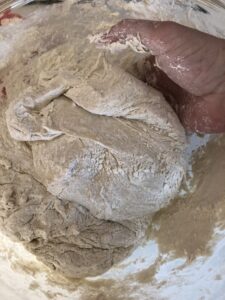
- Put a little flour on the counter and pour the dough ball onto the floured countertop.
- Knead the dough for at least 10 minutes, adding flour a little at a time as needed to keep it from getting sticky.
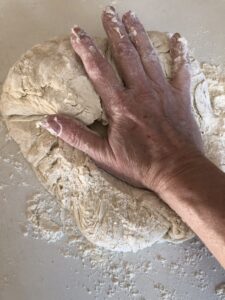
- Knead the dough ball until it's a stretchy texture and has a blistered-looking surface.
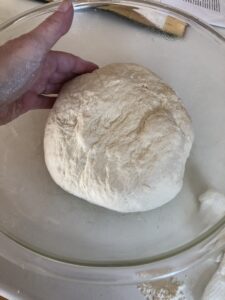
- Clean the bowl out and oil it a little, then put the dough ball in it and cover with a tea towel and leave it to rise at room temperature.

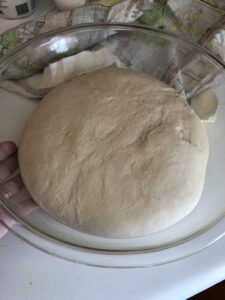
- Let the dough ball double in size, it should take about 2 hours.
- Prep the baking pan by lining it with a sheet of parchment paper.
- When the dough has risen, cut it in half and form each half into a ball.
- Put the two dough balls on the baking pan about three inches apart.
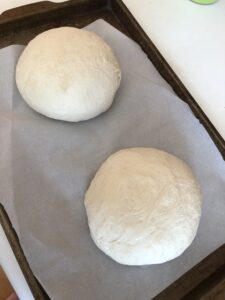
- Cover the pan with the tea towel and leave the dough to rise again for about 1 1/2 to 2 hours, or until it's doubled in size.
- Preheat the oven to 400 degrees about 20 minutes before the end of the rising time.
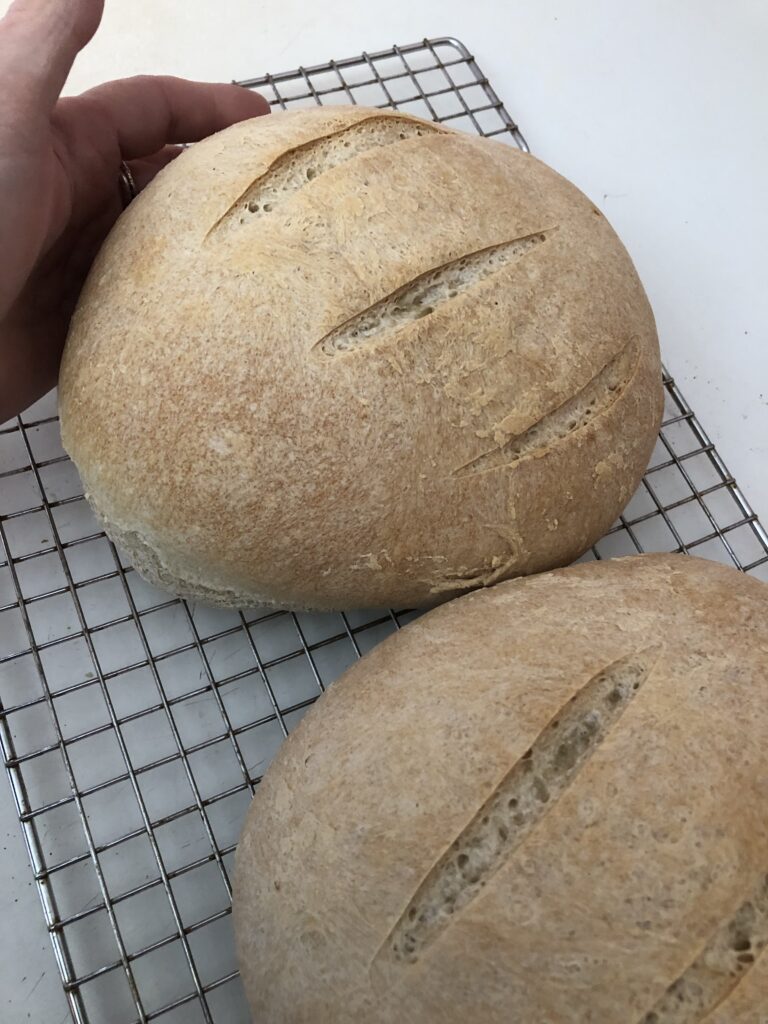
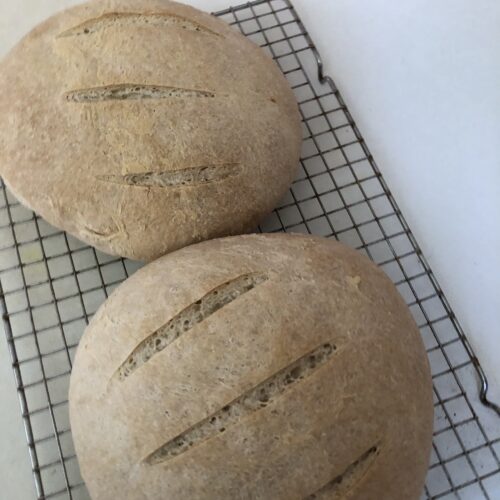
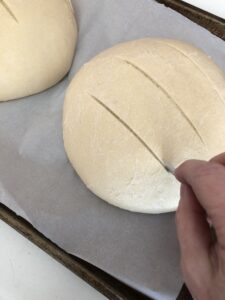
- When the dough is ready to bake, slash them across the top two or three times with a sharp razor blade or knife, and spray them with water if you want a crusty loaf.
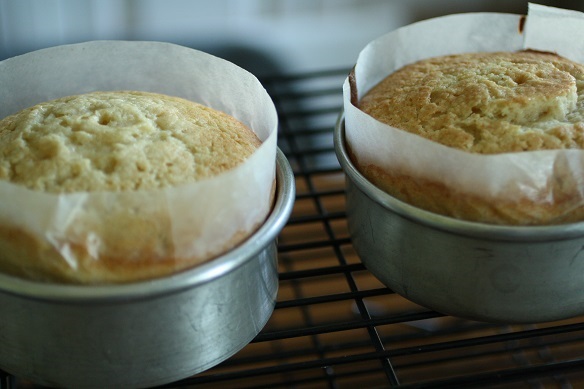
- Bake the loaves on the center rack of the oven for about 30-35 minutes, or until an instant-read thermometer inserted into the load reads at around 190F.
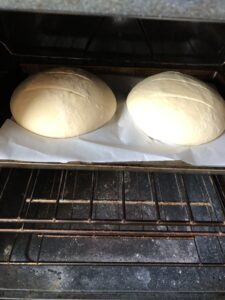
- If you want to put a pan of hot water in the oven to make the loaf crustier, put that in the oven right before you put the loaves of bread in. That will create steam in the oven that will make the bread crustier.
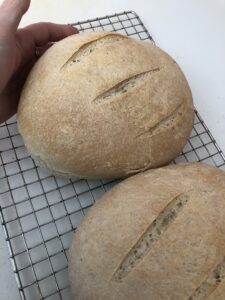
- Take the loaves out of the oven and put them on a cooling rack to cool off completely, then store them in a plastic bag at room temp or freeze the wrapped loaves for later.
Tips for making this bread.
For a recipe for an easy sourdough starter, click here.
- Make sure that you let the sponge develop long enough. I left mine out for 24 hours, but you can go as long as 36 hours. Don’t use it before it’s been developing for at least 12 hours.
- Use unbleached flour for the best result, since bleached flour can act a little different and shorten the gluten strands in the dough. Unbleached will give you a little better structure in the finished dough.
- This recipe calls for unbleached all-purpose flour, not bread flour, but if you want to use bread flour you can. It will be tougher, though, so you might want to reduce the amount of flour a little when you’re kneading it.
- Don’t skimp on the kneading time. The dough might feel like it’s ready for the first rise, but if you knead it for the full 10-12 minutes you’ll develop the gluten more and the structure of the finished loaf will be better.
- Since sourdough relies on natural yeast for most of the rise, it can be tricky and not rise high enough if the dough isn’t “ripe” enough. If you don’t have success with sourdough in general, put 1/4 tsp of yeast into the sponge to give it a little kick. Yeah, it’s “cheating,” but who cares, it will help the bread to rise a little better.
- Cut 1/4″ slashes in the dough ball right before baking so that the steam will have a place to escape, and the bread will rise more evenly.
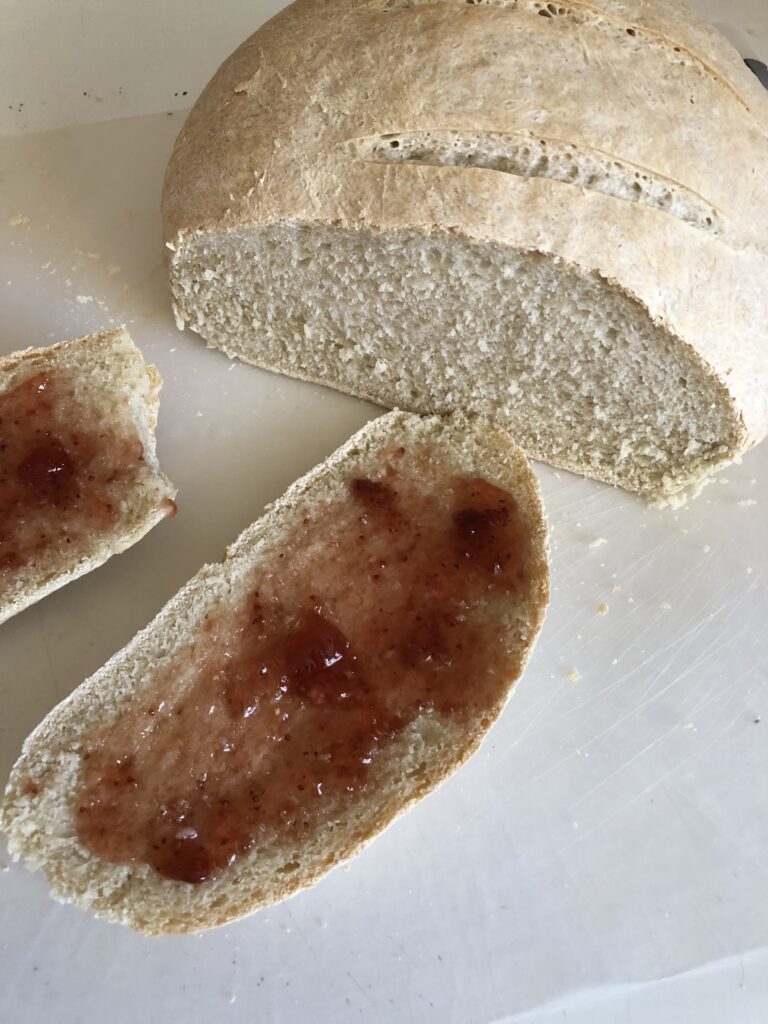
- For a crispier crust, spray the dough ball with water and put a pan of hot water in the oven before baking. I didn’t spray it or use the pan of water in the oven because I prefer a softer crust.
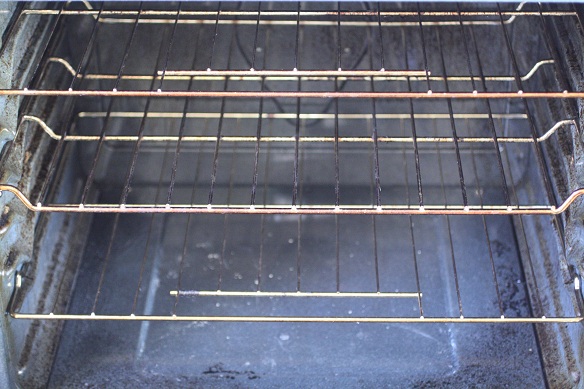
- Bake the loaves as close to the center of the oven as possible. That will give you the best result
- If you have extra starter, you can make crackers with it instead of throwing it out, which is always a sad thing to do!
- I used 5 1/2 cups of flour TOTAL, including the flour that I used during the kneading process. The amount that you’ll need to use will depend on the humidity where you are, so you might end up using a little less or more.
- To get a smoother loaf top, round the dough by stretching the sides of the ball down and tucking them under a few times, forming a smooth, rounded surface.