Making ombre buttercream stripes is pretty easy, but it takes a while because there’s a lot of icing mixing involved.
This article includes affiliate links that will pay a commission if they’re used to purchase something. As an Amazon associate, I earn from qualifying purchases.
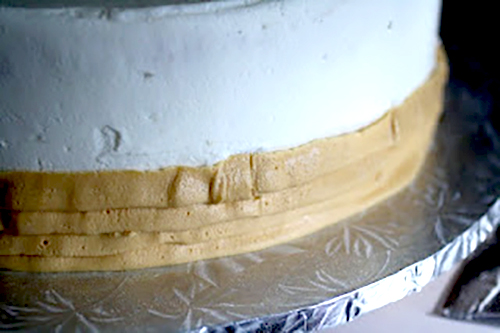
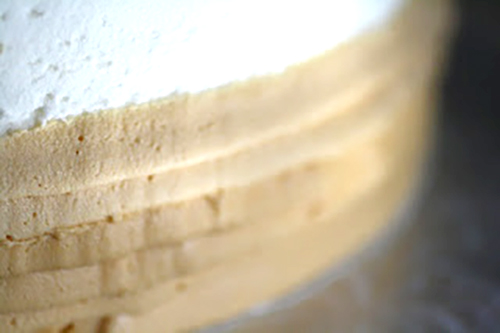
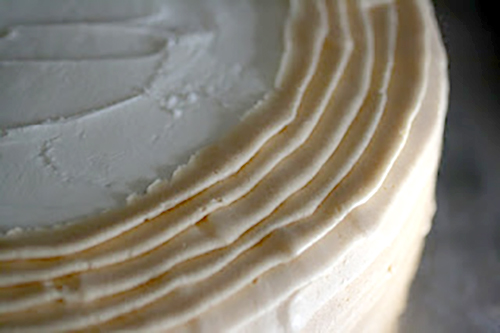
These stripes were piped on using graduated shades of ivory buttercream.
Have I ever mentioned that I hate colored buttercream?
I hate, hate, hate changing pastry bags and having all of that colored icing to deal with.
Because of that, I do anything I can to minimize the number of bags I have to use.
(I once did an entire Spongebob cake for my son’s birthday using one pastry bag and five different colors of icing. But that’s another story.)
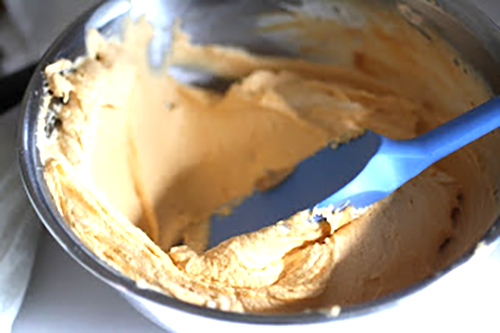
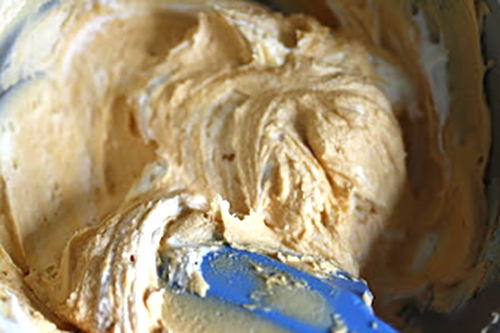
So to do this, I used one pastry bag and started with the darkest ivory color that I was going to use.
That was piped on, using a petal tip, about 1/3 of the way up the cake.
I’m not too worried about keeping the stripes totally smooth at this point, but you do want to keep them fairly level.
If you’re having trouble keeping the piped stripes level, use this method to mark the lines like I used for this ruffle cake.
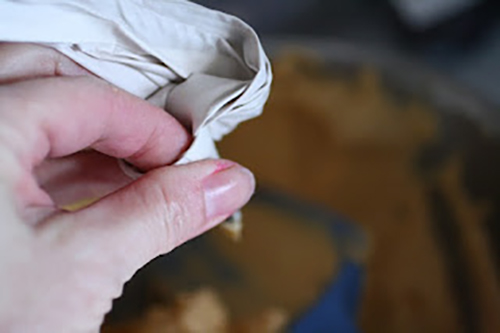
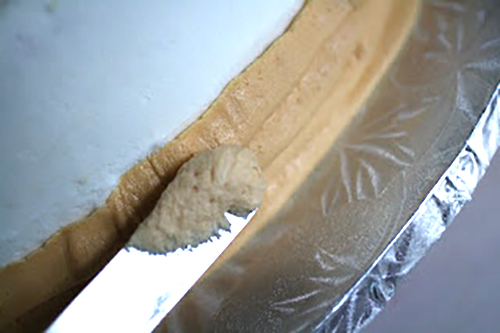
Take the pastry bag and squeeze the remaining icing out, making sure to really get your finger into the tip to squeeze out as much as you can.
Then add some more white icing to it…You only want to lighten it a little bit, depending on how tall your cake is.
The taller it is, the more of each color of stripe you want to do.
Regardless of how tall it is, you don’t want to change the color too abruptly when you do each new color or it will look like stripes instead of ombre.
Even if there’s a little icing left in the bag, that’s okay, because the ombre effect is dependent on shading.
A combination of the last color and the one that you’re using now will be fine for the row between the two colors.
That’s the beauty of this kind of cake design…Only one pastry bag required!
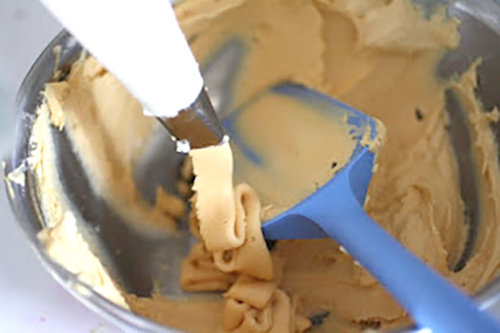
Check the color of the new lighter shade to make sure it isn’t too close or too far away from the first one.
You only want it to be slightly lighter.
Pipe the next group of stripes, keeping them level.
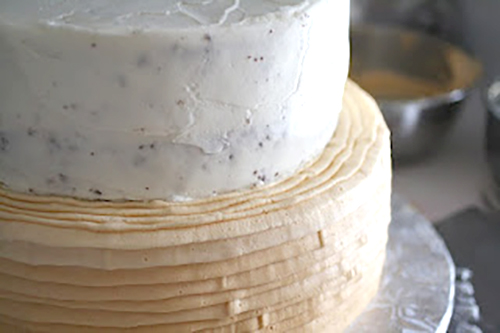
Repeat this process, squeezing out the old color and adding more white, then piping lighter rows, until you get to the top edge of the tier.
Continue the piping around the top edge of the tier until it’s far enough in so that the tier on top of that one will cover the edge.
Dowel the tier and place the next tier on top.
Use the same color and pipe at least the first row on the bottom of the next tier. Continue changing colors and piping rows.
If you can stack the entire cake and pipe it all at once that’s easiest.
If you need to assemble anything on site, save a little of the color that you use to pipe the rings on the top of the tier to add to the base of the tier above once it’s stacked.
That will take care of any gap between the tiers once they’re stacked while also maintaining the ombre pattern.
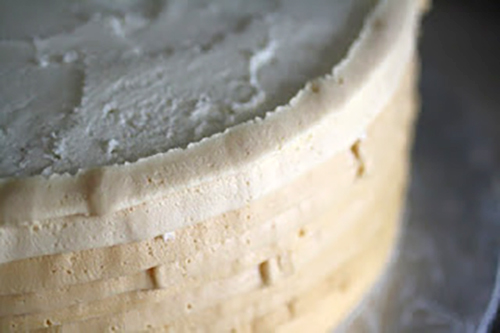
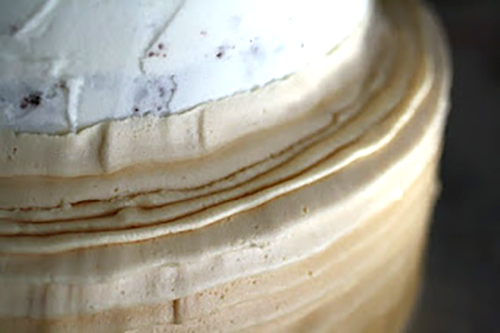
Now…Since it’s a pain in the butt to pipe super-even stripes, refrigerate the cake, and wait until the icing is hardened up.
Then take it out and even up the stripes.
First, press out any really fat areas where you might have piped more icing in one spot.
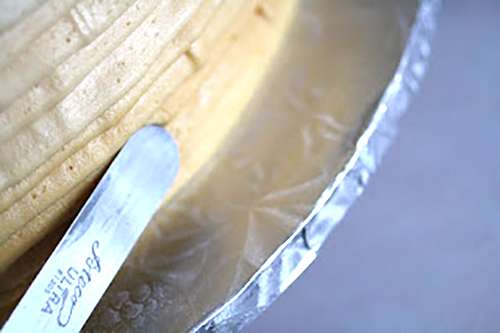
Then, using a sharp knife, run it around each stripe on the cake, cutting evenly through any uneven parts of the stripes at the bottom, flattening the bottom edge of each row out.
If the icing softens up stick it back in the fridge.
If it’s cold enough the pieces that you cut off will come right off, but if it softens up it can smear the icing.
This takes patience, so don’t rush it.
Once you’re done with that, you’ll have stripes that are even.
It’s okay if they’re not perfect…The ombre effect is a blendy thing, so it’s more impressionist than photorealist, if you know what I mean.
It should be soft, not angular.