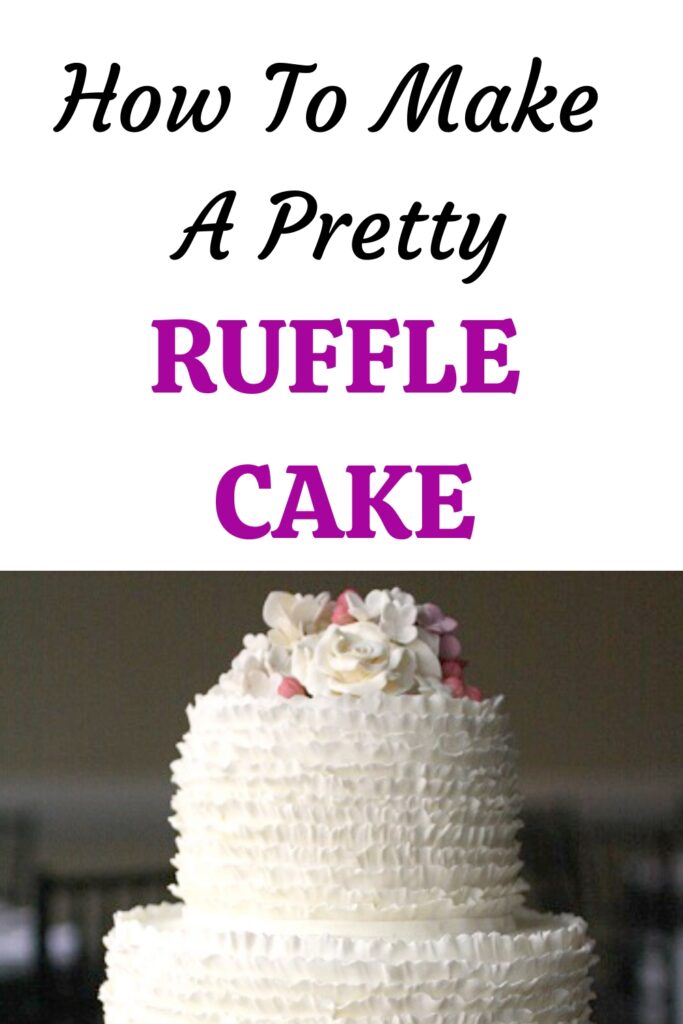
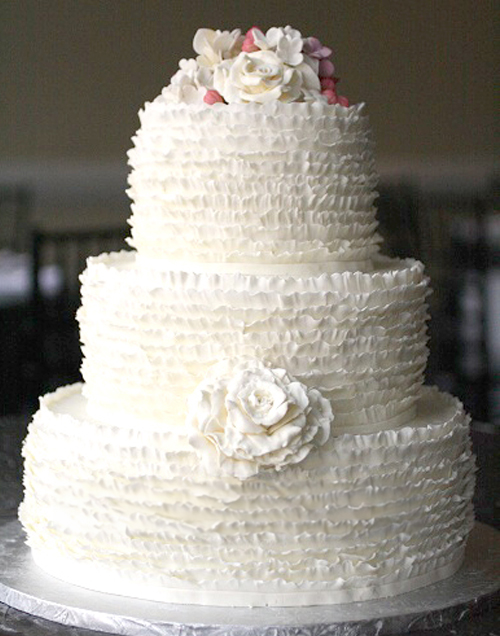
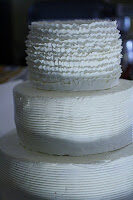
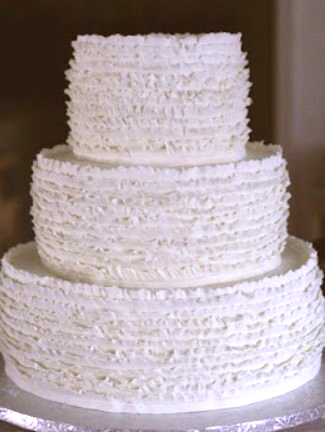
I had a request for a wedding cake that had little ruffles applied to the cake upside down, which makes them fall away from the cake and gives a pretty, frilly effect.
The only difference was that I didn’t want it to look as raggedy as the original. I also didn’t want it to have so much fondant on the outside, so I put my own spin on it.
This article includes affiliate links that will pay a commission if they’re used to purchase something. As an Amazon associate, I earn from qualifying purchases.
Planning the design.
I had done cakes that had rows of fondant that looked like pleats before, but they all started at the bottom and worked their way up.
This one was more ragged-looking and irregular at the top edge, and it looked like the best way to do it would be to use gumpaste to get the thin edge that you’d need.
I didn’t want to cover an entire cake with rows of gumpaste, but I also needed to get the ruffled edge thin enough that it did look like fabric, but would also keep its shape.
What to use for the ruffles.
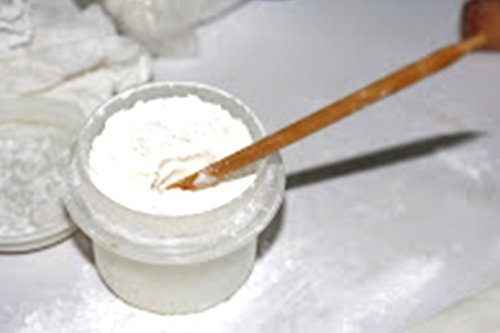
I decided to use a 50/50 fondant/modeling chocolate combination, since I’ve done that a bunch of times to cover cakes to make the fondant taste better and give it some extra body.
The chocolate in the fondant would also let me roll it out thinner without ripping it.
If you want thicker-looking ruffles you can use regular fondant, or if you want a less-even look to the edges, you can use gumpaste and foll the ruffles really thin.
Gumpaste on the outside of a cake will dry, though, and nobody wants to eat that, so take that into account when you’re deciding what to use.
Mark off the ruffle placement.

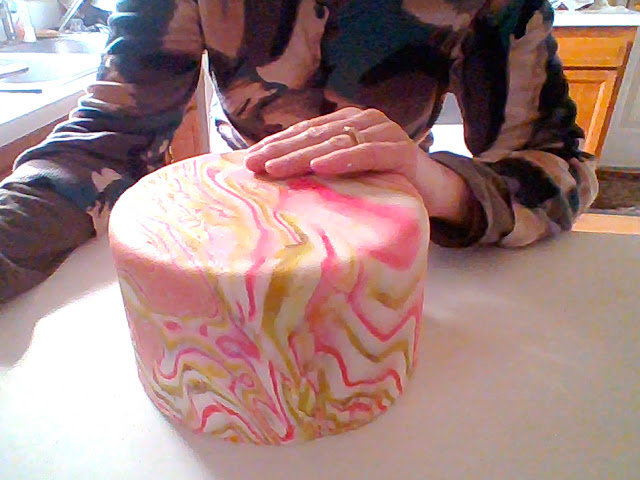
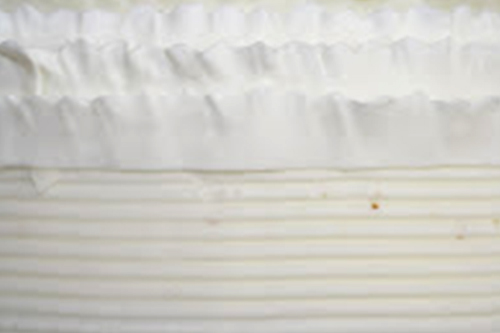
I iced the cake with buttercream and used a ridged roller to mark vertical guide lines around each tier.
I decided to decorate the entire cake stacked, since it was only three tiers and I wanted to see how it looked while it was going together.
Make the ruffles and attach them to the cake.
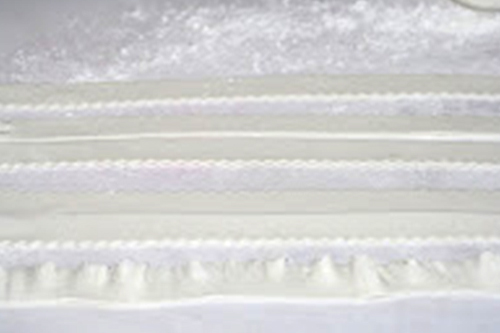
I rolled the fondant mix through the pasta roller to a thickness of 2, so that it would be thick enough to handle and frill. I cut it into strips about 3/4″ wide, using a straight pizza cutter and a ridged rotary cutter for the frilly edge.
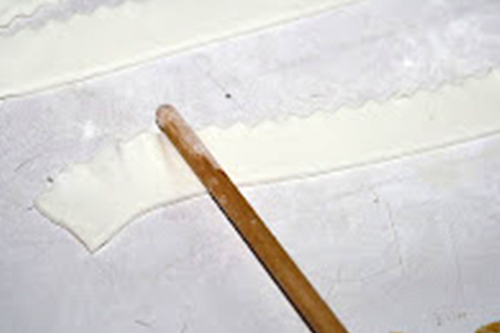
To frill the strips, I used corn starch on the counter and rolled the zigzag edges with a rounded dowel.
Don’t press on the straight edge since you want the strip to be frilled.
Keep the dowel dry, and wipe it clean with a paper towel if it picks up fondant.
I kept sticking it into a container of corn starch to keep it from sticking.
Attach the strips starting at the top of the cake and working your way down.
You’ll do about 12 strips per tier for a 4″ tall tier.
You can piece strips together, they don’t have to be long enough to go all the way around the cake.
I attached the strips to the cake by piping a line of buttercream at the base of the previous strip, then pressing the next strip onto that.
Use the lines that you marked into the tier earlier as a visual guide of where to place the strips so that they’re horizontal.
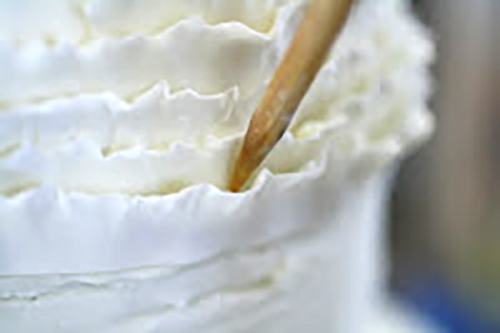
You’ll have to play with the frills to make sure that they don’t stick to the cake at the top of the strip.
Use the pointed end of a craft stick to manipulate them into going where you want them to be.
Gravity will help you with this since it will pull the ruffles away from the cake if the top edge isn’t stuck to the cake.
When you’re done, put a 1/8″ band at the base of each tier to make sure the bottom ruffle isn’t gapping at the base of the tier.
You can do this with an ombre effect, or with alternating colors of ruffles.
To see a cake with this style of ruffles with an ombre color palette, check out this article about wedding cakes with ruffles.
Wider bands will give you fewer rows of ruffles, but will allow you to cover the cake faster.
For a point of reference, this was a 6-9-12″ cake, and it took me 3 1/2 hours to do all the ruffles once the cake was assembled and iced.
The 6″ tier took an hour, but I think that I got faster as I got the routine down.