Here’s a quick look at how to make some chocolate leaves, which can be a nice change from gumpaste.
I actually used candy melts for these, but real chocolate would taste better!
This article includes affiliate links that will pay a commission if they’re used to purchase something. As an Amazon associate, I earn from qualifying purchases.
What leaves to use.
Start with some leaf presses or veiners, or some real rose or lemon leaves.
It’s best to use leaves that have no pesticides on them if you use real ones.
If you’re lucky enough to own some tacky plastic-leaved artificial plants from the 1970’s, you can use those leaves, too!
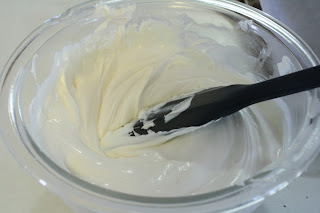
Melt the chocolate.
Make sure to temper the chocolate correctly if you use the real thing so that you avoid the dusty-looking bloom on them when they cool off.
Melt the chocolate or candy coating.
Start with 30 seconds in the microwave, then stir the chocolate. Put it back in for ten second bursts, stirring in between.
When it gets to the point where it’s almost totally melted, stop heating it and jut stir it to finish the melting process.
You can also add oil-based food coloring to the white chocolate at this point to make colors that would work for autumn leaves on a fall wedding cake.
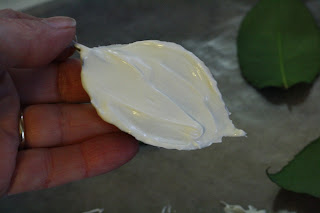
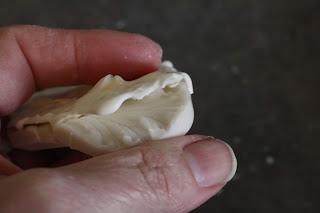
Paint the chocolate onto the leaves.
Using a clean paintbrush, paint a layer of the chocolate onto the BACK of the leaf.
You want to use the backs so that the veining shows up the right way when you take the chocolate off after it cools off.
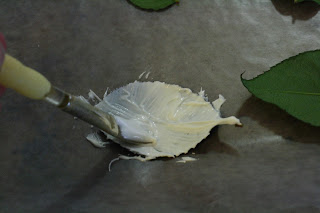
After the leaf is painted, paint more chocolate onto it so that it’s about 1/8″ thick.
Put the painted leaves on a piece of waxed paper to allow them to set up.
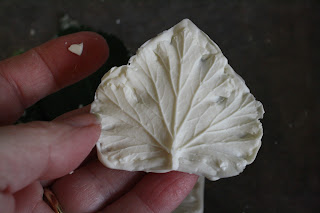
Using a leaf veiner is the same process. Paint the veiner and set it aside to set up.
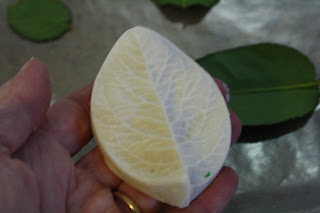
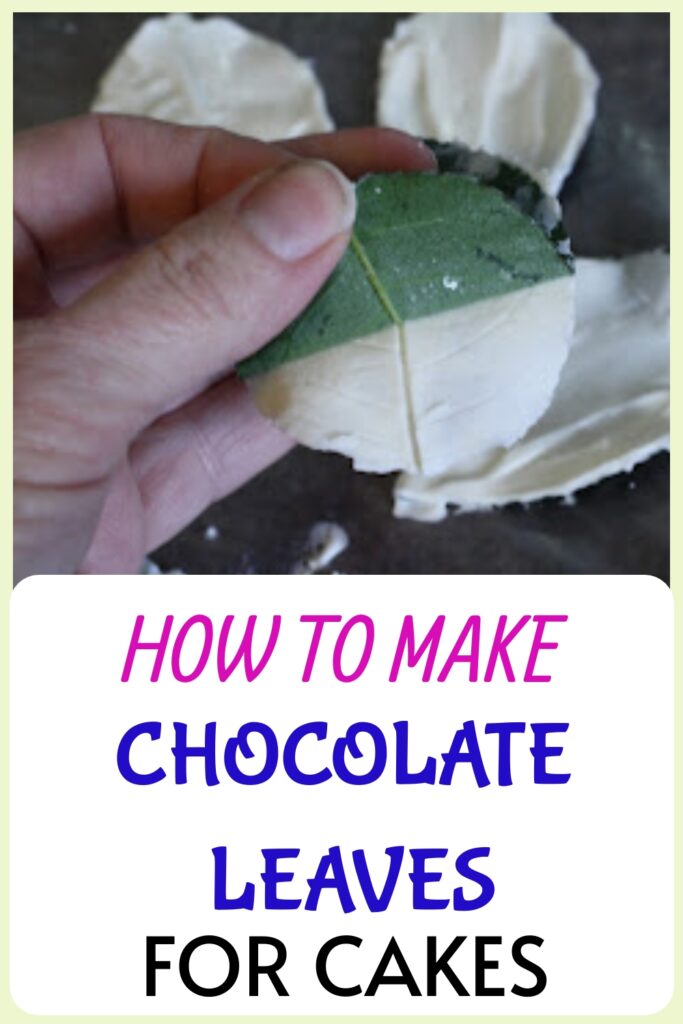
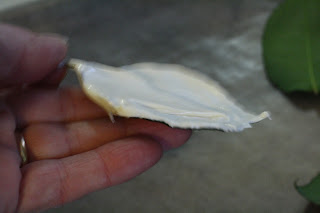
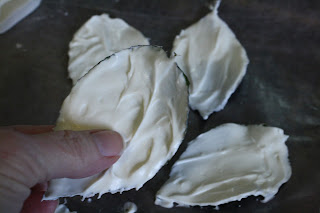
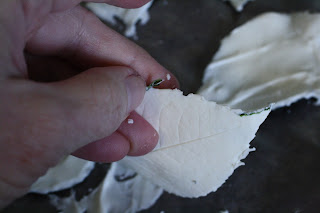
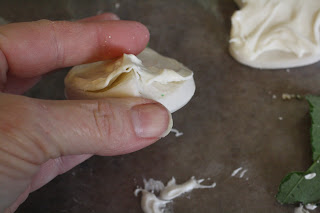
Removing the chocolate leaves from the real leaves.
After an hour or so (wait longer if you can to make sure they’re really set up and ready to be removed) peel the leaves off of the chocolate carefully to expose the imprinted side of the chocolate leaf.
Be careful to not bend the chocolate or it can crack. If that happens, you might be able to attach the pieces together using a little melted chocolate.
You might want to wear gloves when you do this to avoid melting the chocolate where you’re touching it.

You might have to pick the edges of the leaves off if the leaves tear a little when you remove them.
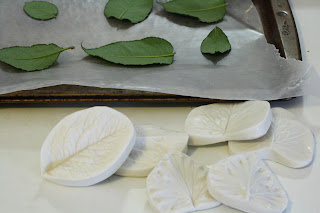
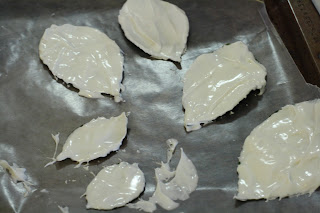
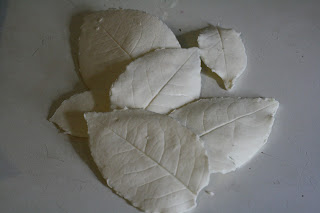
And here are the leaves:
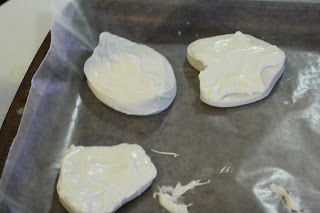
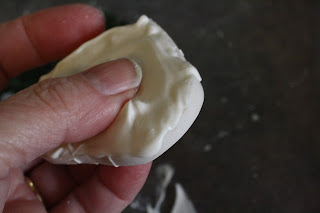
Removing the leaves from a veiner.
To remove them from the veiner, peel the veiner off carefully to detach the chocolate from the veiner.
Be careful to not bend the leaves themselves, since that can make them break.
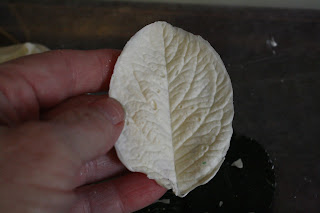
This gives you some really nicely detailed leaves that people can actually eat. It’s pretty easy to do, and it gives you a nice result.