This week I got to do a wedding cake that had sugared pinecones on it.
It was based on a design from MS weddings, but the original cake had real pinecones and pine needles, which just made me think “eeeew” to myself.
I made the cones and needles out of chocolate, and I wanted to share the method that I used, since it gave a more realistic pinecone than the methods I’ve seen before.
This article includes affiliate links that will pay a commission if they’re used to purchase something. As an Amazon associate, I earn from qualifying purchases.
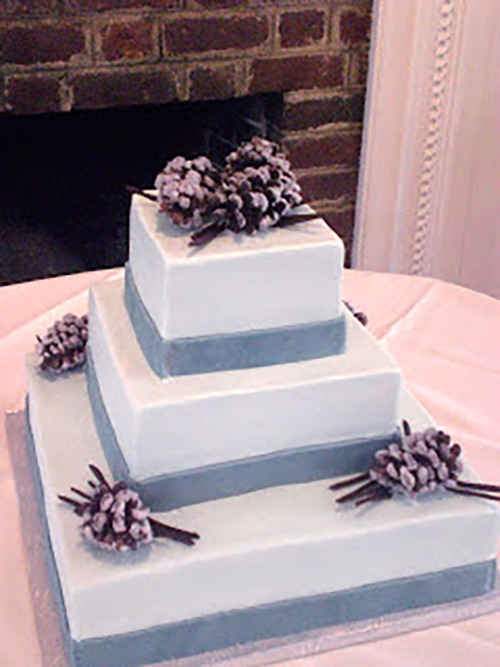
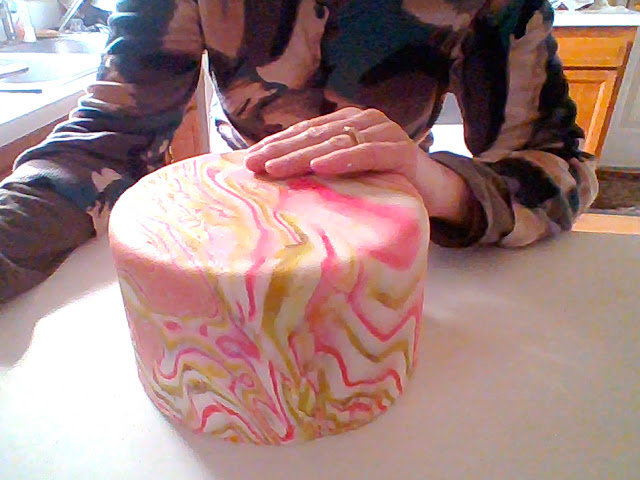
This is the finished cake…The icing was a pale ice blue with bands of blue chocolate at the base of the tiers.
When I see tutorials on how to make pinecones, they always start with making a cone shape out of fondant or marzipan, then sticking slivered almonds into the cone.
If you look at a real pinecone, though, that isn’t how they’re shaped.
The scales, which are the “leaves” so to speak, are attached to the center stem, and the size of the scales themselves is what gives the cone its shape.
The center stem isn’t cone shaped, it’s fairly cylindrical.
So, I decided to try it a different way.
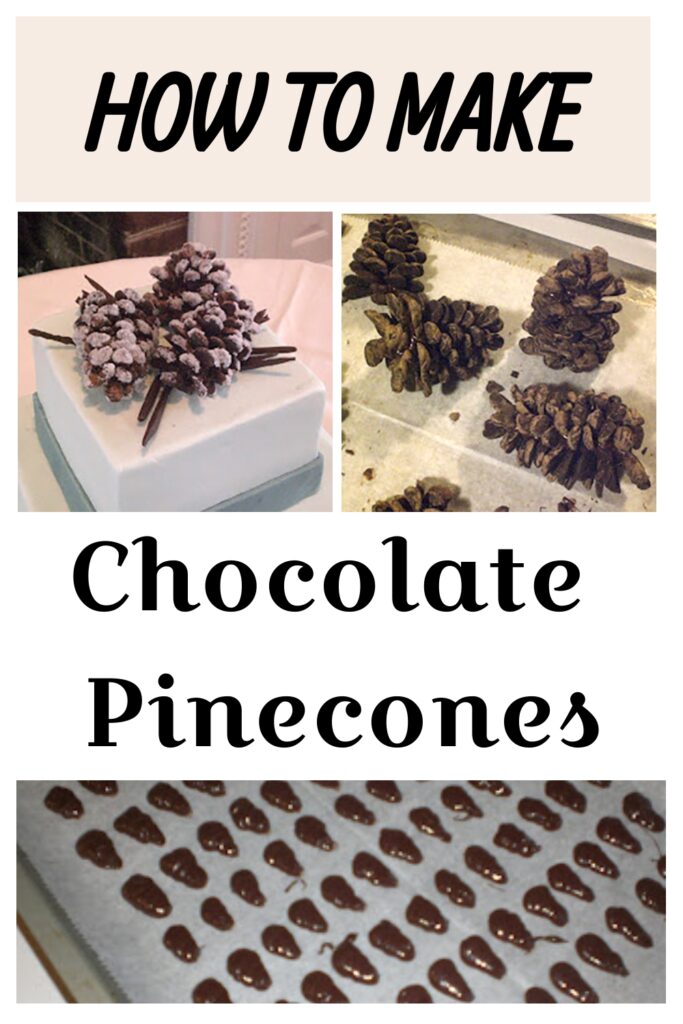
Pipe the chocolate scales.
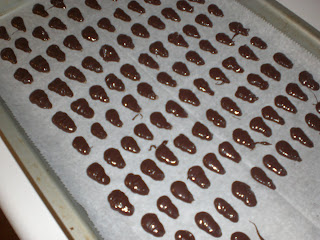
I piped a bunch of chocolate scales and let them cool off.
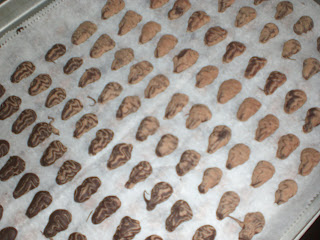
The trick to this, though, was that I heated the chocolate up way too much, in order to make it bloom when it cooled off.
The bloom is the powdery look that chocolate gets when it hasn’t been tempered correctly.
For pinecones, I wanted a rough, woody look, so the bloom was what I wanted in this case.
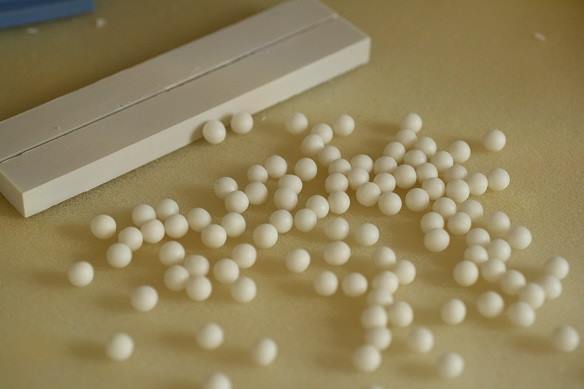
Make the center.
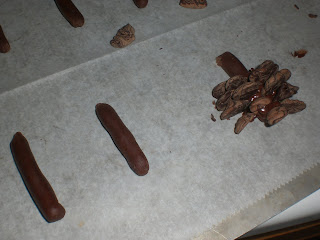
When they cooled off, I shaped some center stems from chocolate clay and started attaching the scales with melted chocolate.
They’ll fall over at first but if you start on the edge then work your way up to the center so that you can prop the scales on each other as you build the cone.
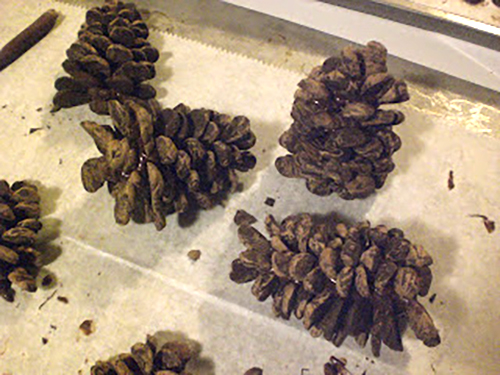
When they cooled off I turned them over and did the other side so that they were actually cone-shaped.
Optional: Sugar the cones.
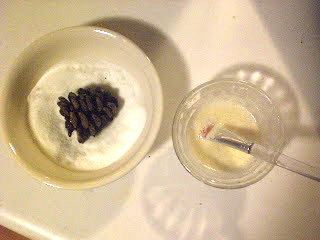
After the cones were completely cooled off, I used some meringue powder dissolved in water to attach sugar to the ends of the scales for the sugared look.
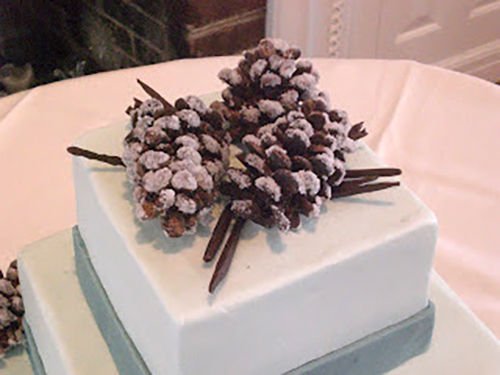
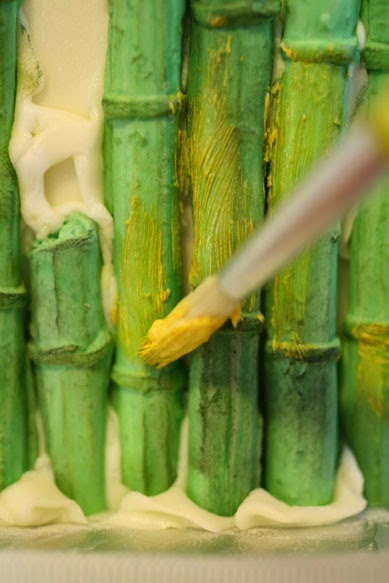
And this is the final product, with the chocolate pine needles also added.
I like the way that these cones look, as opposed to the usual way that I see them done.
Everyone at the reception site came over to look at them because they looked so realistic, and I was very happy with how the cake turned out.