Nut cakes are a nice change from the basic white or yellow cake, and you can pair them with a lot of flavors that are more interesting than the basics.
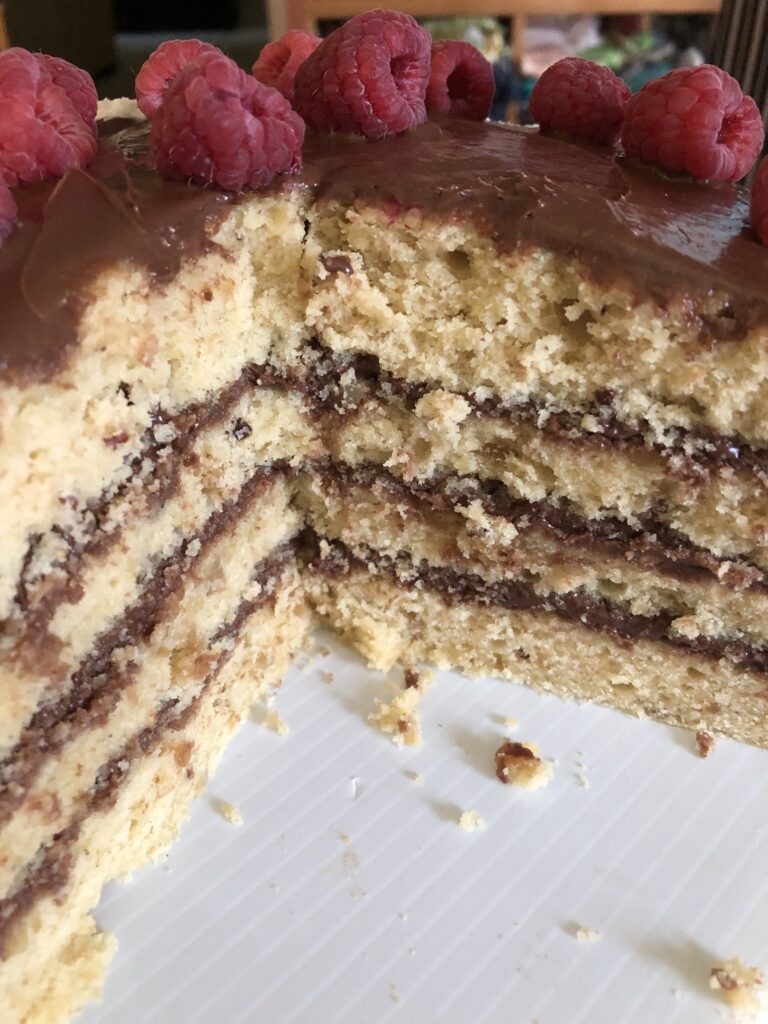
I used to use this recipe mostly for hazelnut and macadamia cakes, but you can also use it for walnut and pecan cakes. This is definitely a cake, not a quick bread or a muffin, because it’s buttery and the texture is soft.
I think that this recipe came from a vintage cookbook that I got from my mother-in-law, but I can’t find it now to reference which one it was! I might have tweaked the original over the years, but this is the official version that I used when I was making wedding cakes.
This article includes affiliate links that will pay a commission if they’re used to purchase something. As an Amazon associate, I earn from qualifying purchases.
Buttery Nut Cake Recipe
Equipment
- 2 eight inch round cake pans
- 2 round pan liners
- 1 mixing bowl or stand mixer
- 1 rubber spatula
- Measuring cups
- Measuring spoons
- food processor or grinder
- 1 mixing bowl
- 1 whisk
- waxed paper for cake collars
Ingredients
- 15 Tbsp softened butter
- 1 3/4 cups light brown sugar
- 4 eggs
- 2 1/2 cups AP flour
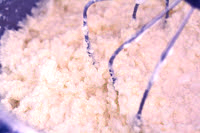
- 1 1/4 cups ground nuts (hazelnuts, macadamias, pecans, walnuts, almonds)
- 1 1/4 tsp baking powder
- 1 1/4 tsp baking soda
- 1 1/4 cup buttermilk
Instructions
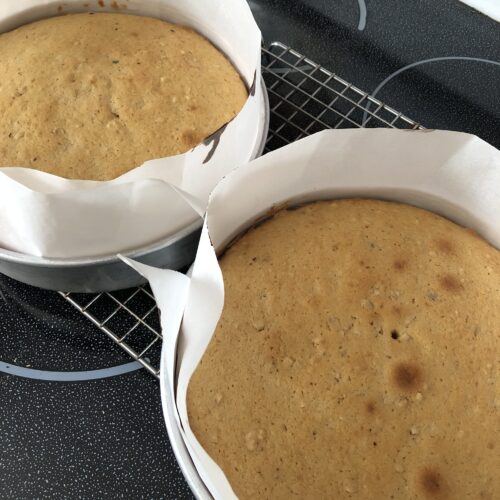
- Prepare the pans by lining the bottoms and adding a waxed paper or parchment cake collar to them.
- Preheat the oven to 350F
- Beat the butter and the sugar in a mixer until it's light and fluffy, about 5 minutes.
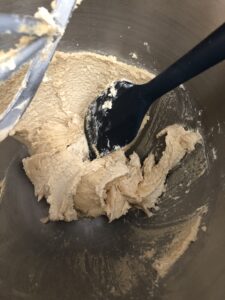
- Beat in the eggs one at a time, making sure to scrape the bowl in between each addition so that it mixes in thoroughly.
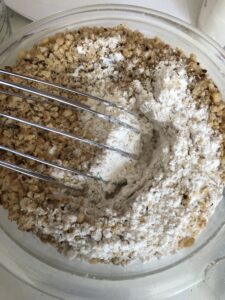
- Combine the flour and the nuts with the other dry ingredients and whisk to combine.
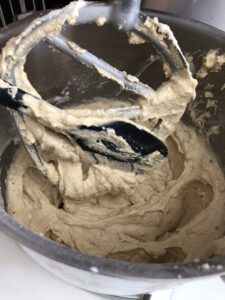
- Add 1/4 of the flour mixture to the butter mixture and beat, then add 1/3 of the buttermilk and mix.
- Repeat alternating mixing in the flour and milk, ending with flour.
- Pour the batter into the two pans, smoothing the top with a spatula.
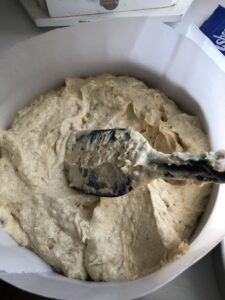
- Bake for 35-40 minutes, or until a tester inserted in the center comes out clean.
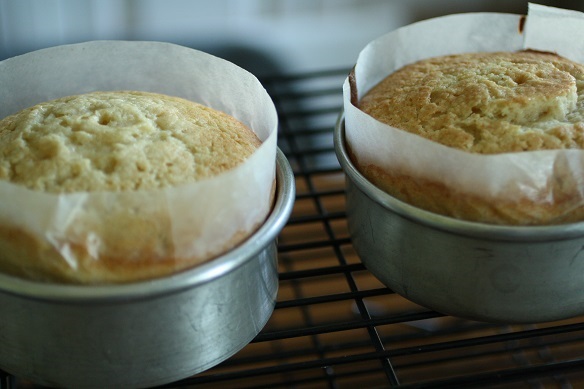
- Cool the layers in the pans for 10 minutes.
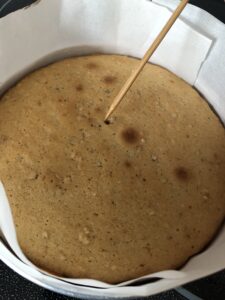
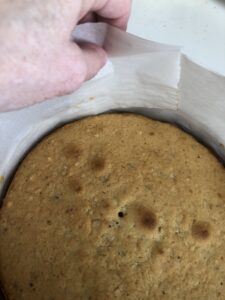
- Remove the cake collars carefully, then level the layers if you need to, using a bread knife and the top of the cake pan as a guide (If you used a 2" tall pan.)
- If you can leave the layers in the pans to cool completely, do that. Otherwise, turn the layers out onto cake boards or a flat plate and let them cool completely.
- Wrap the layers and store at room temp for one day before assembling and decorating.

Tips for making this recipe.
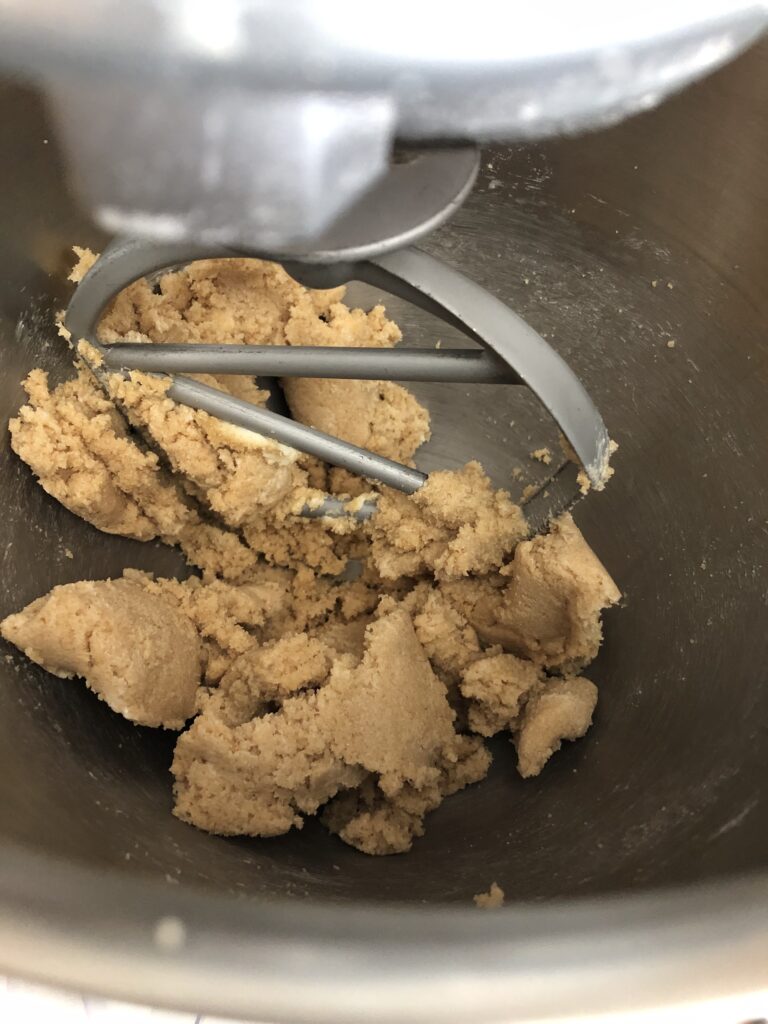

- Make sure that you really beat the butter and sugar long enough. It needs to be really light and fluffy to get the best texture, so don’t skip on time for that step.
- I used 2″ tall cake pans for this and cake collars so that the layers would bake slightly higher than the edge of the pan. That makes it easy to level the layers so that you get a flat cake to work with.
- Even though I did that, these cake layers bake very flat and don’t rise that much! So you mgiht not need the collars, but it’s better to have them.
- If you want to add some vanilla to the batter you can, but this cake really depends on the flavor of the nuts, so you don’t need to add anything to it.
- Don’t use nut flour for this, you want to use actual ground nuts. This recipe came from a cookbook that was written decades before nut flours were available, so it relies on the larger pieces of nuts that you’ll get when you grind them up yourself. I used a small food processor to grind up the nuts for this recipe.
- Buttermilk will give you the best result, but if you’re in a pinch you can use regular whole milk. Skim milk isn’t going to give you the same result, though, so go for the whole milk if you need to substitute anything.
- This recipe uses all-purpose flour, not cake flour, because it needs the strucrure of the gluten that AP flour will give you. Don’t use cake flour!
- I baked my layers for about 42 minutes before they were done, so it could take around 40-45. Keep an eye on it.
For an article about flavor combinations for nut cakes, click here!