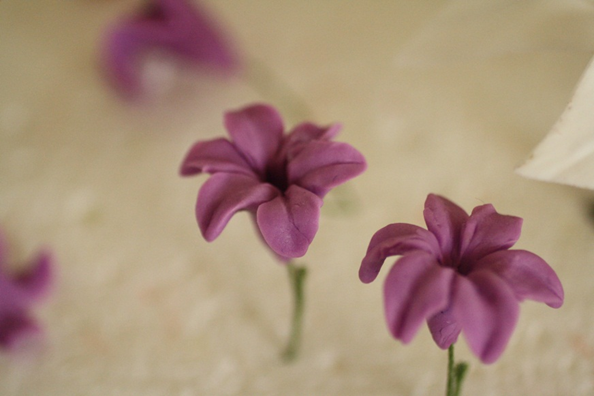
Gumpaste hyacinths aren’t a “normal” sugar flower for cake decorating, but since they’re unusual they also give a lot of visual interest.
This article includes affiliate links that will pay a commission if they’re used to purchase something. As an Amazon associate, I earn from qualifying purchases.
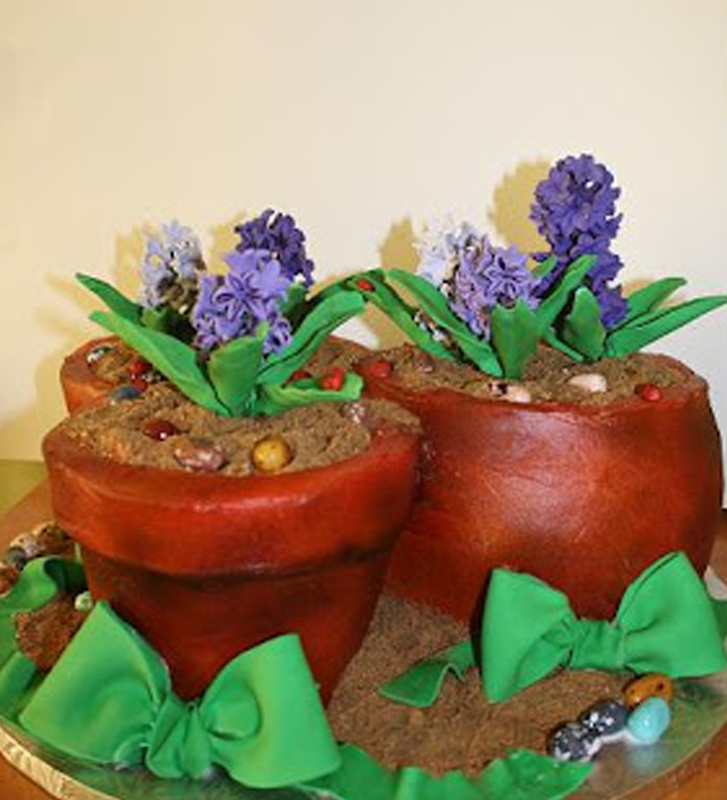
This set of cakes had gumpaste hyacinths and green bows with airbrushed buttercream to create the flowerpots.
Making gumpaste hyacinths isn’t hard but it’s a little time-consuming because there are so many little florets in each stem.
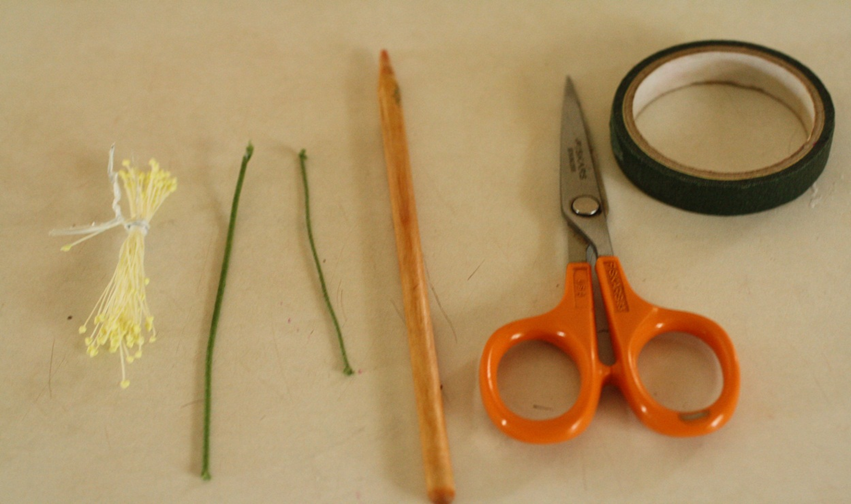
Materials needed to make gumpaste hyacinths.
- Floral wire in thicker and thinner widths
- Dowel with rounded and pointed ends
- Small scissors
- Floral tape
- Styrofoam to dry florets
- Optional: food coloring to paint stripes on florets
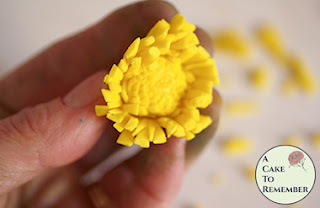
Make the blossoms.
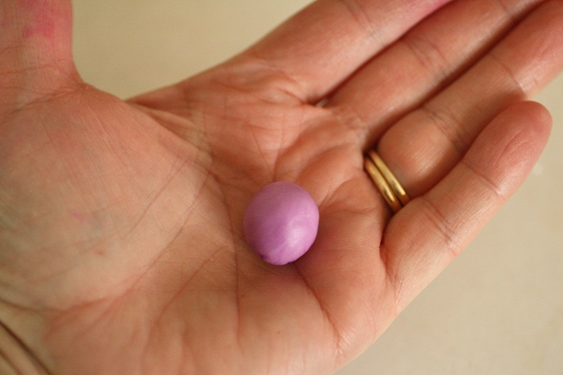
Start with a large ball of gumpaste, about the size of a small grape.

Insert a hooked, cloth-covered floral wire into the ball. This wire should be a thinner gauge, around 26.
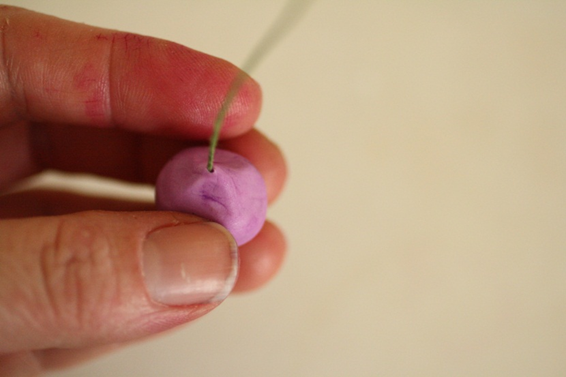
Pinch the gumpaste around the wire to secure it.
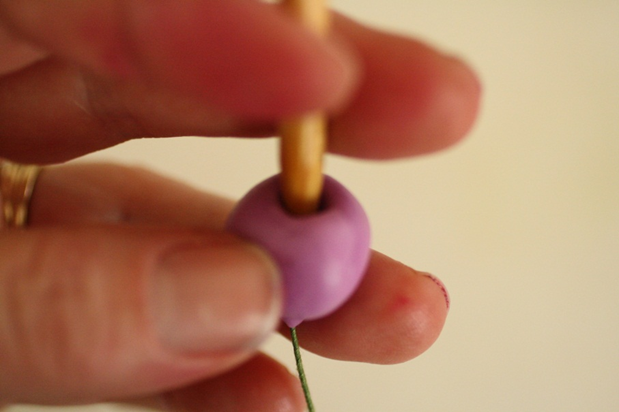
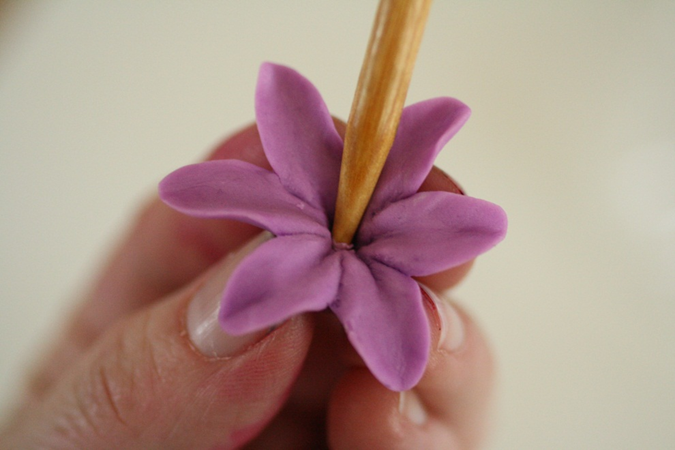
Using the pointed end of the dowel, insert it into the ball to make the center.
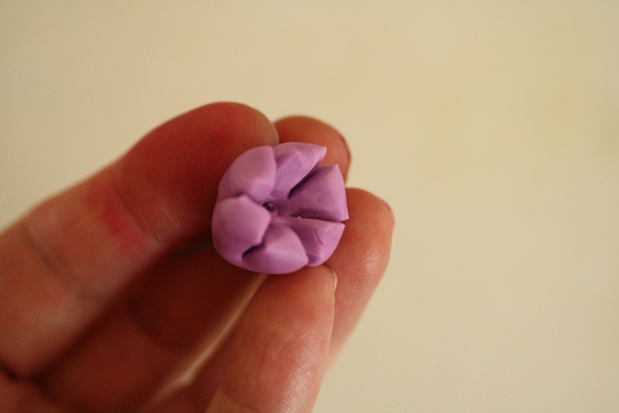
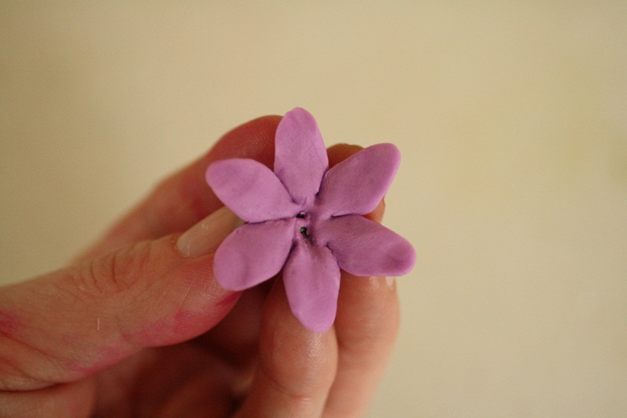
Make six cuts in the ball around the center.
Start pinching the cut sections to make the ends pointed. Don’t thin them out too much, just make them pointy.
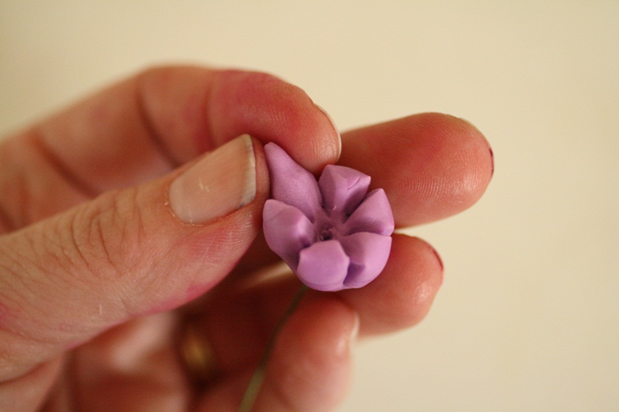
When the petals are pointy, start thinning them out slightly.
Pinch the petals, making them longer. Try to keep the ends pointed as you thin them out.
When the petals are about ¾” to 1” long, they’re the right length.
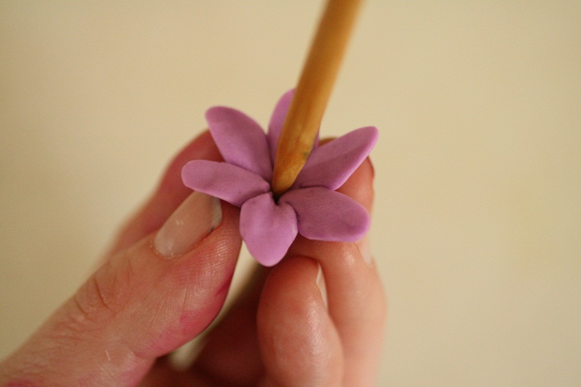
Keep maintaining the shape of the flower by inserting the pointed end of the dowel into the center as you work the petals.
Also make sure the flower is staying attached to the wire in the back as you work.

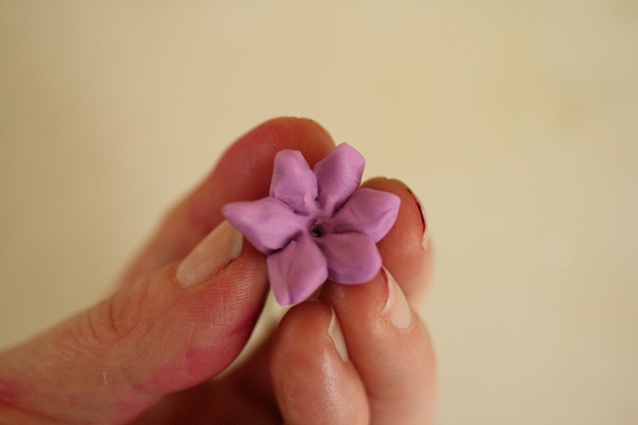
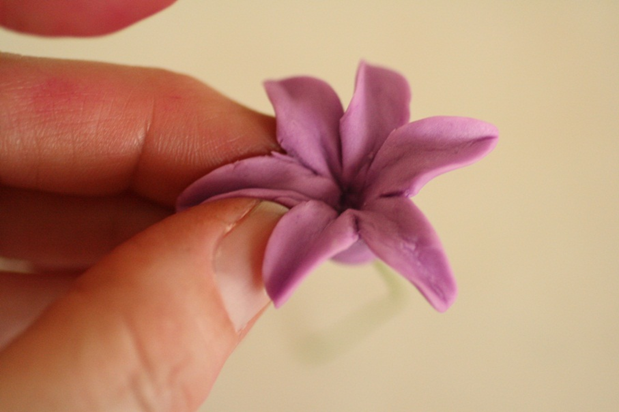
Pinch the ends of the petals to create a ditch in the center of each petal.
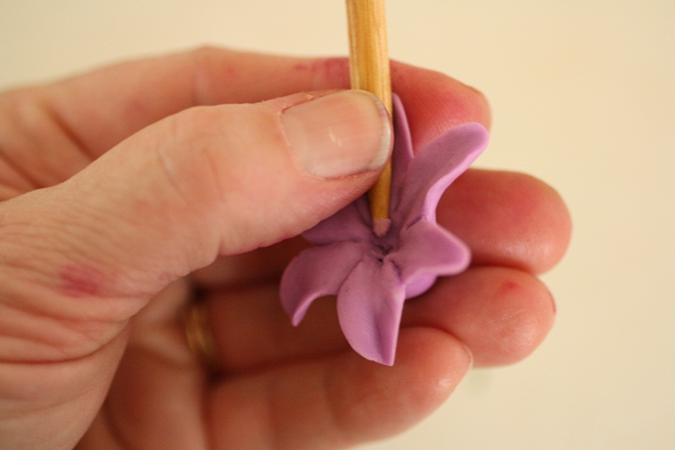
Using the dowel, press the pointed end into each petal to further cup them if necessary.
Keep the center of the flower distinct as you’re working on it.

Keep working the petals until they’re a good length, around 3/4″ is good.
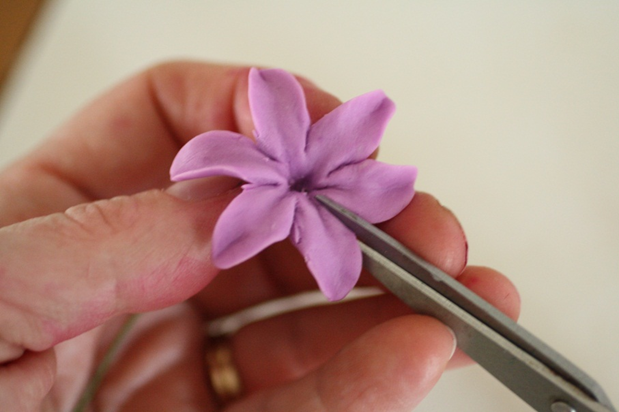
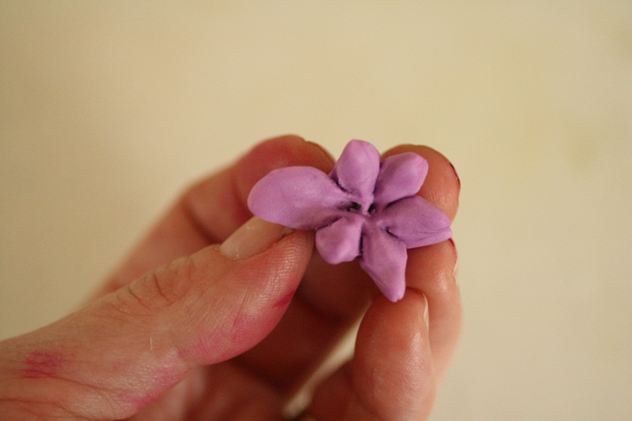
Check to see the each petal is separate at this point. If some have become connected toward the center, cut them apart carefully.
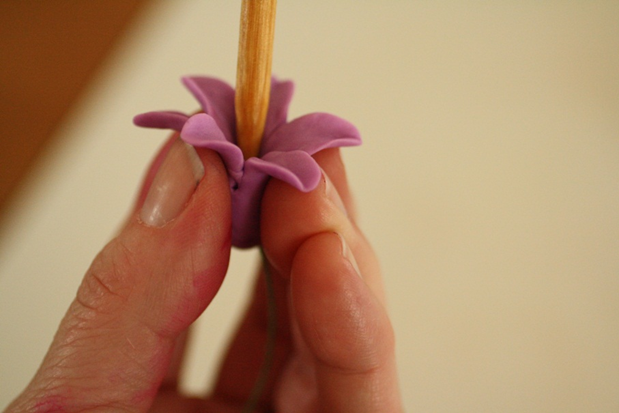
Insert the dowel into the flower again, pressing up this time to create a deep center.
Pinch the petals again to maintain the ditch.

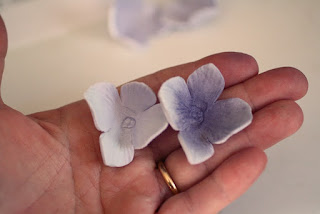
If you want to add a deeper color at the center of each floret, do that now by painting food coloring in the center of the petals. Some hyacinths have variations in color.
You can also wait and paint them after they dry.

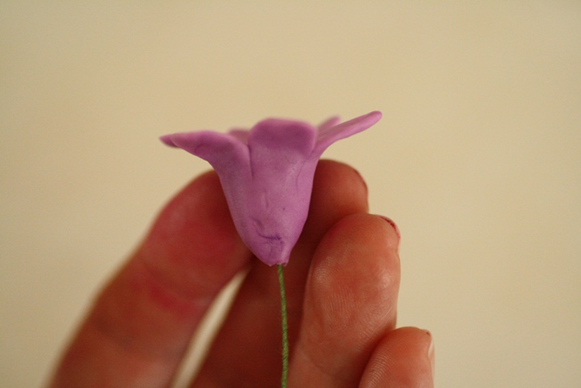
Dry the florets upside down for a little bit. Don’t let them dry out completely.
Turn them over and insert into a piece of styrofoam to finish drying.
Make sure the tips of the petals make a distinct curve downward.
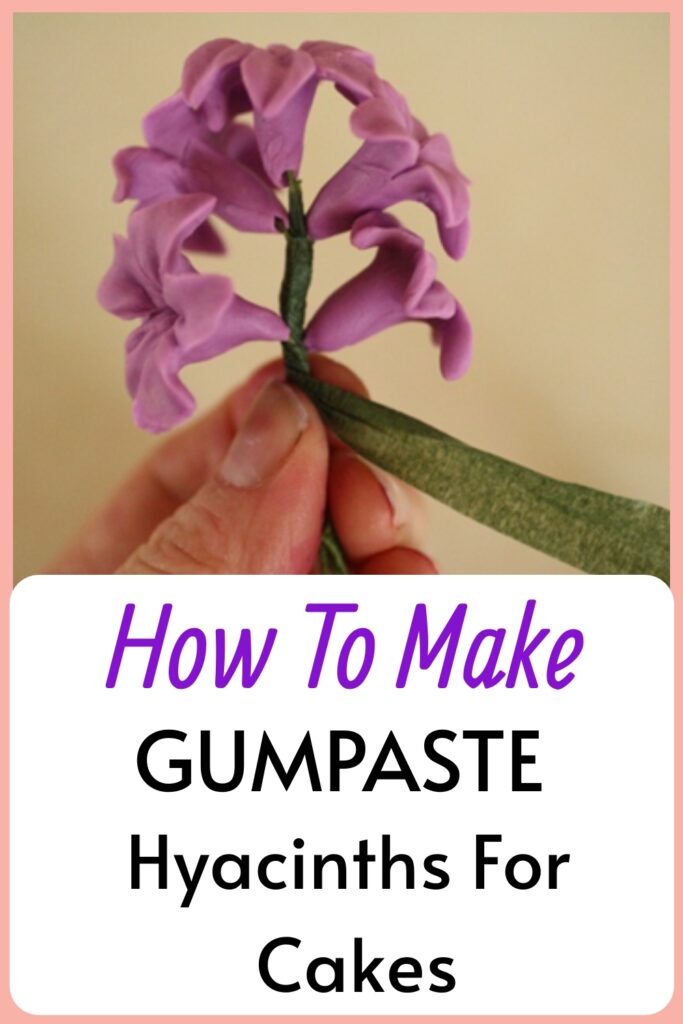
Wire the florets to the stem.
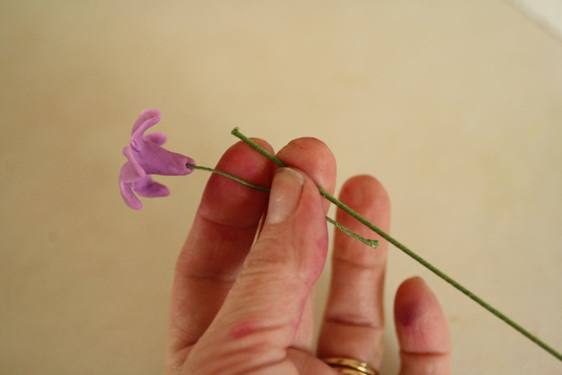
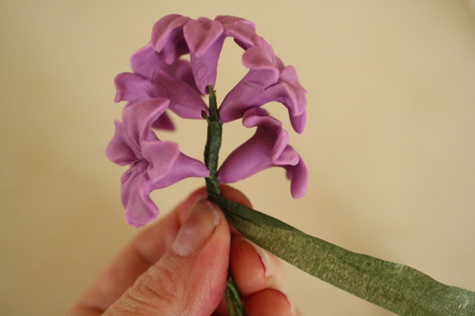
When the florets are dried enough to handle, take the thicker wire, 18 gauge is good, cut to about 5-6”, and start wrapping the florets around it.
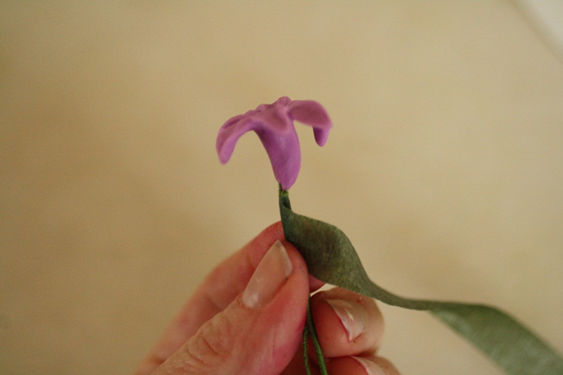
Wrap the first floret at the very top of the wire.
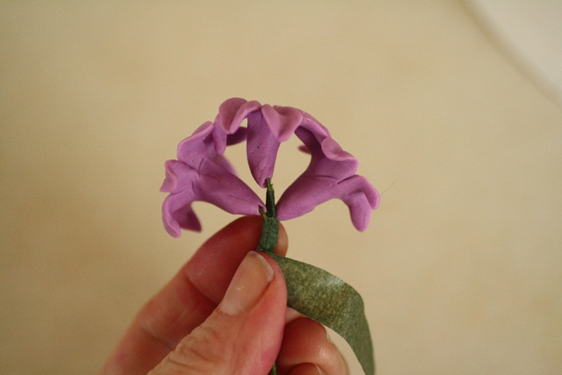
Add more florets slightly down the stem. Hyacinth blossoms grow in pairs directly across from each other. Wrap the florets two at a time as you go down the stem.
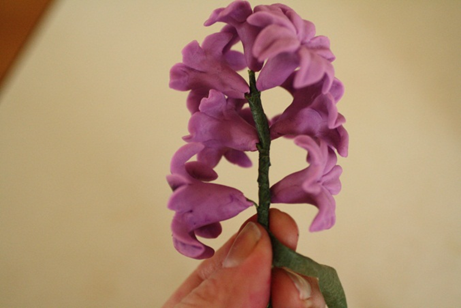
Continue down the stem, adding two florets at a time about 1/2”-3/4” away from the pair above it.
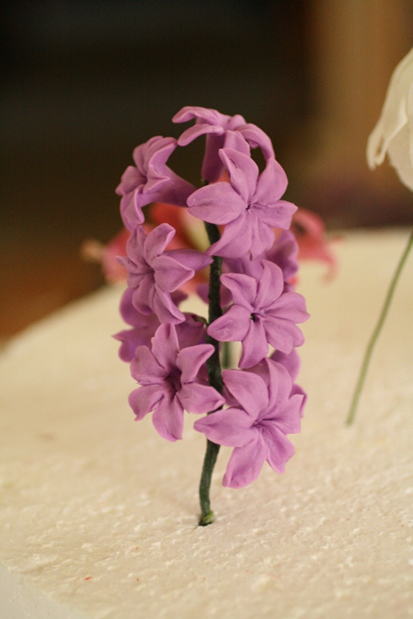
When the stem has about 4” of florets on it, you’re done.
If the stem seems too empty in places you can either redo it or add an extra floret in the empty spots.
Hyacinths bloom all at once, there aren’t buds and blossoms on the stems at the same time, so you don’t need to make buds to put on the same stem as flowering florets.
Store the flowers in a container with a loose-fitting lid until you need them.