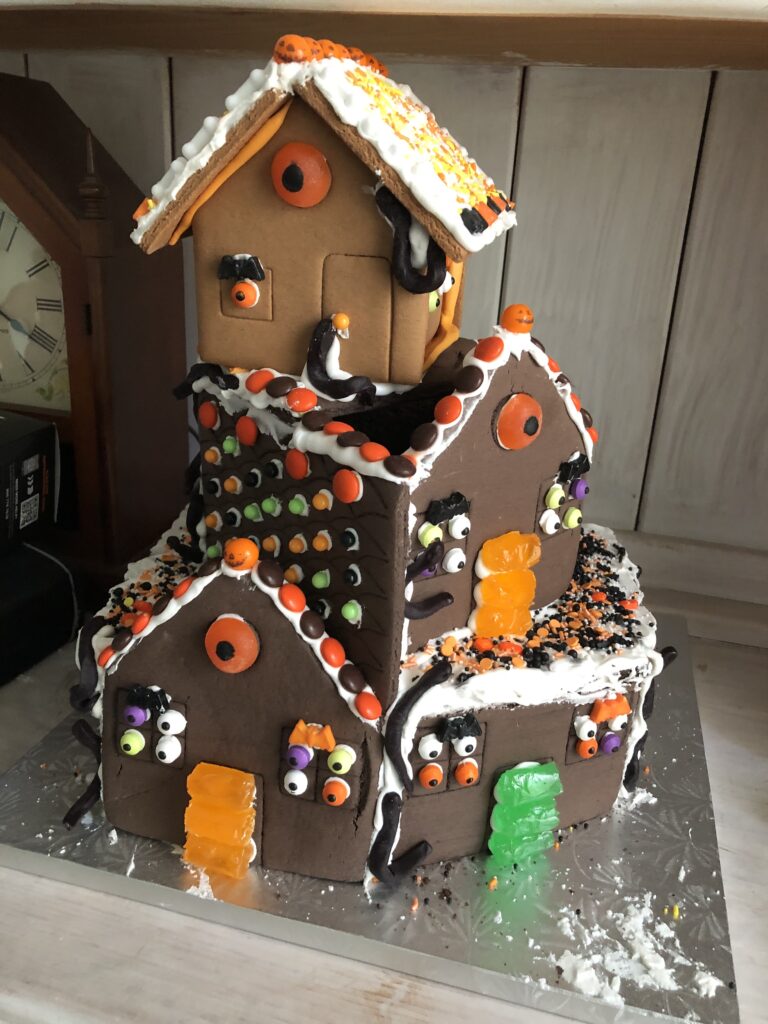
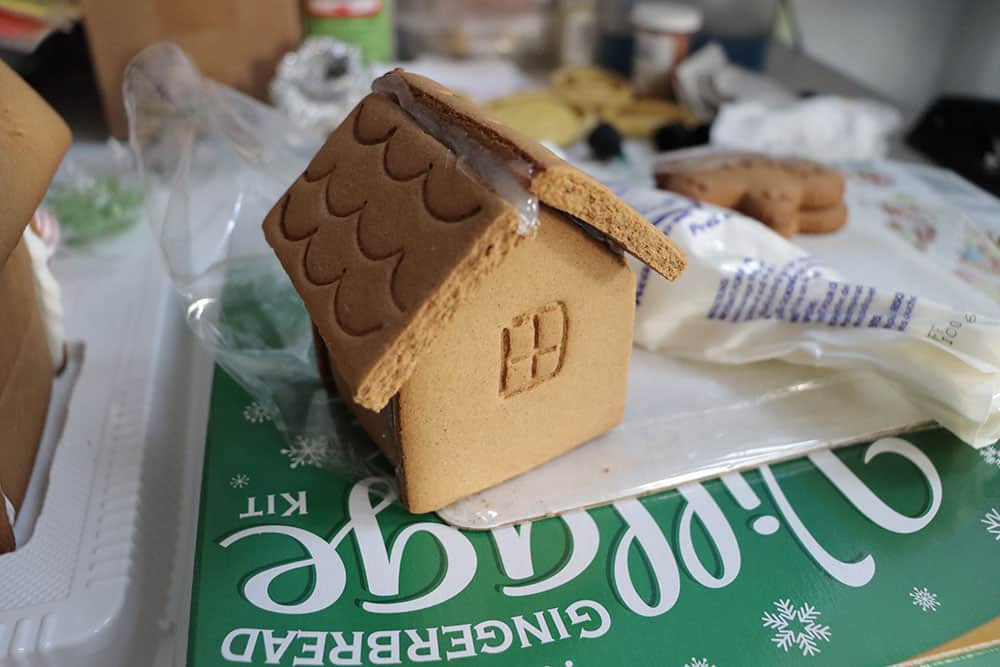
Making gingerbread houses is a fun thing to do during the holidays, but sometimes it’s hard to throw them out once the holidays are over.
What should you do if you want to save a gingerbread house for longer than just the holiday season? And is it a good idea to try to do it at all?
It’s best to throw out gingerbread houses after the holiday season and start fresh the next year. However, it might be possible to save a gingerbread house if you can carefully coat it with a polyurethane sealer after drying it out as much as possible.
This can preserve the house, but if it’s done incorrectly it might end up only extending its life for a short period of time, and the house can still end up developing mold and decomposing over time.
So let me go over how you would try to save a house, and then I’ll touch on things that you could do that would go wrong.
This article includes affiliate links that will pay a commission if they’re used to purchase something. As an Amazon associate, I earn from qualifying purchases.
How to save a gingerbread house.
To successfully save a gingerbread house after the holiday season, it’s important to completely coat the house with a sealer that will keep out any moisture and dust.
Because gingerbread is an organic material, this can be difficult because it’s going to retain moisture, and if the house isn’t completely sealed, mold might be able to develop inside the house.
For mold to develop, it needs moisture, organic material to grow on, and oxygen. You’ll never be able to 100% get rid of the moisture inside the gingerbread, so the only thing that you can eliminate is the oxygen.
So, the basic steps for preserving the house will be:
- Dry the house out as much as possible.
- Apply an oil-based polyurethane sealer in multiple thin layers.
- Allow the house to dry thoroughly and store in a climate-controlled area away from humidity and heat.
After applying any type of non-edible sealer to a gingerbread house, it goes without saying that you shouldn’t eat it! But I’ll say it anyway just to make sure. Don’t eat it.
Step 1: Dry the house out.
To dry out a gingerbread house, you can place it in a dry environment with low humidity for a few days in order to draw out any moisture from the surface and from the candy decorations. If there is no good low-humidity environment available, you can place the house in a plastic bag that’s sealed well and put a good amount of silica gel inside the bag to absorb moisture.
If you’re using the low-humidity room method, you can put the house in the dry area for a few days.
I wouldn’t put it in a warm room, because that’s probably going to be more humid than a cold area.
Plus, the heat in a warm room might damage the decorations on the house.
Make sure to remove anything on the house that doesn’t need to be preserved before you dry out the house.
If you have a lot of fragile fences or other decorations like that, you should check to see if they’re all in good shape before the drying process starts.
If it’s winter where you are, you can put the house outside in a cold area where the air is dry, as long as it’s not freezing.
If you have a garage that stays around 40 degrees F or above, that’s a good choice.
After a few days the house will have dried out, and you’ll be able to start sealing it.
2. Sealing the gingerbread house.
To seal the gingerbread house after thoroughly drying it, start by spraying it with a non-water-based sealer, making sure to spray the inside and the outside, as well as all exposed edges. It’s important to cover all of the surfaces to prevent any areas where air could get into the gingerbread. Make sure to allow the sealer to dry completely, then repeat several times. To guarantee a good seal, finish with a brush-on version of the sealer.
The thing to remember when sealing your gingerbread house is that it’s porous, so one coat isn’t going to be enough to really get into all of the pores of the house.
Spraying a few thin coats all over the house, including on the inside, is critical to preventing mold from developing inside the house.
I would go so far as to say that 4-5 coats with a good drying time in between isn’t going too far.
If you can’t get to the inside of the house to spray it, I would NOT recommend trying to save the house. You need to cover every surface to prevent moisture from getting into the house.
Spraying the gingerbread will prevent the candy from being knocked off by a brush, but once the spray coats are dry, you can go back to apply a final coat (or two) of the brush-on version of the sealer.
Most companies make a liquid version and a spray version, so using both will create a better seal.
By spraying first and then brushing on the sealer at the end, you’ll create a good final coat while avoiding damage to the candy.
After the sealing step is done, you then need to store the house safely.
3. How to store the preserved gingerbread house.
After sealing the gingerbread house, it’s important to make sure that the house is stored in an appropriate dry, room-temperature environment. If the preserved house is stored in a high-heat or high-humidity environment, the house might be affected if the sealing step wasn’t done thoroughly enough.
The best place to store the house might be inside a cabinet where it can be displayed but still kept out of the way of any dust.
If the gingerbread house is saved inside the main living area of the house it’s best, because it will be in a climate-controlled area.
You can also store a saved gingerbread house in a closet in a box or in a plastic bag once it’s completely dry after sealing it.
Keeping the house in an airtight container isn’t necessary if the sealing process was done thoroughly, because the sealer will provide a barrier against the air.
At this point, the purpose of storing it is to keep it away from dust and dirt that can make it look dull over time.
Should you bother saving a gingerbread house?
Preserving a gingerbread house is something that can be done, but it takes a lot of effort to do it correctly, and there’s no guarantee that mold won’t develop inside the house anyway if there’s any kind of crack in the sealer.
In my opinion, it’s not worth it to save a gingerbread house unless you have a really compelling reason to do it.
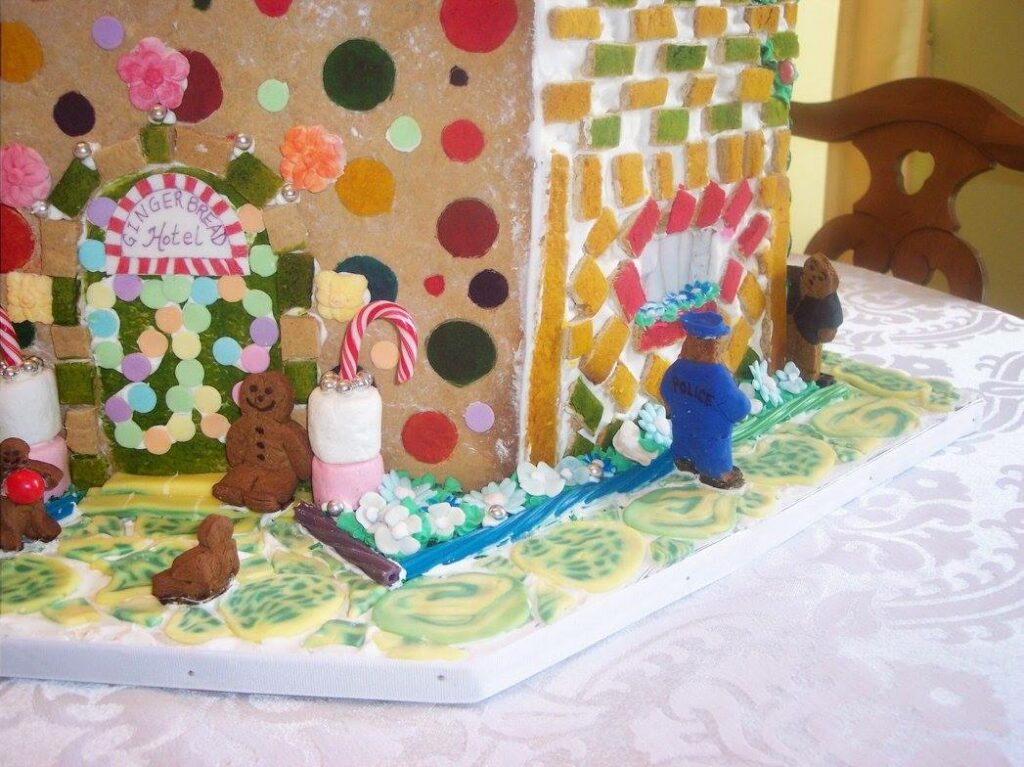
One of the fun parts of making gingerbread houses is to come up with new ideas every year.
I know how hard it is to dump a gingerbread house in the garbage when it’s time, but unless you have unlimited display space, it’s a necessary evil.
Make sure to take a lot of photos so that you can remember the details of the houses that you make, and put a nice album together.
You’ll be able to see your work without having to find space to display the houses. And you won’t have to worry about moldy gingerbread.