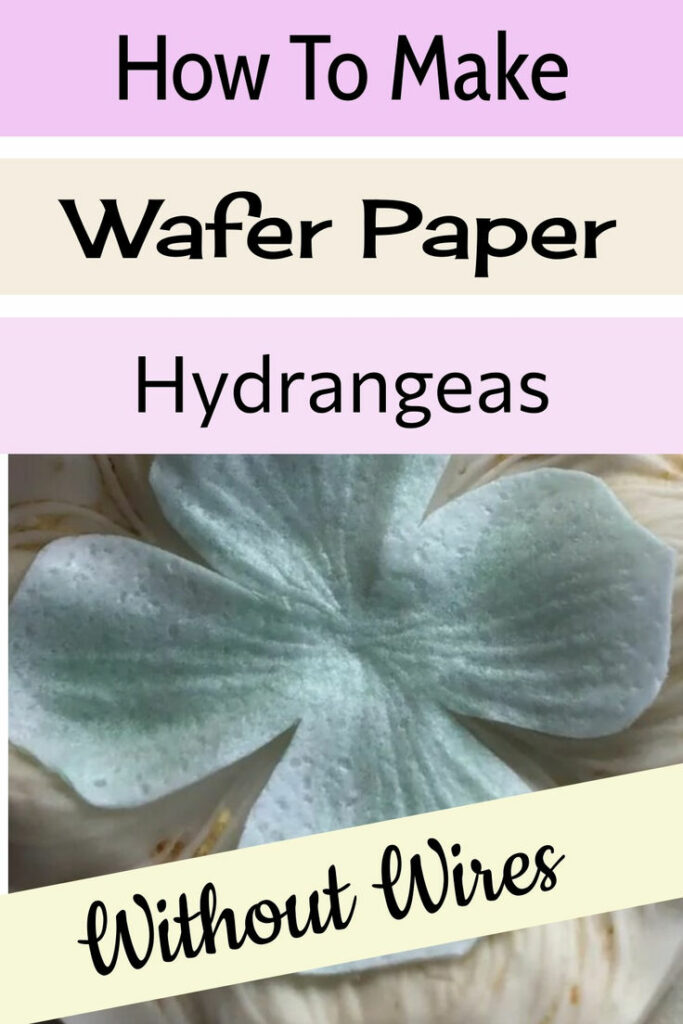
Unwired wafer paper hydrangeas can be made simply by punching them out using a paper punch, or by cutting them out with scissors or an exacto knife.
If you want to add some veining, you can do that using this method, which uses wafer paper conditioner and cornstarch to make the paper malleable and pliable enough to add veins without ripping it.
This article includes affiliate links that will pay a commission if they’re used to purchase something. As an Amazon associate, I earn from qualifying purchases.
Materials needed for wafer paper hydrangeas:
- AD grade wafer paper
- Wafer paper conditioner or a little water
- Paintbrush
- Hydrangea cutter or template
- Scissors or an exacto knife
- Cornstarch
- Drying mat/flower former
Shop for materials to make wafer paper flowers on Amazon:
- Wafer paper, white or colored
- Silicone flower center molds
- Petal veiners
- Petal dust
- Floral wire
- Tylose glue
- Fluffy paintbrushes
- Flower former
- Craft scissors
- Liquid Food Coloring
- Food-grade glycerin to make wafer paper conditioner
- Corn starch
- Flower paper punches
- Steamer to shape wafer paper
Shape and cut the hydrangeas.

Start by attaching two pieces of wafer paper together with some wafer paper conditioner, or a use a VERY minimally-damp brush with water.
You need to be very careful not to get the paper too wet, or it can tear when you vein it!
Press the hydrangea cutter into the paper to mark the shape. If you don’t have a cutter, you can use a template that you cut out of paper to cut around the shape.

Next, cut out the shape of the flower if the paper isn’t too wet. If it’s wet enough to start bubbling and curling, dust with some cornstarch to absorb the moisture before cutting it, and let it sit for a minute.
If the flower is way too wet, you won’t be able to cut it easily, and you should let it dry out for a while until it can be handled and cut without feeling like it’s limp.

Vein the flowers.
When the flower is pliable and flexible, but not wet and limp, it can be veined.
DO NOT put too much pressure on the paper, I tend to press too hard on it at this point and I tear it all the time!
It might take a few tries before you can manipulate it to be veined without ripping it, it’s just a matter of practicing and figuring out how much pressure you can put on it based on how wet it is.
The wetter the paper, the easier it will be to rip right through it!

Using a dogwood veiner, put the flower shape on it and position it so that the petals line up with the shape of the veiner.
If you don’t have a veiner, you can use a foam pad and a dogbone tool to drag across the petals to press lines into them. If you do it this way, be careful not to press too hard!

Press the veiner onto the flower and apply some gentle pressure, holding it for 10-15 seconds.
Seriously, I know that I keep saying be gentle, but be gentle. It’s easy to rip the paper if it’s too wet, and putting a lot of pressure onto it will tear right through it!
The veining on the petals will shrink out as the flower dries, so you want the veining to be obvious when it’s wet. Holding the veiner in place for the full 15 seconds can help to mark the veins in the paper better.
For an article about making wired wafer paper hydrangeas, click here.
Dry the flowers.

Dry the hydrangeas on a foam drying mat to give them a cupped shape. You can also add a small dot of wet wafer paper to the centers to give the flowers a more 3D look.
If they started out too wet, they might dry very stiff, and they could be brittle.
Form them into the shape that you want them to be on the cake, but you can also add a little more conditioner to the center of the flower on the back of it when they’re dry to move the petals a little.
Do a bunch of different positions for the petals so that you have a variety of shapes to choose from.

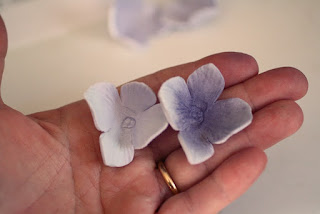
These flowers are dry and the petals have curled as they dry. The wetter the petals are, the curlier they’ll end up.
But if they’re too wet, they could curl up completely and not look good, so practice until you figure out the right balance!
Dust the flowers with petal dusts if you want to add some additional color to them once they’re dry.