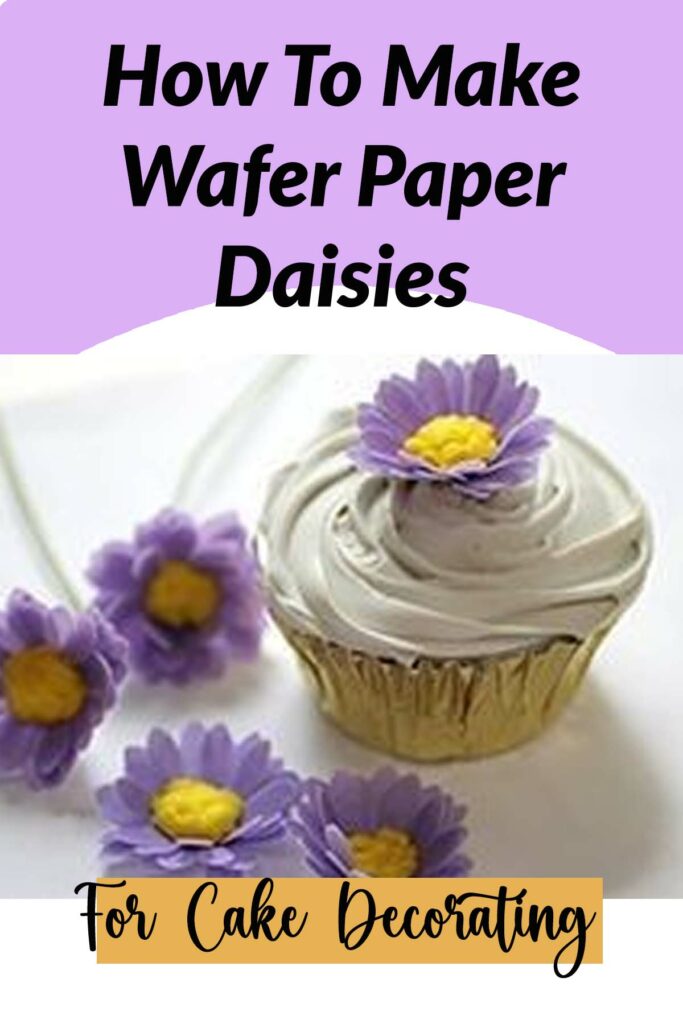
Wafer paper daisies are a nice flower to use for a filler in bouquets on wedding cakes and on Spring birthday cakes and other special occasion cakes.
You can make them in both wired and unwired versions, and with edible and artificial wired centers.
In this article I’ll go over how to do all three of those so that you can have a choice of how you want to make your daisies.
This article includes affiliate links that will pay a commission if they’re used to purchase something. As an Amazon associate, I earn from qualifying purchases.
How to make wired wafer paper daisies for cakes
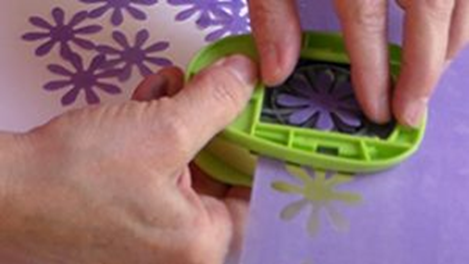
To make wired daisies, you will need wired daisy centers, either edible or nonedible, and wafer paper daisy petals. The petals can be either cut out individually or as a single unit with a paper punch, and should be attached to the center with edible glue, vodka, or water.
You can usually find artificial flower centers in cake supply stores, but if you can’t find any look in millinery supply stores. It’s probably easier just to make them yourself, because it’s pretty easy to make them out of wafer paper or gum paste.
The artificial stamens can look more realistic, but they might be hard to attach wafer paper to because a lot of times the backs of them are made out of plastic.
You might have to use a non-edible but non-toxic glue to attach the first layer of petals to the center, then use regular edible glues for subsequent layers.
Edible wired centers can be made by using floral wire, a daisy center mold, and gumpaste or yellow wafer paper.
The benefit of the edible wired centers is that they’re more accessible because you can make them yourself, but the disadvantage is that they might not look as realistic.
Using a good flower center mold instead of creating the texture by hand can help to create a more realistic-looking edible center to use for filler flowers on cakes.
Shop for materials to make wafer paper flowers on Amazon:
- Wafer paper, white or colored
- Silicone flower center molds
- Petal veiners
- Petal dust
- Floral wire
- Tylose glue
- Fluffy paintbrushes
- Flower former
- Craft scissors
- Liquid Food Coloring
- Food-grade glycerin to make wafer paper conditioner
- Corn starch
- Flower paper punches
How to make wired flower centers with wafer paper
To make your own wired flower centers from wafer paper, you’ll need floral wire, a silicone flower center mold, and yellow wafer paper.
The centers can be made ahead of time and left out to dry, or they can be done as you’re making the flowers, so that the entire flower is allowed to dry as a single unit.
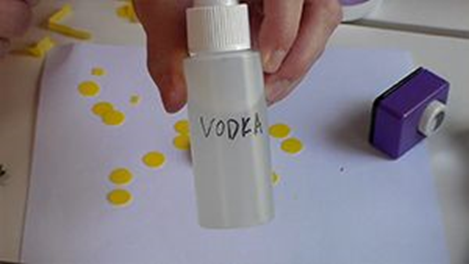
You’ll also need water or vodka to make the wafer paper stick to itself as it’s pressed into the mold to form the center shape.
Cut 5-6 flower shapes out of the colored wafer paper. 4 should be enough to make a full-looking daisy, but for a wired flower you’ll need one to attach to the back of the wire, and you might need an extra.

Using the silicone flower center mold, take the wafer paper and press it into the mold with vodka or water. (Vodka will evaporate and dry out faster, and water will require a much longer drying time.)
You can either punch out small circles to fit into the mold, or cut out a strip of wafer paper that you can fold onto itself to fit into the mold.
Get the paper wet and press it into the mold, adding moisture as needed using a spray bottle or a paintbrush to apply it.
Press the paper into the mold as you add layers so that it will create a center-shaped mound of paper. Leave the center in the mold while you add the petals onto the wire.
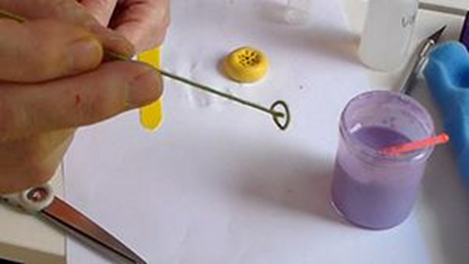
Take a 4″ piece of floral wire (I use 20 or 24 gauge fabric wrapped wire), and shape the end into a small circle that’s smaller than the center.
Bend it to a 90-degree angle so that the wire comes up off the flat round “foot”. The wire should stick out of the center of the circle so that it comes out of the flower center in a balanced position.

Take a piece of wafer paper that’s the same color as the flower petals and wrap it around the round part of the wire so that the round part is covered.
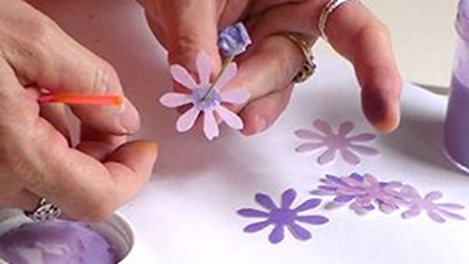
Apply some edible glue to a flower, and thread it onto the back of the covered wire, colored side toward the top of the flower. Attach it to the back of the wafer paper to cover the back of the wire. You can also use a cut-out calyx if you want to add that detail to the flowers.
Paint some edible glue onto the top of the center of the wired center and around the edges of the round wire, plus some on the bottom petals.
Press another flower shape on top of the wire and press the top flower onto the bottom flower to sandwich the wired center and secure the two shapes together around the center.
This will form a solid bond and prevent the daisy from falling off of the center if it loosens up for some reason.
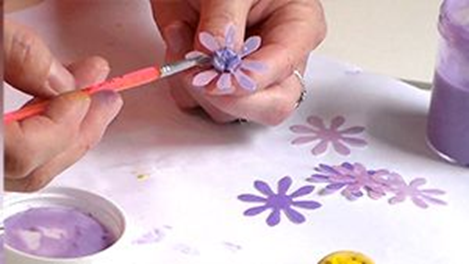
Add a dab of edible glue or water to the center of the daisy and layer more petals on, alternating the petals so that they fill in the spaces between the lower layers.
Continue until the flower looks as full as you’d like it to. I usually put about 4 flower shapes on one flower, but 5-6 might be needed depending on the look that you want.
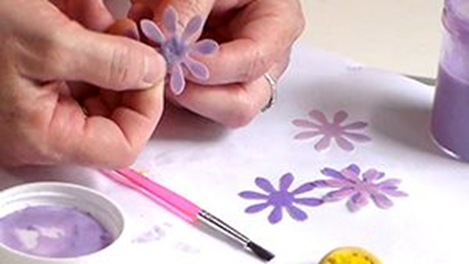
Add a little edible glue to the center of the daisy, and remove the wafer paper center from the silicone mold.

Carefully press the center onto the center of the flower. It should feel spongy but not super wet, and you should be able to press it gently but firmly to make sure it’s really attached.
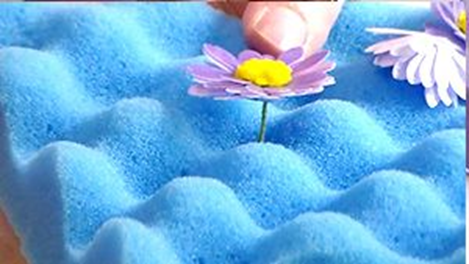
Thread the wire through a flower-forming mat or some bubble wrap to support the petals and let the wire dry straight up and down. Putting the mat on top of a wire rack so that the wires can hang straight down is a good option.
When the flowers dry, the centers should be attached to the flowers securely. If the centers seem loose, you can use a little corn syrup to reattach them.
Store in a dry area so that they won’t soften up from humidity.
How to make wafer paper daisies with artificial flower centers
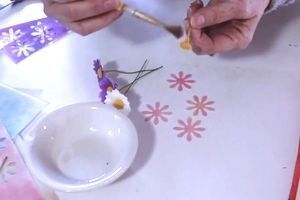
Punch out 4-6 daisy shapes using a paper punch. Make sure that the cut out shape is the right size for the center, and not too small. You usually want the flower to be about 3 times larger than the center for a regular Shasta Daisy.
Wet the back of the artificial daisy center using water or vodka. If the wafer paper doesn’t stick to it, you might need to use a nontoxic glue to attach the first layer of petals, but don’t use non-edible glues on edible centers.
Try to get the back of the flower center as flat as possible to avoid having to tear the wafer paper to fit around it. You might need to pinch some of the fuzz or bulk off of it, depending on what it’s made from.
Poke the wire through the center of a wafer paper daisy with the colored side facing the center so that it shows when the flower is turned right side up.
Press the wafer paper daisy shape onto the back of the center, and hold it in place until it seems to be attached. If the center is too wet the paper might dissolve, so you should start over if this happens. The first layer that you attach will be the most visible layer, so make sure that it looks nice and isn’t wilted!
Dab a tiny bit of water. vodka, or edible glue on the colored side of another wafer paper daisy shape, exactly in the center of the flower.
Thread the daisy onto the wire and press it onto the first flower, alternating the petals so that they overlap and the spaces between them are filled in.
Repeat the process to add 3 to 4 layers of petals onto the daisy.
Four layers of petals is usually enough to create a nice-looking flower that looks full. Make sure to alternate the petals so that any spaces between the petals are filled in. If any spaces are left, add another layer to fill out the look of the flower.
How to make unwired wafer paper daisies
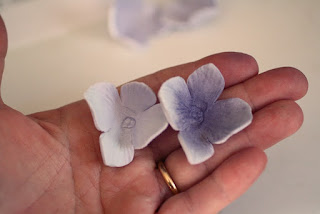
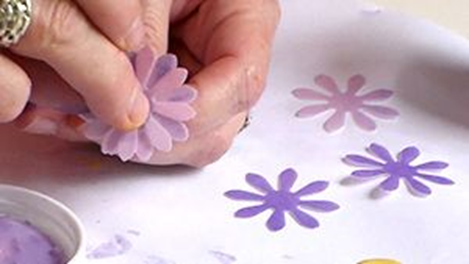
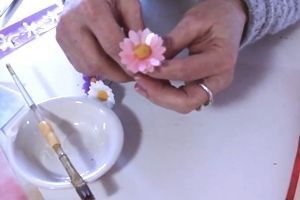
To make unwired wafer paper daisies, cut the petals out of the wafer paper, then layer them on top of each other with alternating petals to fill in the gaps between the petals.
To attach the flower layers together, use some edible glue or a little vodka or water. Attach the centers with some corn syrup or another edible glue.
Cut out the daisy shapes using a paper punch. Make sure that the shape is about 3-4 times larger than the flower center you’ll be using for a regular Shasta Daisy. You’ll need 3-4 petals shapes for each daisy.
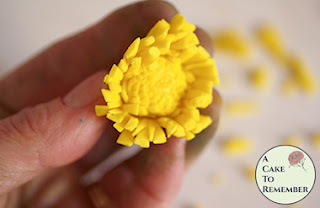
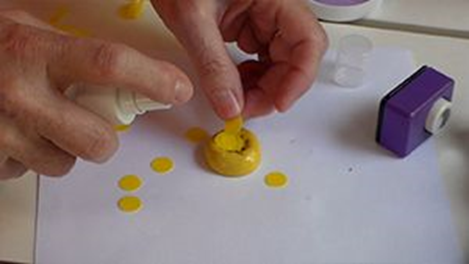
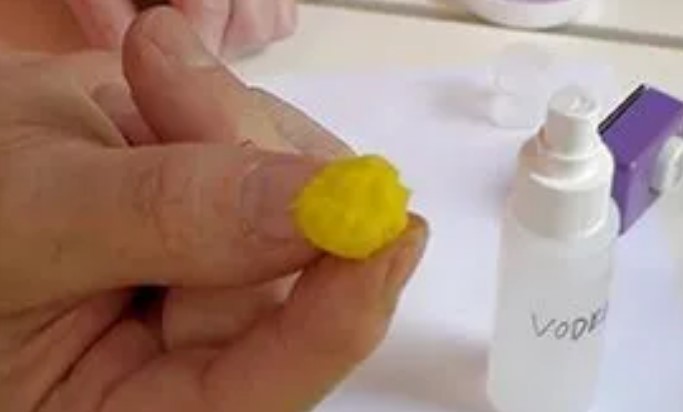
Make the centers using a silicone center mold and yellow wafer paper. Either cut out some round shapes or a strip of the yellow paper, and spray some vodka or water into the center mold, then start layering the paper into the center.
Spray the center as you continue adding layers of the yellow paper so that it sticks together and creates a spongy shape that you can press into the mold to pick up the texture of the center mold.
Leave the center in the mold until you have a flower that’s ready to stick it to.
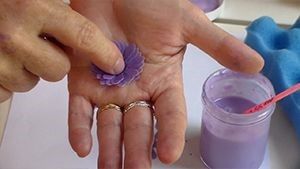
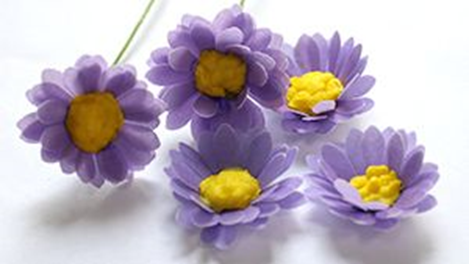
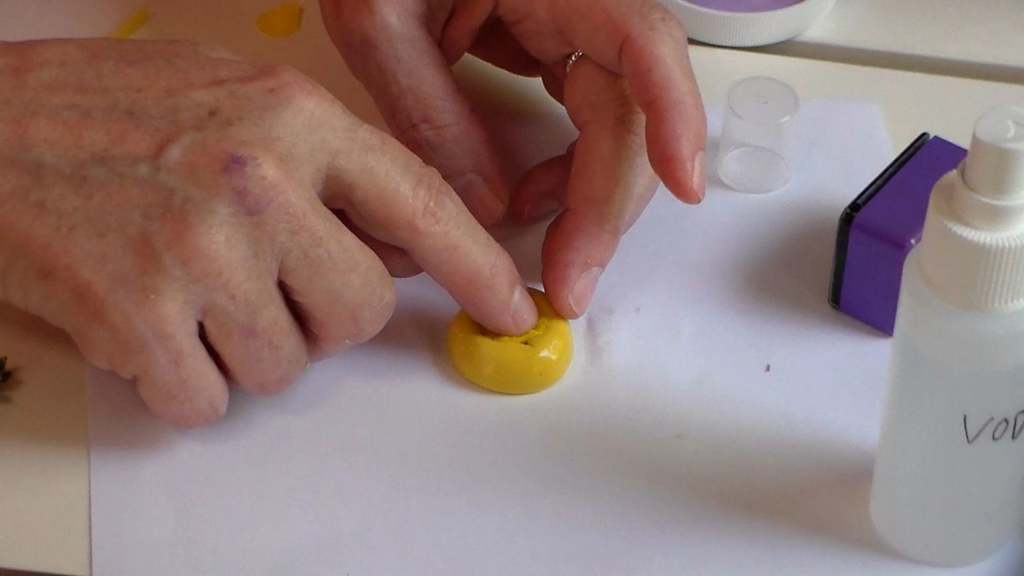
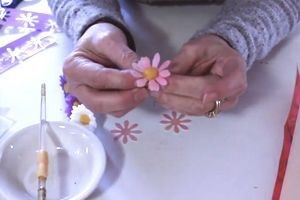
Using some edible glue, vodka, or water, layer 3-4 daisy shapes together to form the flower by putting a bit of the glue in the very center of each flower, then sticking them together with alternating petals.
Press the flower into the palm of your hand to create a cupped shape.
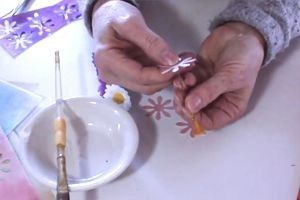
Take the formed center out of the mold. It should be spongy but not really wet.
Using more edible glue, attach the flower centers to the wafer paper petals.
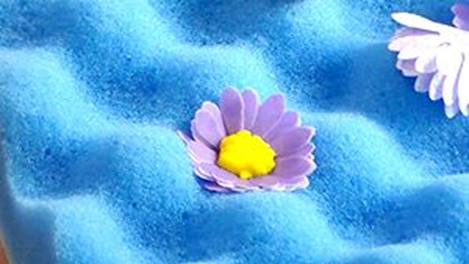
Add some edible glue to the center of the flower and gently press the flower center onto it so that it sticks to the flower petals.
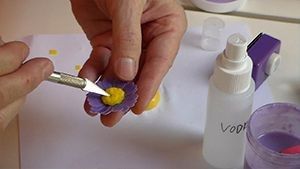
Use your fingers or a tool like an exacto knife to press the center onto the flower to attach it securely.
Place the daisy into a flower former mat or onto bubble wrap that can support it as it dries. When it’s finished drying, store in a dry area at room temperature.
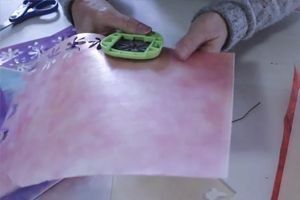
Edible wafer paper daisies are a fast and simple wafer paper flower to make, and they’re nice to use for cupcake toppers and cake decorations.
Using watercolor wafer paper will create a nice variety in color for the petals, and making the centers from wafer paper will give you a quick method to build the flower.
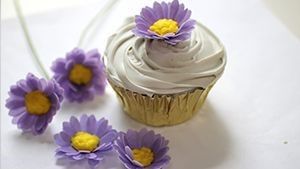
It’s also possible to make gumpaste centers, or to use premade centers, but regardless of who you do it, these are simple and pretty flowers that will dress up your cake and cupcakes.
Click here for the things I used to make the daisies: