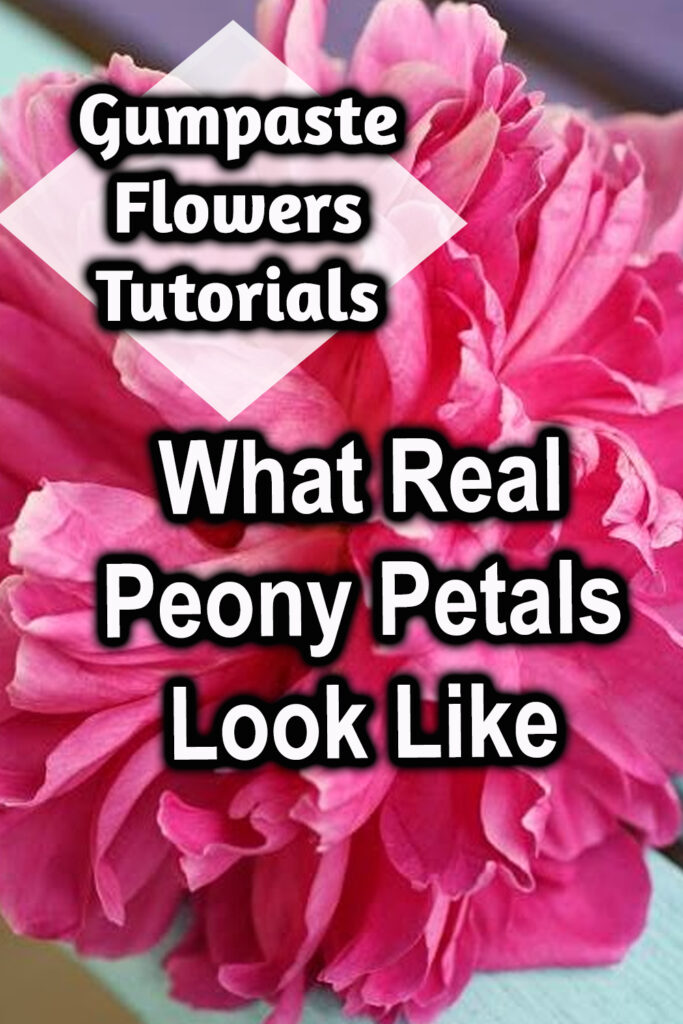
There are so many varieties of peonies available…Singles, doubles, etc etc. I have a few different types in my yard, but I was interested in this type since it seemed to be so full and fluffy.
The ones that I have in are double peonies, so they have more petals than the single varieties or the Japanese peonies.
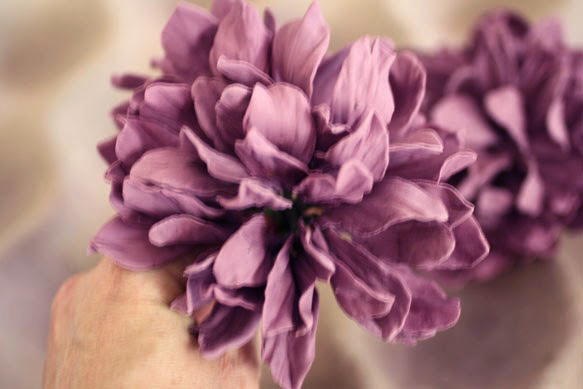
These are the big fluffy ones, and there are a LOT of petals.
This article includes affiliate links that will pay a commission if they’re used to purchase something. As an Amazon associate, I earn from qualifying purchases.
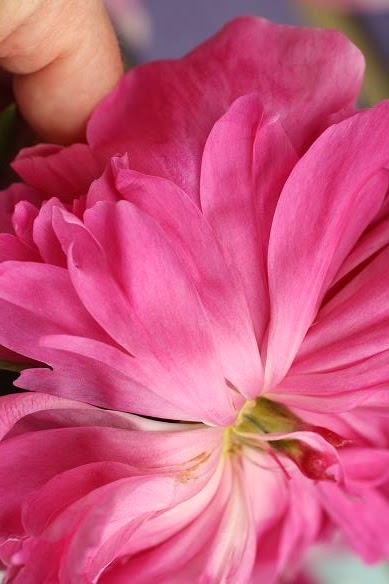
Deconstructing the peony.
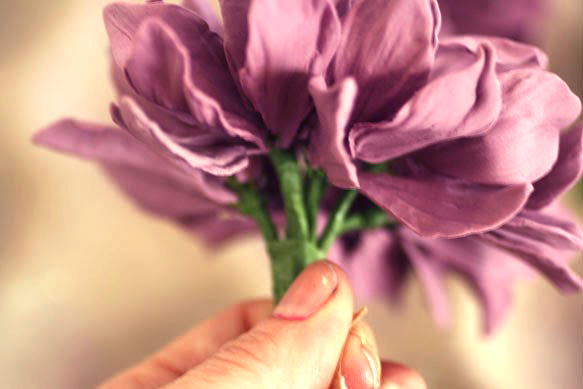
This is the one I took apart and what it looked like:
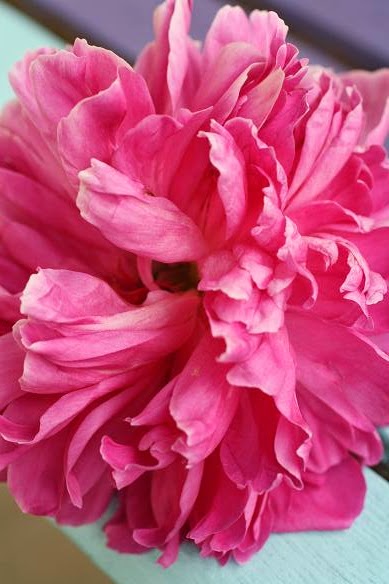
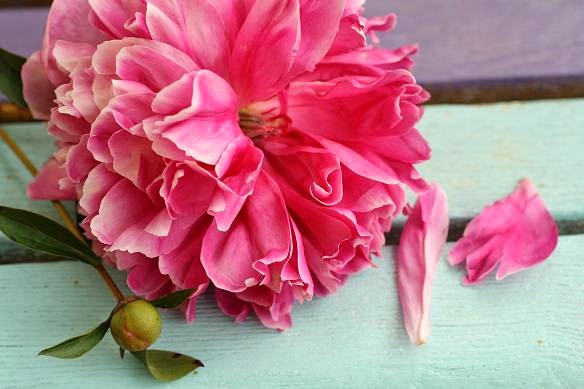
So pretty…Notice that it looks really full, but that the petals themselves are fairly narrow?
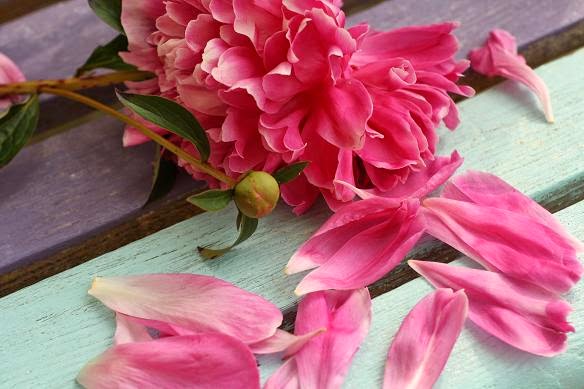
When I took it apart there were only two main petal sizes, and about 6 larger ones that were on the back of the flower here:
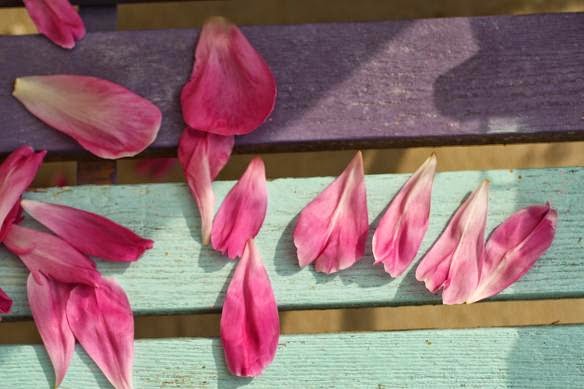
The smaller petals were about 3/4″ to 1 1/2″ wide at the most, and they were folded in the center with pointy tips from the edges curling.
They looked like the petals on an orchid cutter with the pointy end and rounded tips, rather than the shapes in the peony cutter set that I have.

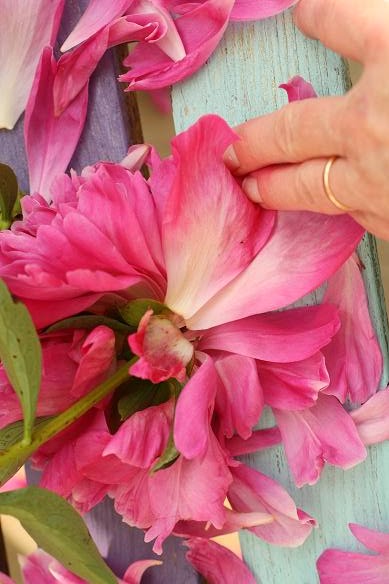
The larger petals were only at the very base of the flower, and were more rounded like a magnolia petal shape.
They were about twice as wide as the other petals and were NOT ruffled on the edges, but they were slightly cupped.
Quantity-wise, there were about 120 of the smaller two petals, and 6 of the larger ones.
Not exactly how I thought the count would fall out.
The stamens on this particular variety are also small and buried inside the flower, so you don’t really see them at all.
Amazon supplies for gumpaste flowers:
Making a gumpaste peony.
So the next step is obviously to make one like that.
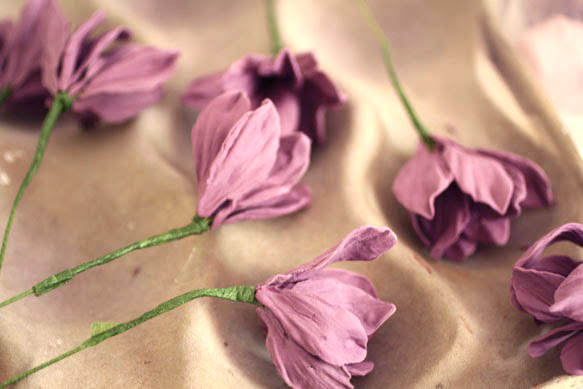
I made 6 of the large petals and about 110 of the smaller ones, half smaller than the other.
I used a couple of orchid cutters that had small, narrow petals and wired them, veined them and set them in twisty positions to dry,
When I assembled the first one I just did a basic taping method, attaching all of the center petals together to a center stem, then attaching the six outer petals.
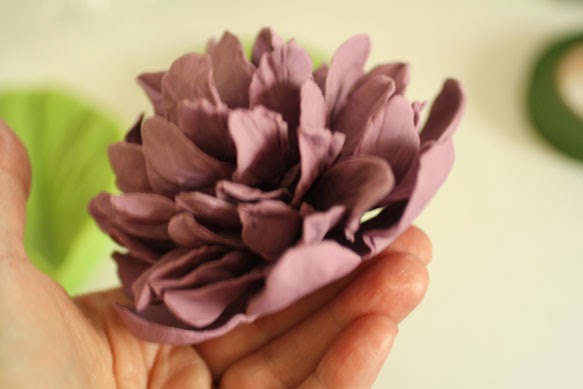
That resulted in a flower that was petally but taller and not as wide as I wanted it to be, since you have to start taping the petals down the stem as you add them.
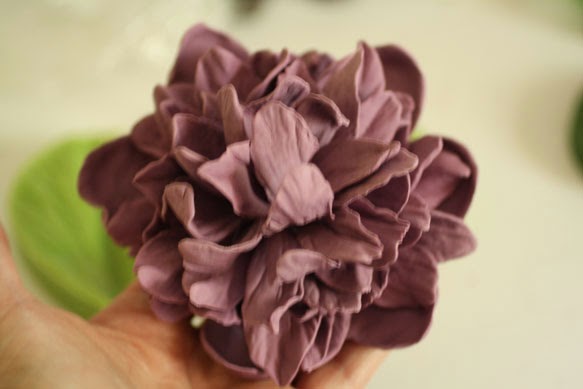
So I decided to use a different method that would allow me to keep the surface of the flower wider.
To do that, I taped between 6 and 8 petals to a single wire, then attached a bunch of those together.
Each one was separate, so I could move them around, but it still gave me the bunchy petal look that I was going for.

Of course I had already taped the larger petals to the other flower, so I didn’t have any to use. But you get the idea.
Each flower only used about 50 of the smaller petals, but I could have done more on the one with the separately-wired ones.
I would use two narrow teardrop-shaped petals to do this flower, one about 1 1/2″ long and one about 2″ long, plus one larger teardrop cutter that’s about 3-4″ long for the outer petals, depending on how big the final flower will be.
If you want a smaller version, just make the cutters slightly shorter.
I’d also take the time to really frill the edges of some of the petals, which I didn’t do this time.
Doing that, and making sure they dry in twisted and curled positions, is the key to giving this type of flower a lot of movement.
You can also use these petals as chrysanthemum petals if you wanted to dry them in a straighter position and tape them together in a more organized way.