I’ll say right off the bat that these are not completely botanically correct, but they’re still pretty and look good on cakes!
These aren’t as fussy as some flowers that have a little more detail, but since the color needed to be different from a natural flower I had more freedom to make them look the way that I wanted to anyway.

This article includes affiliate links that will pay a commission if they’re used to purchase something. As an Amazon associate, I earn from qualifying purchases.
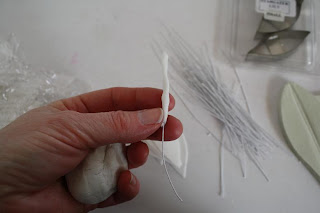
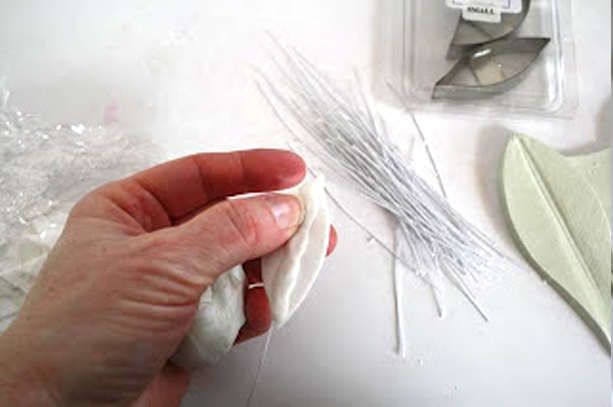
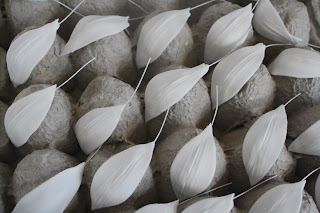
First step, get your materials assembled.
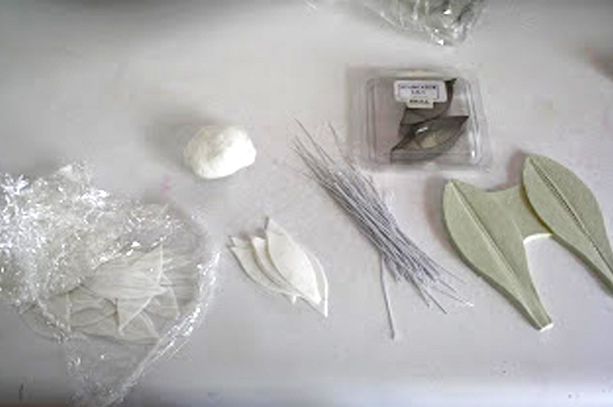
I cut out all of the petals first and keep them under plastic so that I can get a little assembly line going.
Use two daylily petal cutters, one slightly smaller than the other, and cut out three of each size for each flower, for a total of six petals for each flower.
You’ll also need:
- A veining press
- Stamens (you can make these, see below)
- Gumpaste for the wiring and flower centers
- Floral wire in 18 gauge and about a 20 gauge
- Colors, either powder or airbrush colors
- Floral tape
- Flower former or egg carton
Wire and vein the petals.
Take a piece of gumpaste and wrap it around the thinner wire, about the length of the petal. (You can also make a bunch of these up and put them under plastic too, but it works better if they’re not dry at all.)
Press the wire with the gumpaste tube on it onto the back of a petal and press the edges of the gumpaste tube to make sure it’s adhered to the petal.
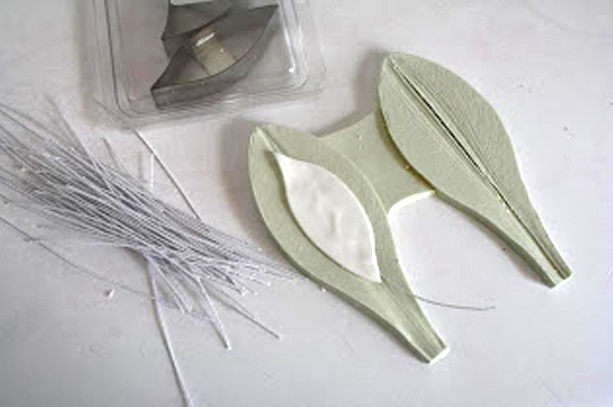
Put the petal in the press, with the tube side on the side of the press that will be the back of the petal.
Press the veiner firmly together, paying attention to the center and the edges of the petal to make sure that the edges are thinned out.
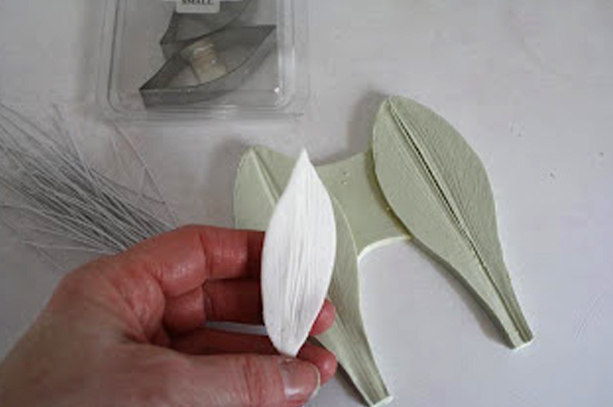
The petal should come out with the veins imprinted on the petal and the wire attached firmly.
If the gumpaste that covers the wire isn’t firmly attached all the way along the petal, put it back into the press and apply more pressure to make sure it’s stuck on.
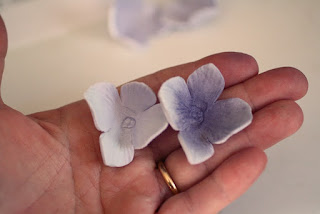
Dry and color the petals.
Bend the petals slightly and set them on an egg carton or another curved surface to let them dry.
If you’re using petal dusts to color them you can do this now while they’re not stiff yet. If you’re using food coloring it’s probably better to wait until they’re totally dry to color them.

The petals are actually easier to wire together when they’re not dry, because you can bend them and form them to each other where they meet at the center.
I’d been doing this for years until I heard someone refer to this as the “soft” method.
It just refers to the fact that the gumpaste isn’t dried and is still malleable when you assemble the flower.
In this case I needed to use the airbrush to color the petals because I wanted a blue that I didn’t have in petal dust colors.
I sprayed the color heavier on the end with the wire protruding, since that would be the center of the flower when they were wired together. If you want to add dots to the petals do it at this point.
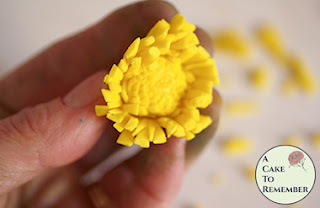
Make the centers.

For the centers, I used a thicker wire, pale yellow-green gumpaste, and purchased stamens.
This is a fast center, and doesn’t have the detail of a real flower.
You can make the centers yourself without the purchased stamens, but that’s a topic for another time!
Start wiring the flowers together.
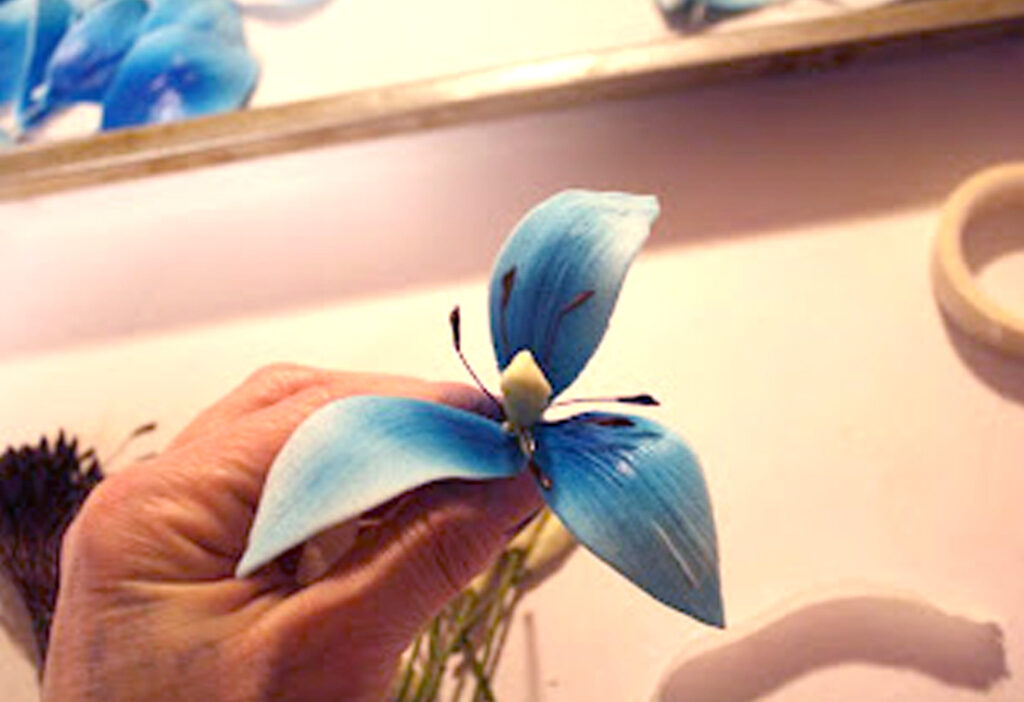
Take three of the thinner petals and hold them around the wire of the center.
Using a piece of floral tape about 10″ long, attach the petals to the center.
Take three of the larger petals and put them under the first three, then attach them to the center as well.
Wrap the floral tape all the way down the wire stem and make sure that the end of the wire is bent up and wrapped so that it won’t stab anyone!
If you’ve made these with the soft petals you’ll be able to bend them a little more to get a little more curve to them.
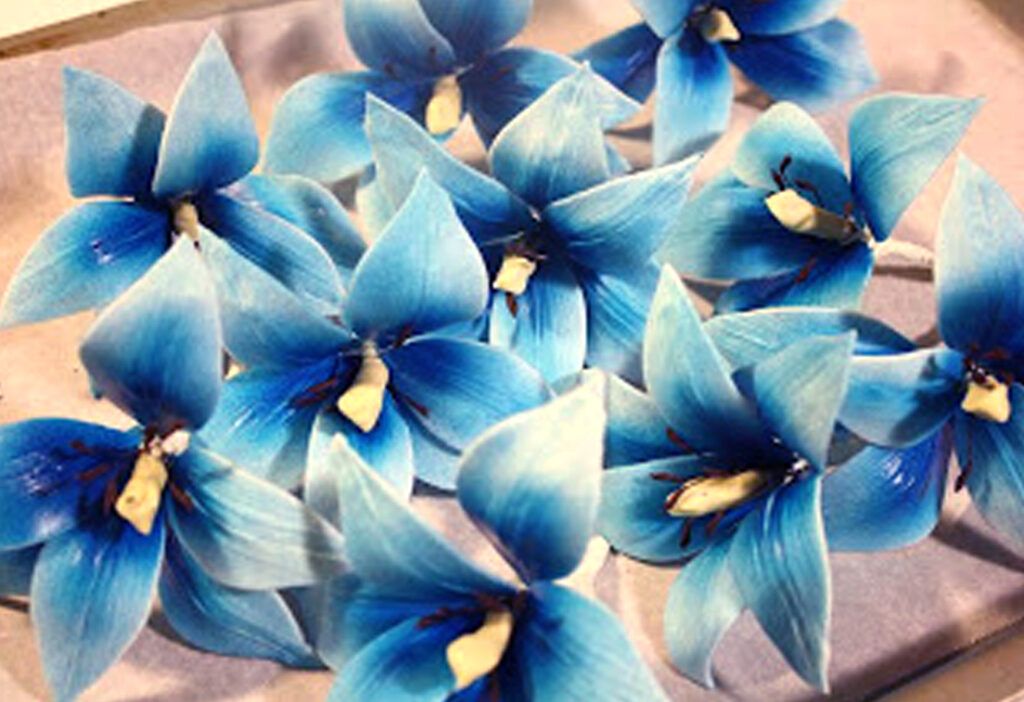
They can be left to dry with the stems stuck into a piece of styrofoam.
If the petals were dry when you taped them together you can just put them on a piece of foam or bubble wrap to prevent breakage.
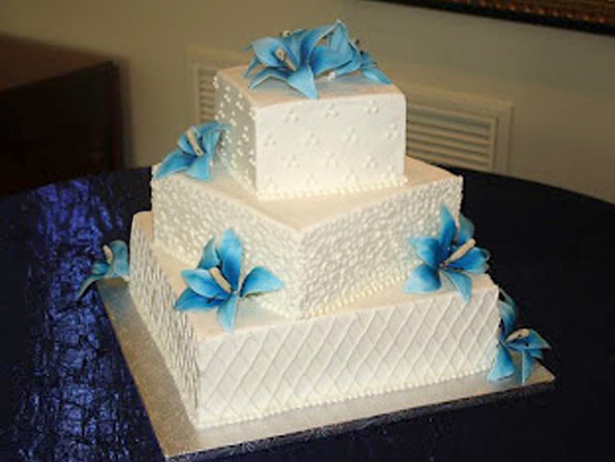
This is the basic method for making a daylily-type of flower.
You can adapt this to make tigerlilies, stargazers and other colors of daylilies.
Remember when you’re making them that the flower tends to be on the large side, so make sure that you’re using a smaller petal cutter if you don’t want the flowers to be too large on the cake.